


How to Create a Wood Slat Ceiling Using Wood Slat Wall Panels
Adding natural materials to a space is always an amazing way to bring nature indoors, making the space feel more grounded and welcoming. But where to start? Furniture? Plants? Appliances?
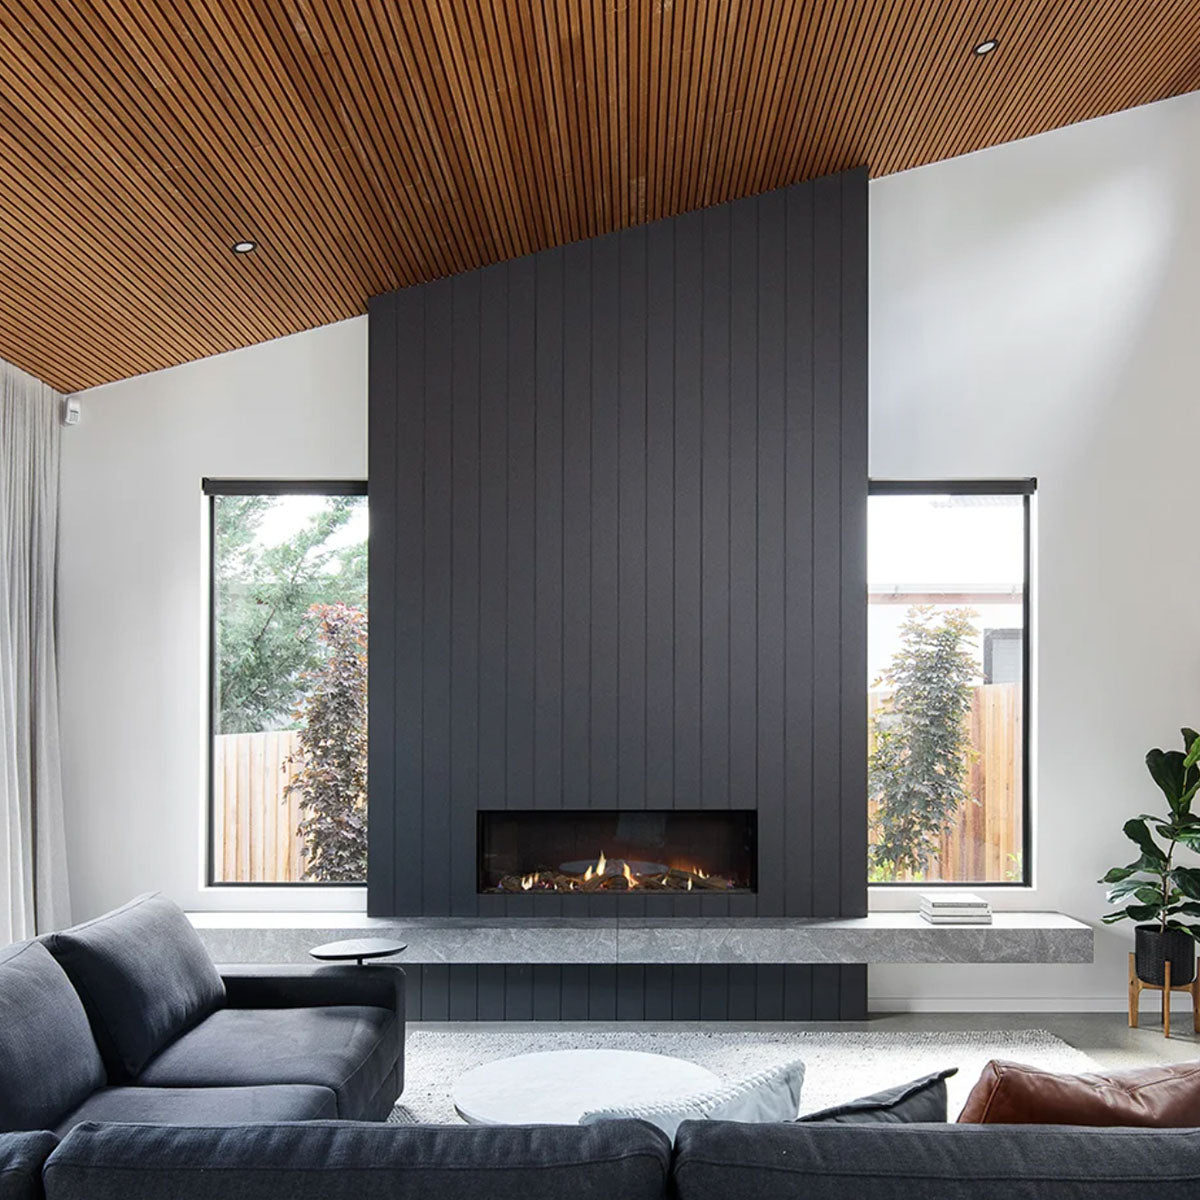
If you're aiming to draw the eyes upward, while also making a space feel more grounded and cozy, adding wood panelling to the ceiling can be the perfect way to do just that.
Wood slats in particular create a clean, linear look that's reminiscent of mid-century designer homes, which were known to feature an abundance of wood and natural materials.
Today, we're going to cover how to create a wood slat ceiling using wood slat wall panels. This is a novice DIY project, but you want to adequately prepare to ensure the panels are safely installed.
When installing wood slat panels on your ceiling, there are two options for installation: Screwing into joists directly, or adding battens first.
There's a few ways to install our Willow Panels on your ceiling. While adhesive can be used to install this kind of panel on your walls, we ALWAYS recommend using screws for ceiling installations.
The first option involves screwing the panels directly onto your ceiling and into your joists, while the second involves adding battens behind the panels and screwing into those. In this blog post, we'll cover both methods.
1. Installing Wood Slat Acoustic Panels Directly Into the Ceiling
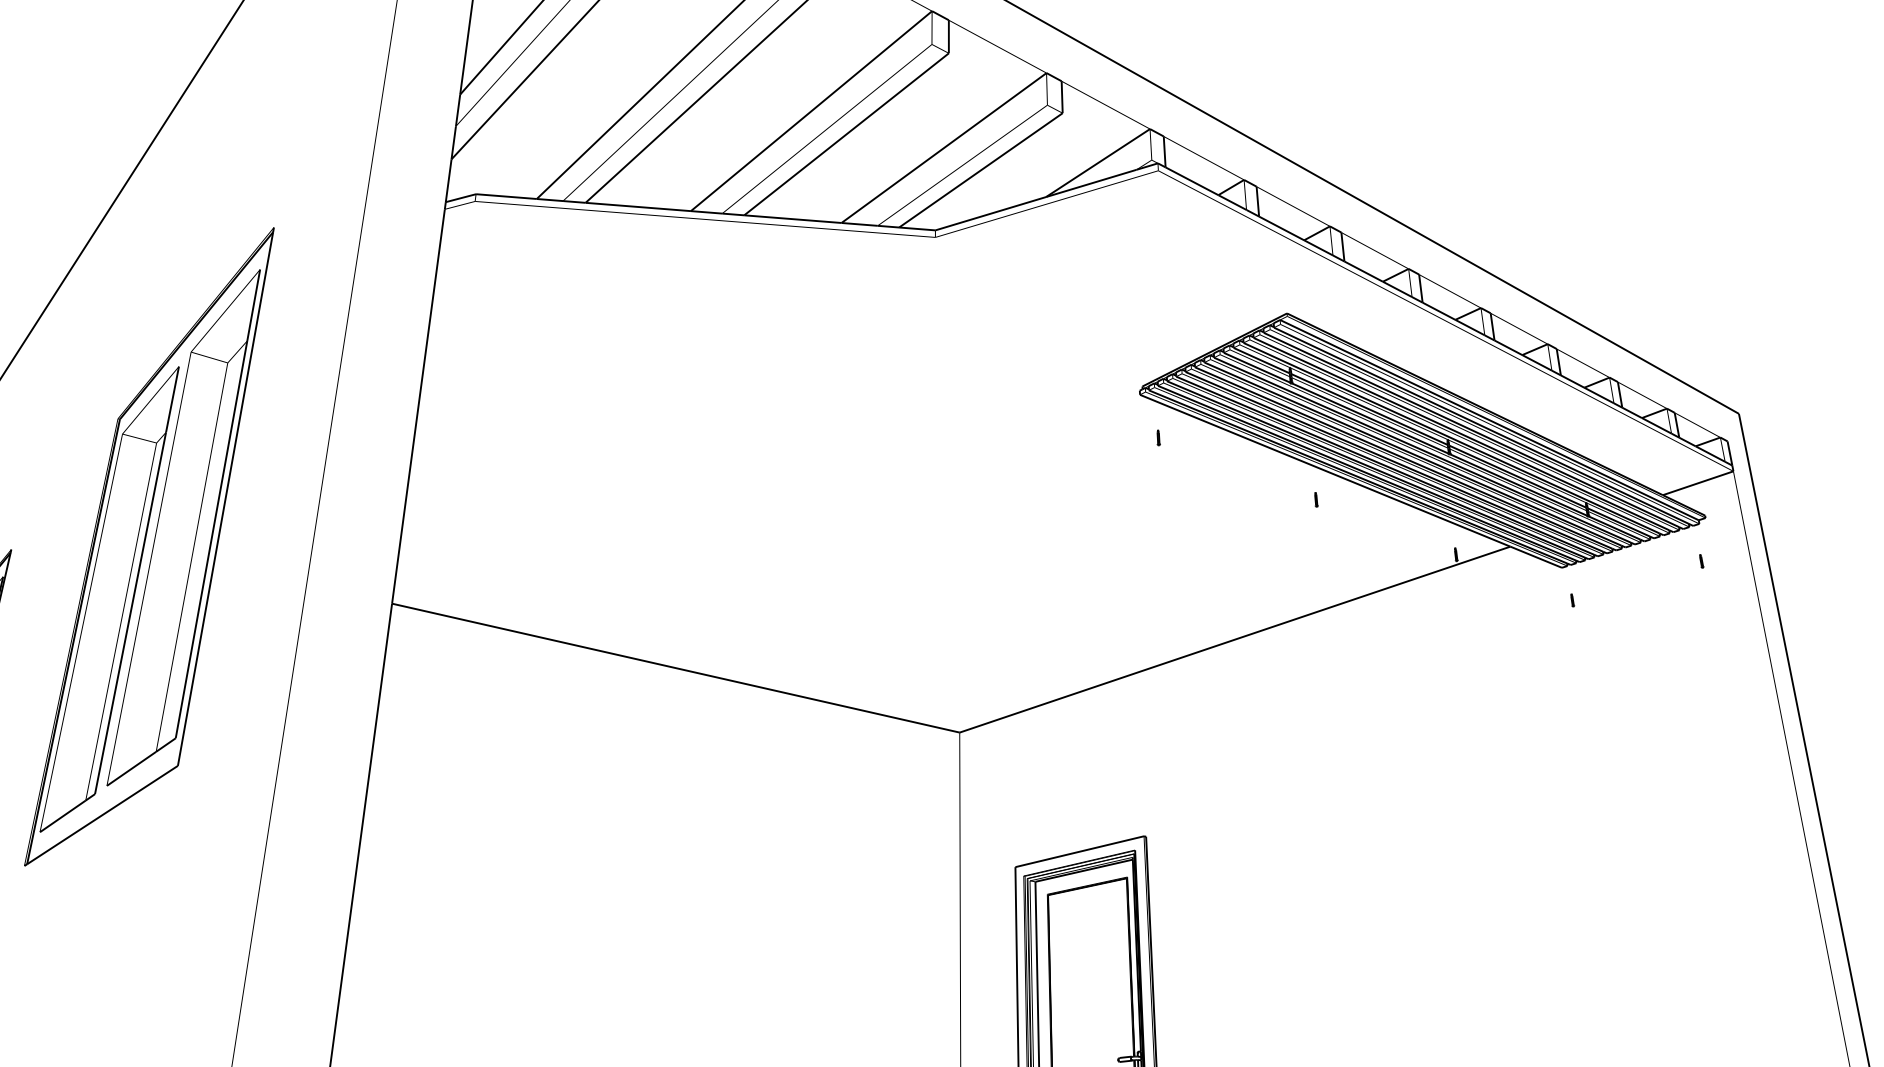
When installing the panels directly into your ceiling joists, the panels will need to be running perpendicular to the joists to ensure there are enough contact points, as seen below.
Of course, ceiling joists are usually not visible, as they are part of the framing of a house and are covered by drywall.
To determine if this mounting method is right for you, first use a stud finder or an alternate method to determine the direction of your joists.

Once you confirm the direction of your joists and decide you’re going to be installing the panels perpendicularly to them, you can proceed with the steps below.
Here’s what you'll need:
- Drill
- 12-16 screws per box of panels (black recommended, 1 ½ inch in length)
- Level
- Pencil
Start by gently marking out the location of your joists along your ceiling with the pencil. This will make it easy to screw the panels in place once you're up on the ladder or scaffolding.
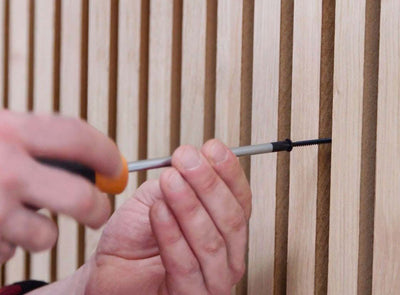
Next, gentle twist 6-8 evenly-spaced screws into the first panel. Make sure that they're the same distance apart as your joists!

Starting in a corner of the room, hold the first panel in place, keeping it flush against the wall and up against the ceiling. Ensure that the screws you twisted into place are lining up with your joist markings.
Once everything's in place, use a drill or driver to start screwing the screws through the wood slat panel and into the ceiling!

Continue this process with each panel, ensuring that they're square with the rest of the room and with each other before drilling them into the ceiling.
As you come to the end of your project, you can easily cut the panels using a circular saw or jigsaw as needed if you need to cover extra length, or if you need to trim the panels to fit in the room.
Installing lighting? No problem! When you come to a light fixture, measure the location of the fixture relative to the panels you’ve already installed, and mark those measurements on your panel.
To install lighting, follow the steps below:
- Measure and mark on the panel where the hole is needed for the fixture.
- Use a holesaw or a jigsaw to cut the hole for the fixture.
- Install the panel in the desired location.
- Install the light fixture afterwards.
You can use a jigsaw or holesaw to cut the required holes. As the slats are made from a real wood surface and an MDF core, a standard wood blade is perfect for cutting the panels.

2. Creating a formwork before installing the panels into your ceiling.
If you want to install the slat panels parallel to your joists, the easiest and most reliable way to do this is to install 1”x2” battens on your ceiling, before fastening the panels to the battens.
The reason the 1x2's are necessary, is that the panels won't be wide enough to span the 16" or 24" gaps between your joists, so there won't be enough contact points. Adding the 1'x2's provides reliable contact points to securely fasten the panels to the ceiling.
This installation method is not only cost effective and simple, but it also boosts the acoustical performance of the panels, by adding an air gap between the panels and your ceiling.

Here’s what you'll need:
- Drill
- 12-16 screws per box of panels (black recommended, 1 ½ inch in length)
- Level
- Pencil
- 1x2 pine framing lumber
- Construction screws, 2 inches in length

Battens can be spaced anywhere from 18”-24” apart, and made from either wood or MDF.
Screw them into every other joist, around every 24"-36" depending on the spacing of your joists.
After installing the battens overtop of your drywall, you can screw the panels directly to the battens by drilling into the battens in a perpendicular direction.

Start with your first panel in the corner of the room, ensuring it is square with the walls and ceiling.
Insert the screws first. We recommend a total of 6-8 black screws per panel, spaced evenly around the edges and closer to the middle of each panel.

And there you have it! Two reliable ways to install slat wall panels on your ceiling, regardless of which direction your joists are running.
Have any questions? Let us know in the comments below, or contact us at hello@andorwillow.com
Need some more inspiration? We're accent wall experts:
1. Accent Wall Ideas to Elevate Your Bathroom Walls
2. Ideas for Your Very Own Kitchen Accent Wall
3. Design Your Own Stunning Living Room Accent Wall


Hi, what wood slats did you use around this fireplace? The blog only talks about the ceiling. Also, are your wood slats safe to use around a gas fireplace (I’m guessing so based on this image, but wanted to ask). Thanks!
سلام. سقف خانه ویلایی من از جنس ورق گالوانیزه است. اما بخش داخلی سقف را چوب کار کرده ام تا فضایی با عایق مناسب و حس گرمای بیشتر ایجاد کنم. مقالۀ شما من را راهنمایی کرد که چگونه سقف چوبی خود را اجرا کنم. سپاس از شما.
Leave a comment