


How to Install Wood Slat Wall Panels from Andor Willow
Installing Willow Wood Panels out of the box is a breeze. Here’s what you’ll need:
- Drill
- 12-16 Screws (black recommended, 1 ½ inch in length)
- Level
- Pencil
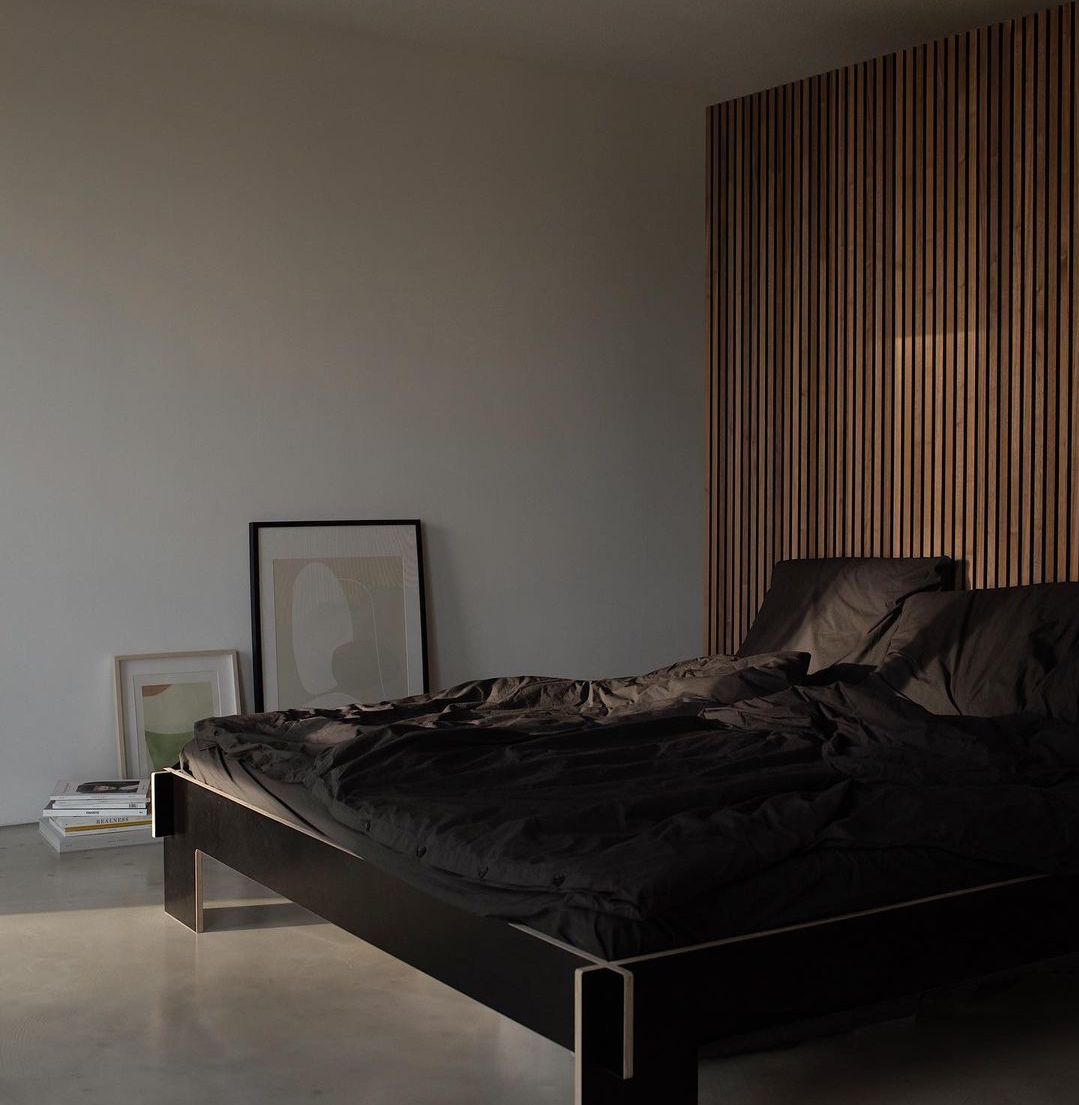
To start, measure your space and decide where you’re going to install the wood slat wall panels. Some people opt for a centered slat wood wall panels for a framed look, while others install them flush with the floor for a more grounded aesthetic. Whichever you decide, measuring your space and even holding your panels in different places will help you finalize your mounting locations.

NOTE: If you’re mounting into drywall only, be sure to insert the appropriate anchors before drilling.
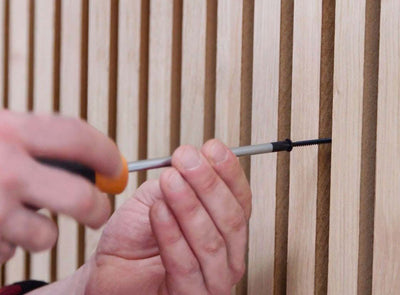
Once all anchors have been installed and/or studs have been located, put the first panel back in place and insert the screws. We recommend a total of 6-8 screws per panel, spaced evenly around the edges and closer to the middle of each panel, as shown.

Fit the second panel next to the one you just installed and repeat this process. The tongue and groove pattern of the felt and the slats will allow you to fit each panel side-by-side while maintaining uniformity in spacing between slats.

The felt from the second wood wall panel range will fit behind the last slat of the first panel, completely hiding the seam from view and allowing you to install endless panels next to each other to make one, uniform accent or feature wall.
Installing Wood Slat Wall Paneling Using Glue or Adhesive
Our panels can be easily installed on walls using glue or adhesive. This typically makes for a more permanent installation (especially on drywall), as it will be harder to remove without damaging the walls. That being said, it works well for concrete walls as there's no need for a hammer drill like there would be when using screws.
We don't recommend using glue for ceiling installations. Read more on how to install wood slat wall panels on the ceiling here.
We recommend outstanding products such as LiquidNails Fuze-It or LePage 3X Construction Adhesive, but other silicon-based construction adhesives will also work well.
Before you start, gently wipe your wall to remove any dust or grease from your wall, as this will impact the adhesive's effectiveness.
Once your slatt wall is ready for the installation, begin by generously applying the adhesive to the back of the panel, along the edges and crisscrossed through the middle, as pictured.


Once the adhesive is applied, line the panel up in the installation location and press it firmly onto the wall. Most adhesives will grab instantly, but take a full 1-12 hours to adhere fully, so we always recommend putting 1-4 screws or finishing nails through the felt to hold the panels in place while they bond.
After 12 hours, the screws or nails can be removed from the felt once the adhesive has bonded to your wall.
Custom Installation With Cuts, Alterations
If you’re planning on cutting panels to be shorter or connecting panels to make the configuration longer, this portion of the installation guide is for you! Here we’ll cover measuring and cutting panels to size.
For this example, we’ll assume you’re installing our 94.5” panels on a wall that is taller than that, and want the panels to span the entire height of your wall. For an installation like this, you’ll want to purchase extra panels to cover the additional length. This may vary depending on the size of your panels.
To start, install the first panels along the top of your wall, up against the ceiling, or along the floor. For this example, we'll assume you want to add the extra length to the bottom, as pictured.
 Once this step has been completed, measure the exact length from the bottom of the panels you’ve installed, to the floor (or baseboard, wherever you want the panels to end).
Measure that same distance from the end of a new panel, and mark it along the slats using a pencil. Mark it along the felt backing as well.

Flip the panel over, slats facing down, and use a utility knife to cut the black felt at the length you previously marked.

Once the felt backing has been cut, flip the panel back over so the slats are facing upwards, and use a handsaw or circular saw to cut the slats at the same place.

After this has been completed, check the distance along the back of your extension piece. If there’s a large gap between the last row of wood nails holding the slats in place and the edge of the slats, screw a single ~10mm long screw through the felt and into the back of each slat to ensure it’s held in place. You can also use a small dab of superglue under each slat if that's preferred. This step is rarely needed, but can be necessary at times.

Once your extension is ready for mounting, simply repeat the mounting process as you did for the full-sized panels.
Repeat these simple steps as many times as needed until your project is complete! Now you have an absolutely gorgeous high-quality acoustic wall panel that is easy to install.

Have a question or concern? Let us know in the comments below, or contact us today.
Renovating your house? Get inspired by our accent wall inspo articles:
1. Elegant Accent Wall Ideas to Elevate Your Bathroom Walls
2. 10 Creative Accent Wall Ideas for Your Home Office
3. Designing Your Own Stunning Living Room Accent Wall


Hi! I want to make sure these are flexible and are able to be curved.
Comment procéder pour installer les planches plus courtes
Will mounting hardware work if room divider slats are cut at an angle for sloped ceiling?
Hi there! I’m looking to buy some of your products but I need to know if you have any installation service in south Florida?
Hi there,
I’m wondering about the installation for the paintable wall panels, would they be similar to the wood panels? Your products look beautiful!
Leave a comment