


How to Install Acoustic Panels on your Wall: Easy Steps + 5 Tips for Better Sound Absorption
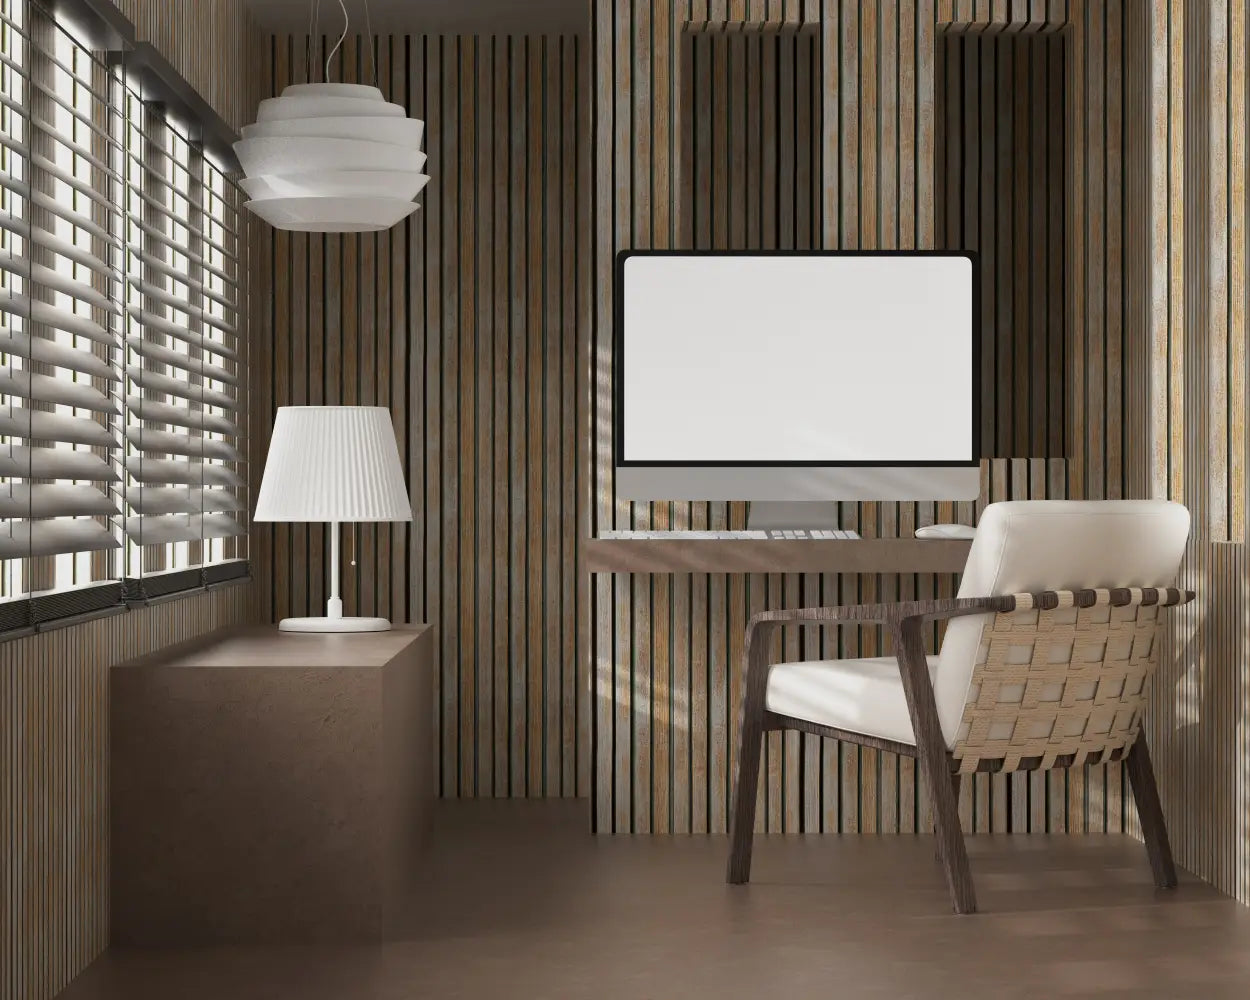
You've got the perfect workspace all set up. It’s comfortable, stylish, and your work essentials are in place.
But when you join a video call, you sound like you’re in a cave.
The sound bounces back, creating an echo that makes it hard for your team to understand you.
Not exactly productive, right?
This is where acoustic wall panels can be useful.
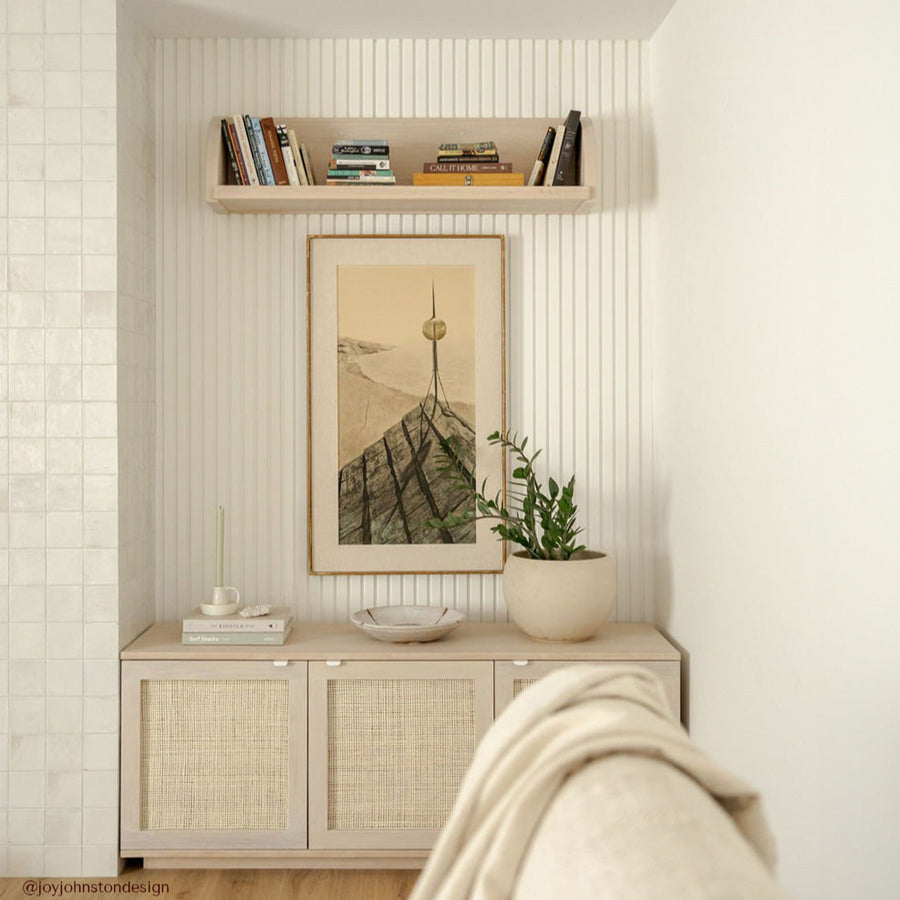
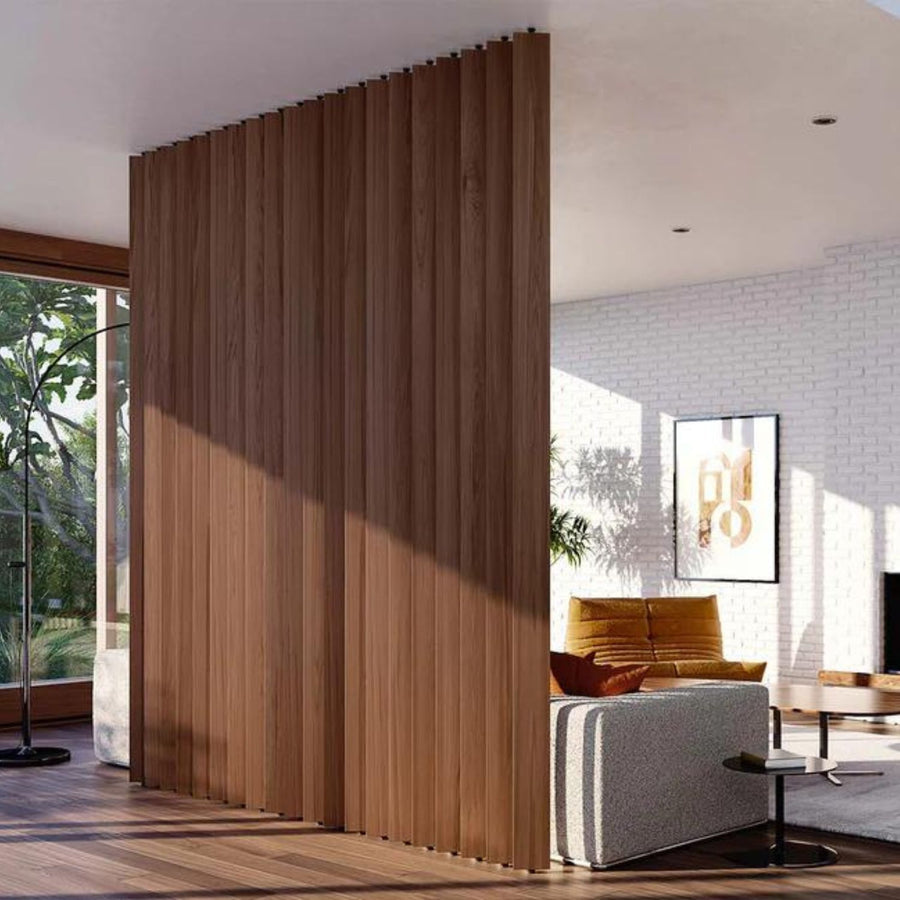
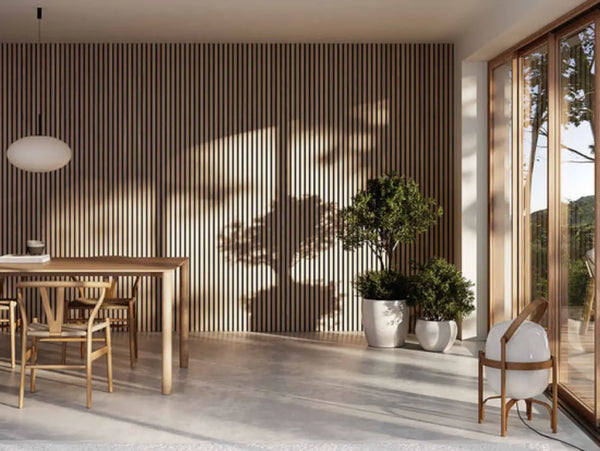
Think of them like sponges that soak up all the extra noise bouncing around the room. They’re perfect for offices, home theaters, and recording studios.
But how do you actually install acoustic panels on your walls to achieve studio-worthy sound quality?
You don't have to be a professional. All you need are a few tools, some patience, and a little bit of time (and money) to put them up.
Steps to install acoustic panels for a quieter, more enjoyable space
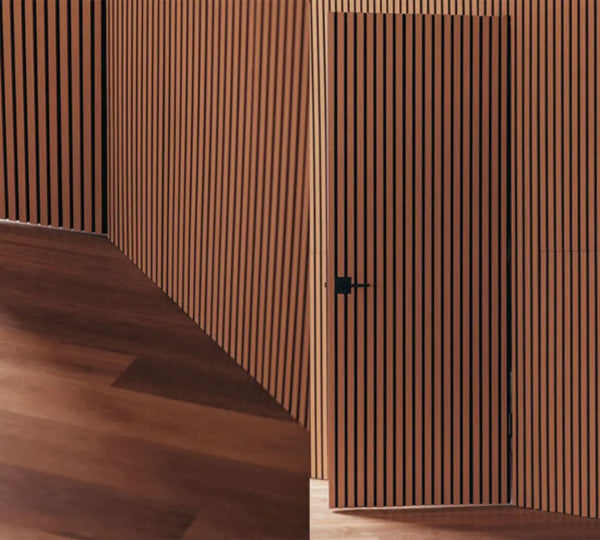
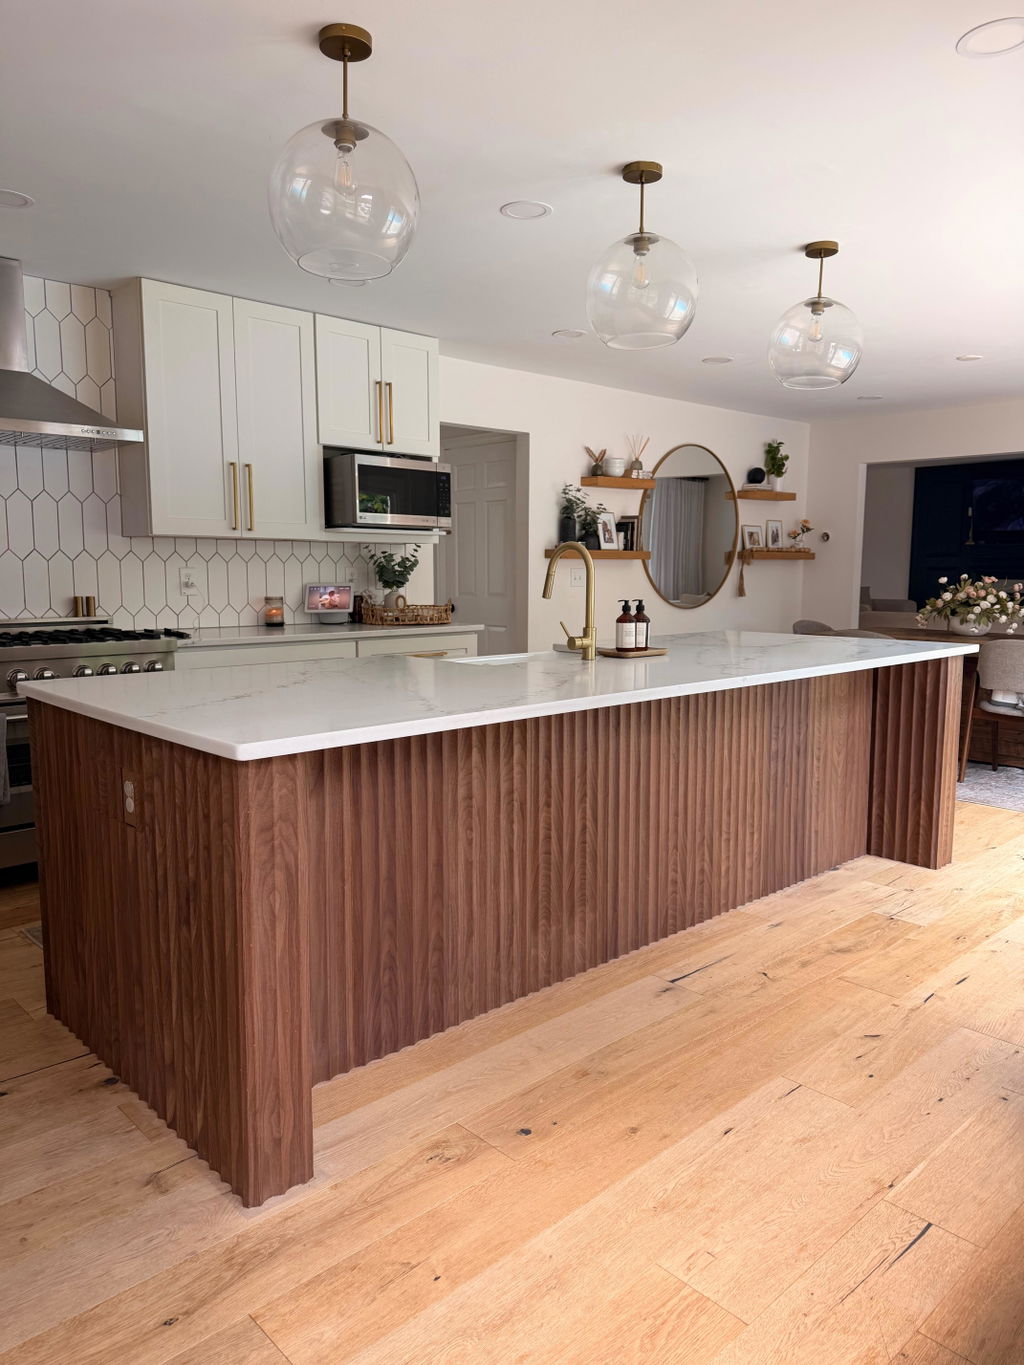
Installing acoustic panels can be just as easy as hanging wood slat panels.
Follow these easy steps to get the most out of your sound absorbers
Step 1: choose your panels
The first step is to look for the right acoustic wall panels.
Think about what your room needs and how you want it to look and feel. You want them to look good, but if they don't block out unwanted noise, what's the point?
Here are factors to consider as you pick the best acoustic willow wall panels for your space:
Quality
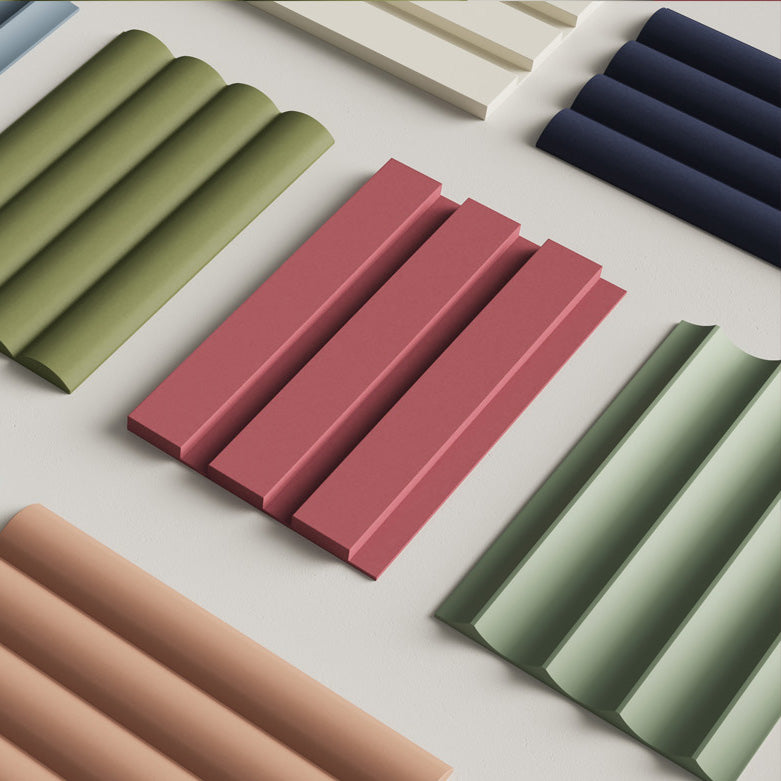
Sound-absorbing panels come in different types of wood — and some work better than others. Just like some sponges soak up more water, denser woods are better at swallowing up sound waves.
So, what should you look for?
Sturdy, high-quality materials. These will last longer and do a much better job of quieting down your space by reducing echoes and unwanted noise.
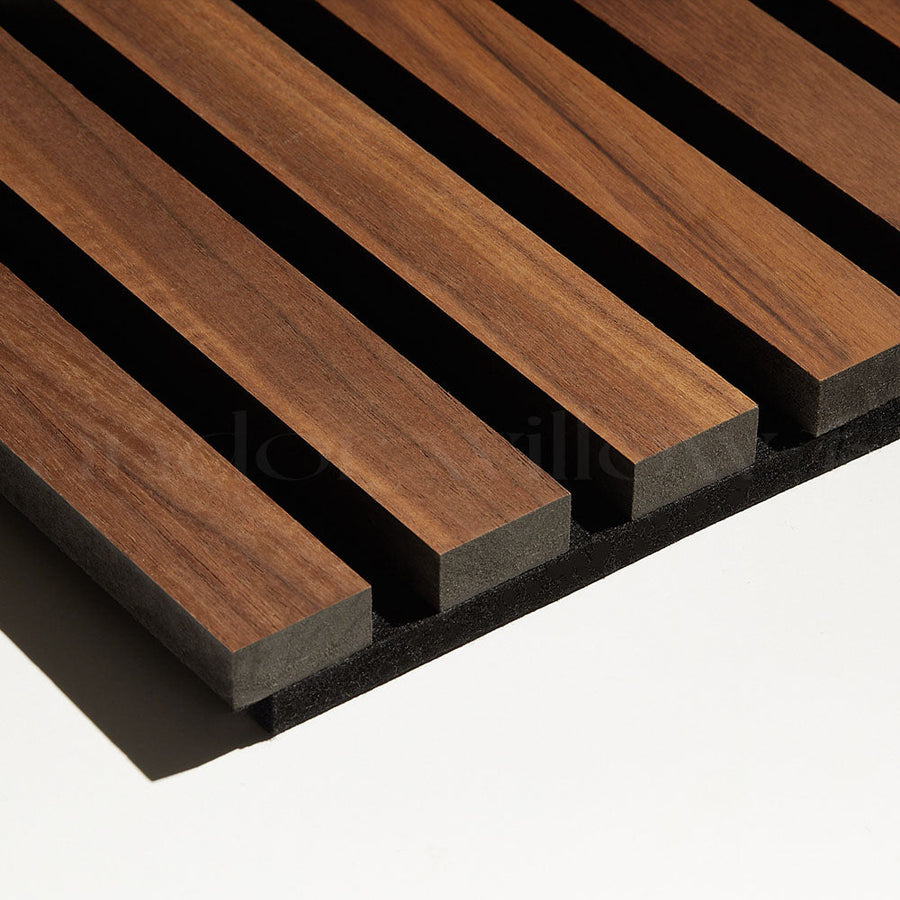
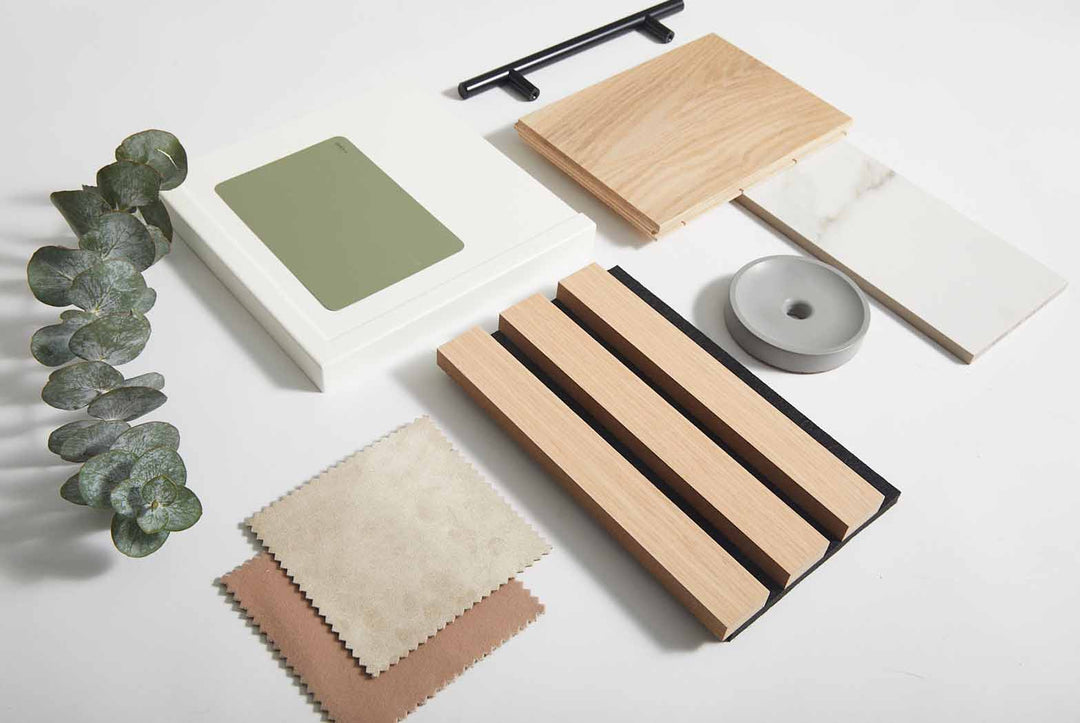
Type of wood
Harder woods, like oak and maple, are denser. This means they do a better job of absorbing sound waves, which means less echo and less noise.
Softer woods like pine look great, but they might not be the best for soundproofing.
The choice is yours – do you want a rustic look or maximum quiet?
Here’s the good thing: that doesn't mean you can't pick something stylish. There are acoustic panels that combine both aesthetics and function.
NRC rating
NRC, or Noise Reduction Coefficient, measures a material's ability to absorb sound. It's a number from 0 (think hard, reflective surfaces) to 1 (the ultimate sound sponge).
Aim for panels with an NRC rating of 0.6 or higher like our acoustic wall panels with 1.0+ NRC rating. This helps make sure your space not only looks good but sounds good, too.
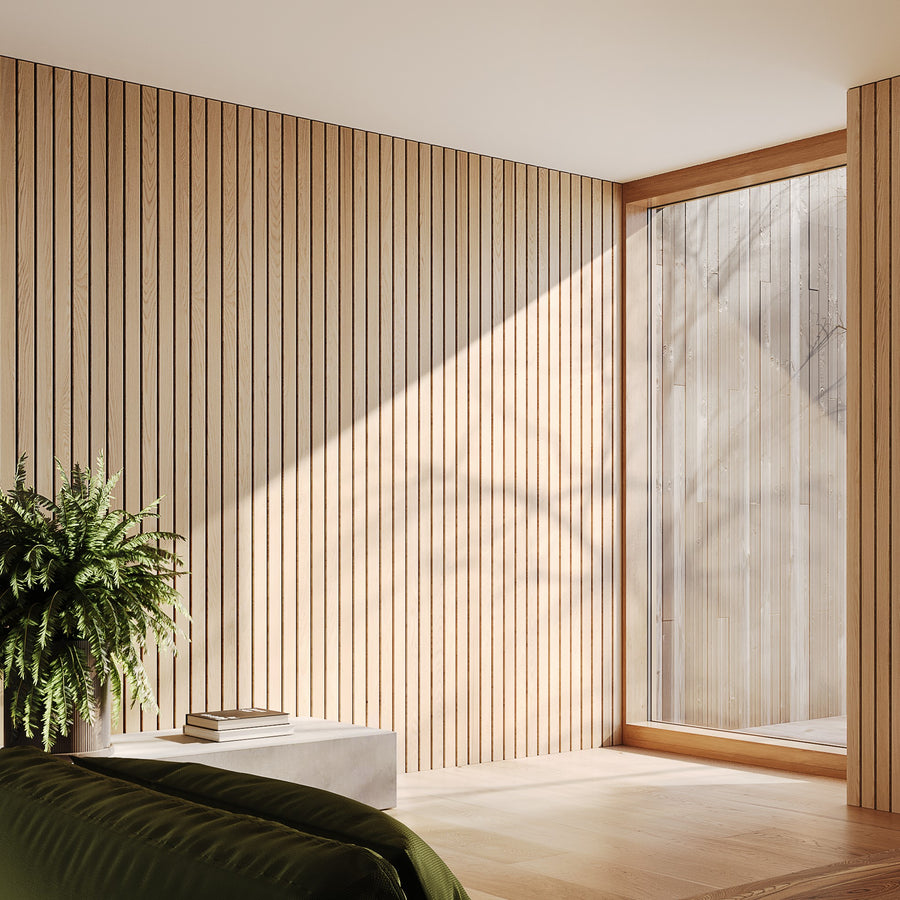
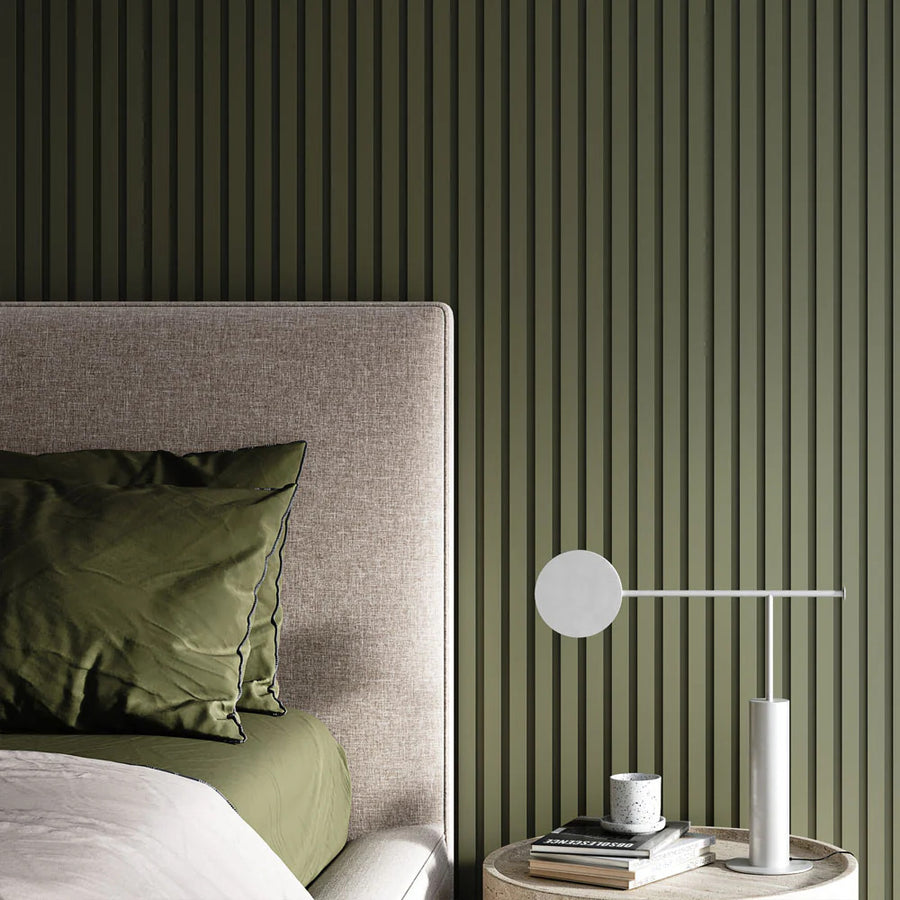
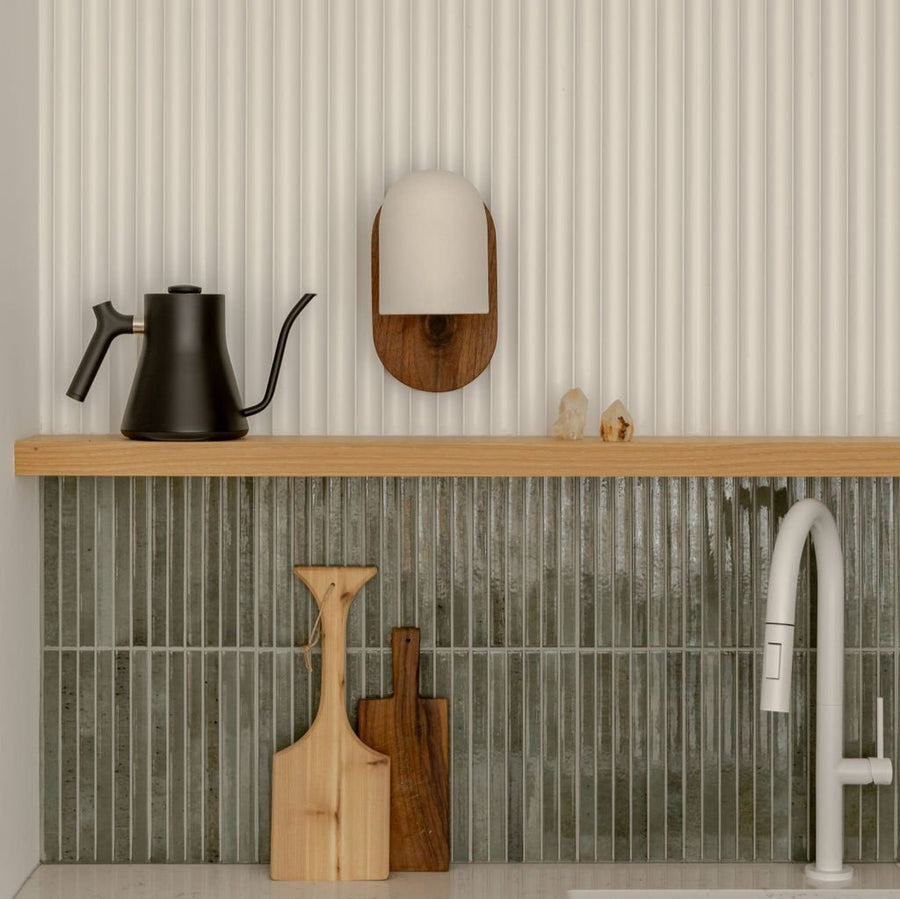
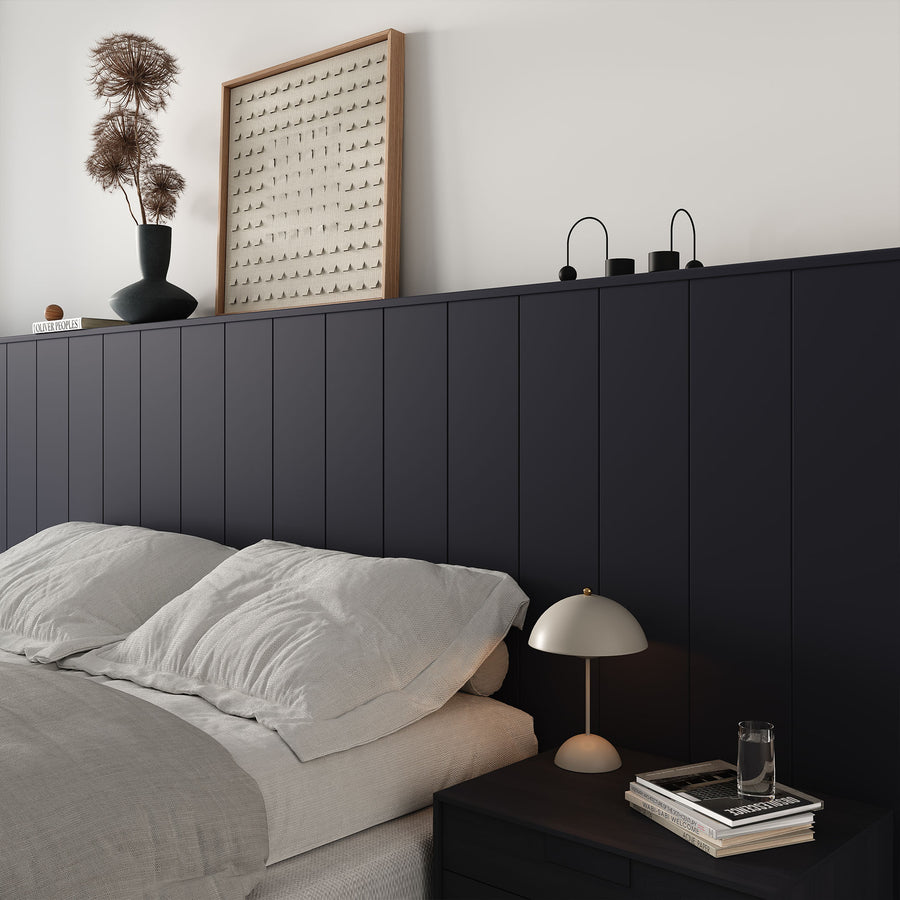
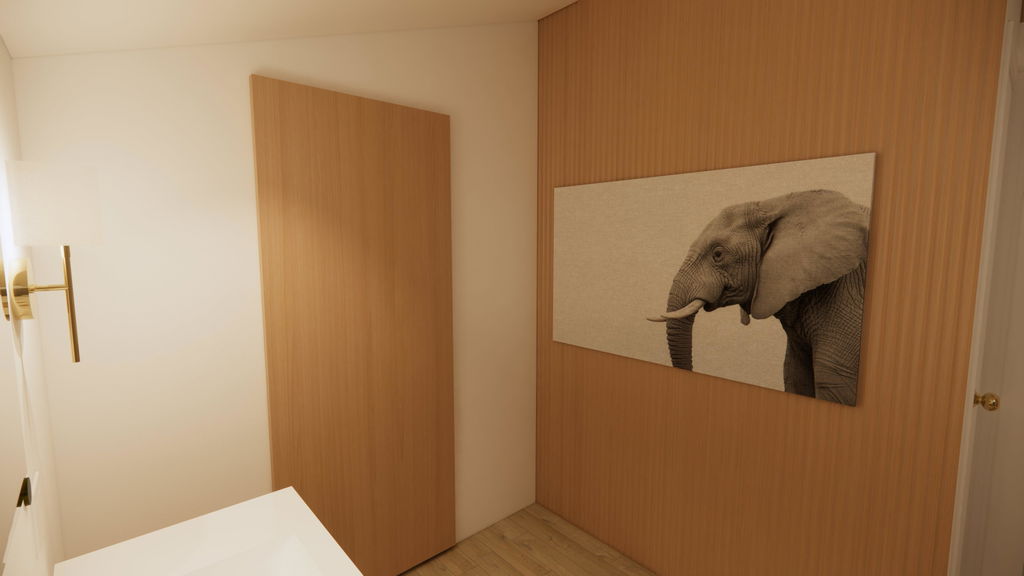
Finish and aesthetics
These sound-absorbing panels are going to be on your walls for a while, so you want them to look good.
Just like furniture, the finish on the panels matters. You can choose between glossy (shiny) or matte (not shiny), and you want it to match the overall style of your room.
Think of it like picking out a picture frame – you want it to complement the picture, not take away from it.
Cost-effectiveness
Last but not least, let’s talk numbers.
Acoustic panels are an investment, but that doesn't mean they have to break the bank. The good news is you can find high-quality panels at a reasonable price.
Step 2: grab your tools
Before we start hanging those sound-absorbing panels, let's make sure you have all the tools you need:
- Drill – your trusty sidekick for this project
- Level – to keep things straight and tidy
- Screws – the fasteners that will hold your panels in place
- Pencil – to mark where the screws go
- Screwdrivers – if your screws need a little extra help
- Stud finder – to make sure you don't run into anything behind your walls
Having all your tools prepared beforehand will make installing your acoustic willow panels easier. This way, you won't have to stop in between steps.
Step 3: map out your wall panel placement
Next, figure out where to put your acoustic panels. Consider where the panels will look good and where they'll have the biggest impact on sound.
Here's the thing: you don't need to cover every inch of the room with panels.
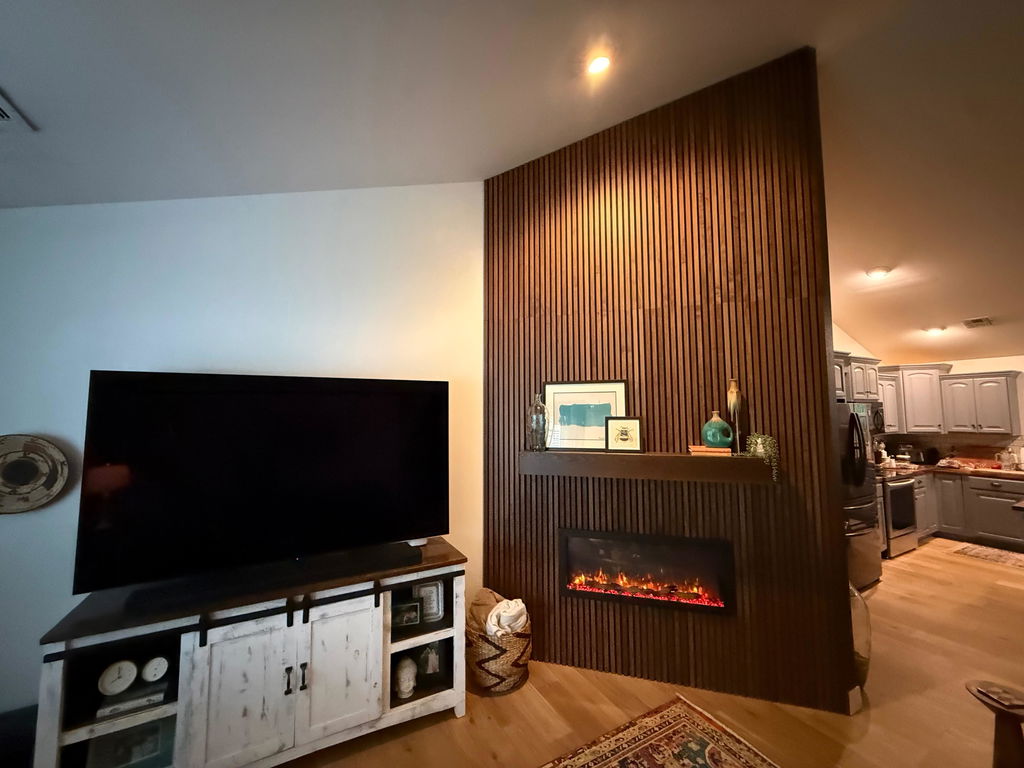
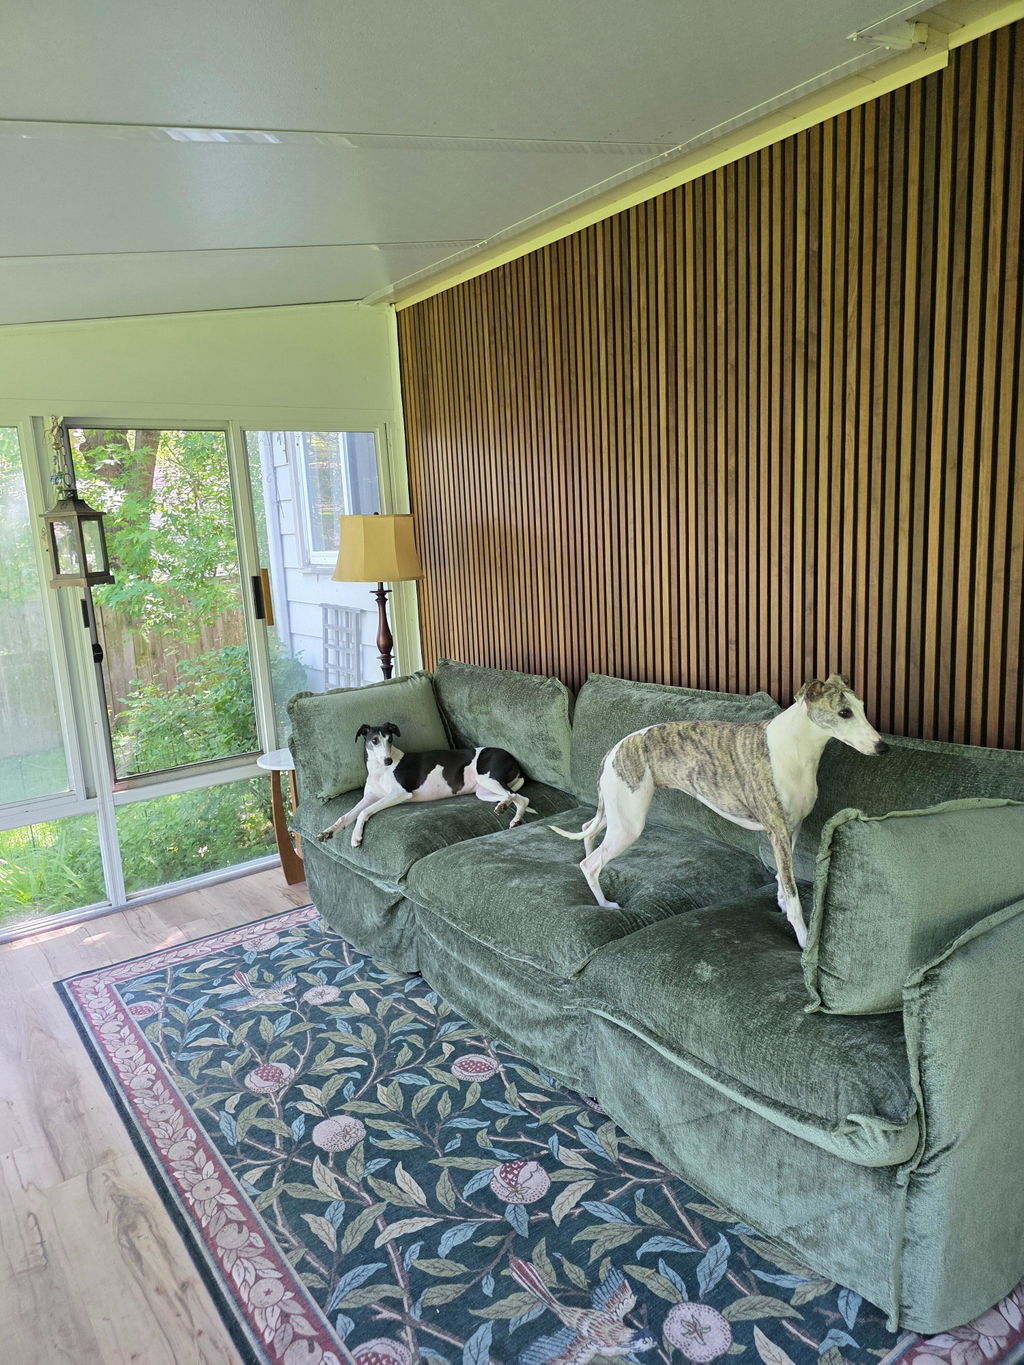
It's about targeting areas that will most effectively reduce echo and make your room sound better. Typically, this means focusing on the wall directly behind your sound source and the opposite wall. These spots are key players in managing echoes and reverb in your room.
But sound doesn't just travel in straight lines, it bounces around. This might mean placing panels on the ceiling, or even considering rugs or carpets on the floor if echoes are stubborn.
For the best sound absorption, think variety.
Use thicker, more absorbent panels in areas where sound hits directly. In other spots, thinner ones will do the trick. It's about finding the right balance—not too quiet and stuffy, but not too echoey either.
Remember, leaving some wall space uncovered is a good thing. It helps maintain a natural sound in the room, avoiding that boxed-in feeling.
This way, you’ll have a balanced acoustic environment, making everything sound clearer and more enjoyable to listen to.
Ultimately, planning is key. Measure carefully before drilling, and grab some paper and sketch out your room. Think about where you hang out the most or where sounds get jumbled — and mark those spots because that’s where your acoustic panels should go.
Step 4: prep your walls
Before you hang your sound-absorbing panels, let's get those walls ready for action.
Grab a cloth and wipe your walls to remove dust or cobwebs.
Next, check your walls for any bumps or for anything that sticks out. If there are any rough spots, a quick sanding will do the trick. Just give any bump a little rub down before proceeding to the next step.
Doing this makes sure your acoustic panels will stick properly to your walls.
Step 5: attach your acoustic panels
And now, this is where the action happens.
Line up all your acoustic panels on the wall – just like you planned in Step 3. Make sure the panels are nice and straight. Use your level to make sure.
Once a panel is positioned properly, lightly mark where the screws will go.

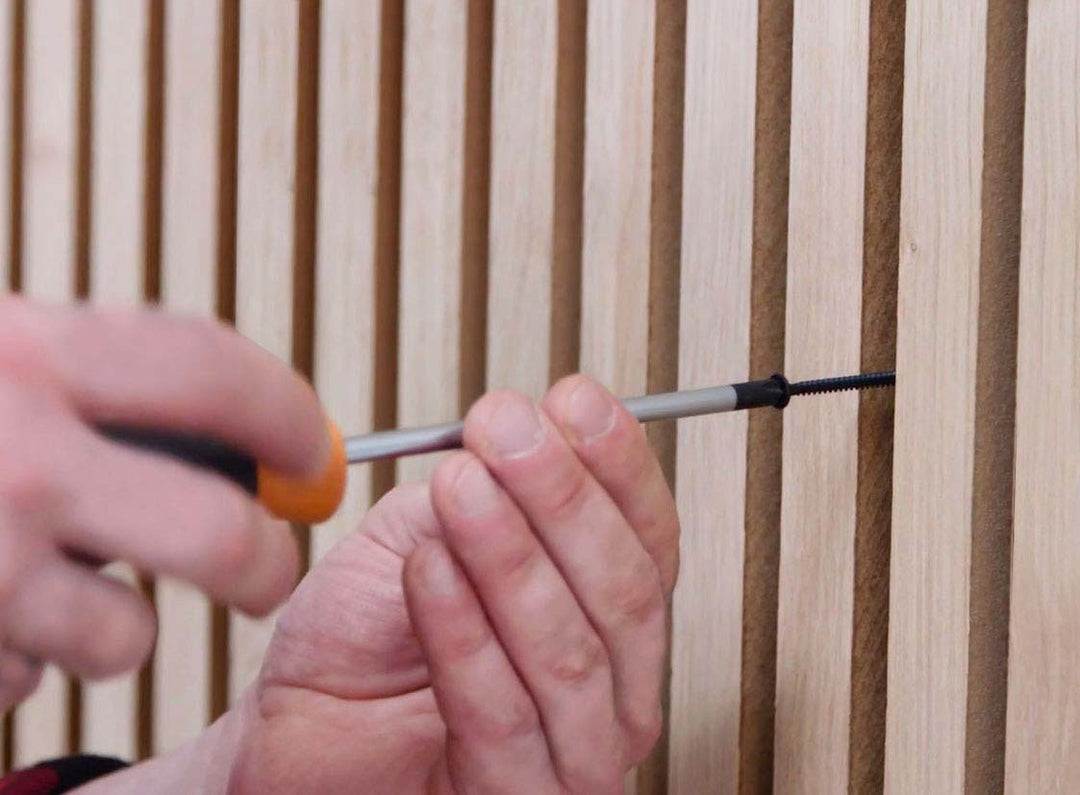
Now, start drilling. Don't rush this part.
Drill the holes carefully, then attach the mounting hardware. Click or slide your acoustic panel into place, depending on the type of mount you're using.
Repeat these steps for all your acoustic panels.
Remember, there's no rush – you want to do this right and remain safe.
Step 6: adjust for acoustics
Now, it’s time to fine-tune your setup and make sure your room sounds as great as it looks.
Play your favorite instrument or song and listen closely.
Don't worry if something sounds off.
Maybe a panel just needs to move a bit to the left or right.
Move the panels around a bit, then test again. It’s all about finding the sweet spot until you hit the right acoustics.
If you have one, you can also use a sound level meter to get extra precise with your panel placement.
Use your meter to see if there are any areas that sound way louder or quieter than others. Then, you can adjust your panels to create a more balanced sound throughout the whole space.
Take your time with this step. After all, good things come to those who wait (and test their acoustics with a bit of a tune).
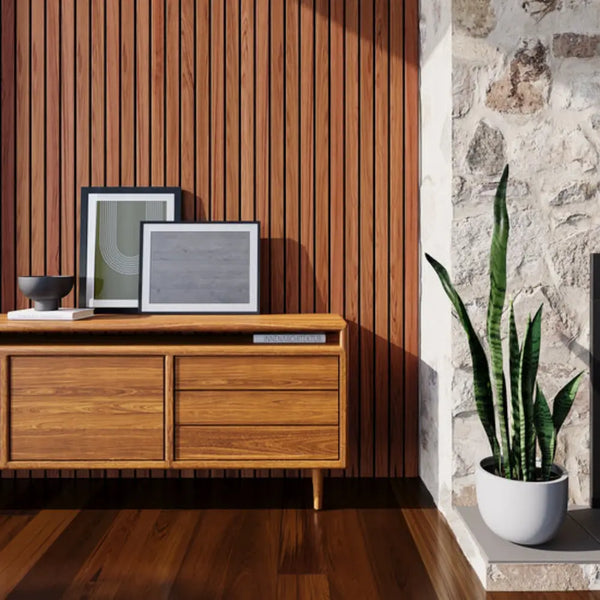
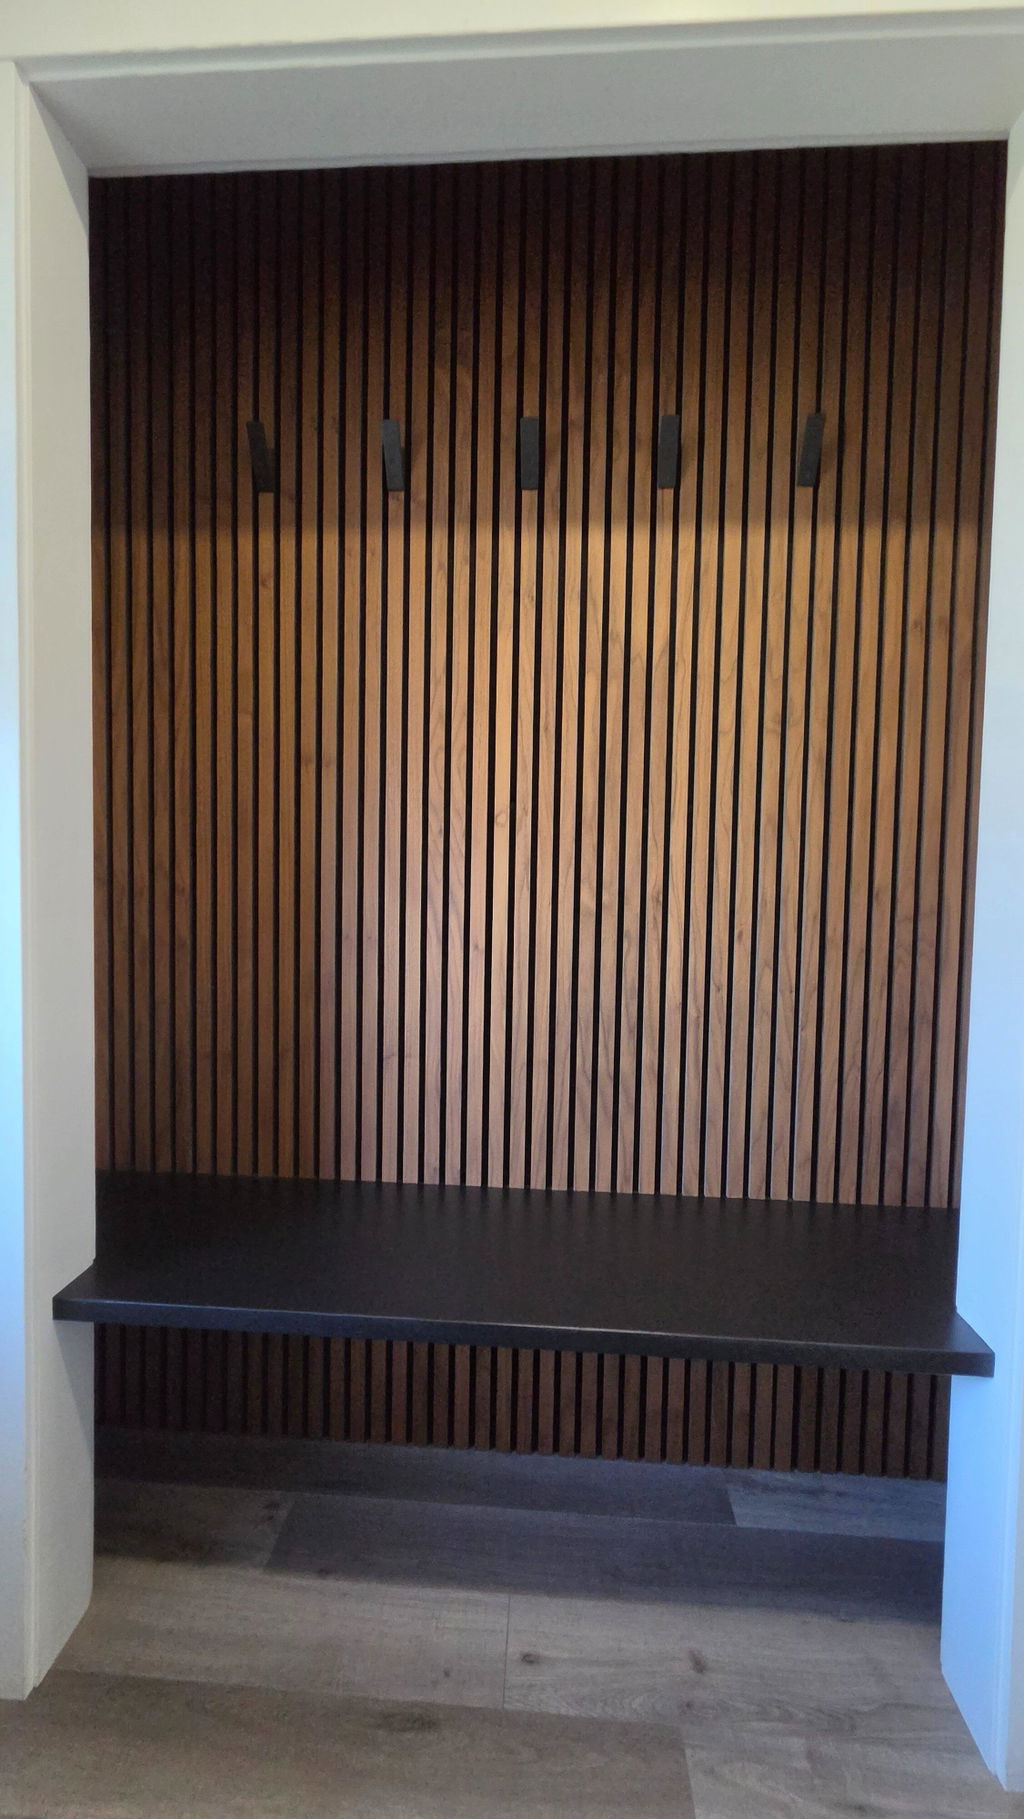
Step 7: add the finishing touches
Now that your panels are up, it's time to give them a bit of your own flair.
Feeling creative? Drape some fabric that matches your room or add a splash of paint to make your panels stand out.
Then, take a step back and admire your handiwork.
It's a great feeling, isn't it? You've not only fixed up the sound in your room, but you've also added your own personal touch to the space.
5 maintenance tips for long-lasting sound absorption
You’ve put a lot of effort, time, and money into your acoustic panels. Of course, you don't want to waste all your hard work.
Keep them looking and sounding their best with some simple maintenance tips.
Tip #1: dust them off
Just like a dirty air filter makes it harder to breathe, dust buildup can clog the tiny holes in your acoustic panels. These holes are what help them soak up sound waves and keep your space quiet.
When dust and cobwebs get trapped in those little holes, they can't work as effectively.
Grab your vacuum cleaner with a soft brush attachment. Gently go over the surface of your panels, sucking up any dust, debris, or cobwebs.
By keeping them clean, you'll make sure your acoustic panels continue to do their job – absorbing sound and keeping your space nice and quiet.
Tip # 2: check them regularly
Every few months, take a quick look at your acoustic panels to make sure they're still in tip-top shape.
You're looking for any tears, rips, or holes. Think of them like tiny cuts in a raincoat – they might not seem like a big deal, but they can let unwanted noise sneak through.
Small tears or punctures are usually easy to fix with a little patching or repair tape (made specifically for acoustic panels).
If you catch any damage early, you can maintain the integrity of your acoustic panels.
Tip #3: avoid hanging heavy objects
Just like other fixtures, acoustic panels have weight limits.
Hanging heavy objects on them can damage the panels. Worse, it can create tiny gaps between the panel and the wall.
Those gaps will then act like little sound leaks. This means that the sound waves that your panels are supposed to absorb can just slip right through.
The bottom line — keep it light.
Treat your acoustic panels more like fancy wallpaper than a shelf. Decorate your walls with lighter items to avoid any damage.
Tip #4: maintain proper ventilation
We all know moisture isn't good for electronics or furniture, and guess what? Too much dampness in the air can damage the panels, too.
Given this, you need to make sure the room with your acoustic panels has good ventilation.
A little fresh air goes a long way. Open a window or run a dehumidifier if needed, especially in areas prone to dampness like basements.
By keeping things moisture-free, your acoustic panels will stay happy and healthy, soaking up sound.
Tip #5 – re-apply sealant when needed
Those acoustic panels are like little soundproof doors — the seal around the edges can wear down over time.
This can create tiny gaps that let sound sneak back in, defeating the whole purpose of installing them in the first please.
Don’t worry because it's easy to fix. Most acoustic panels come with a special sealant you can re-apply to the edges every few years.
By keeping those edges sealed tight, your acoustic panels will continue to do their job effectively.
Enjoy the sound of a well-done DIY project
Setting up your acoustic panels can be pretty simple, right? All it takes are simple tools, a good plan, a sprinkle of patience, and some free time.
You can have a stylish and sleek room ready for anything – productive team meetings that flow seamlessly, movie marathons without annoying echoes, or music sessions that sound absolutely incredible.
The best part? You can do it yourself. So go ahead and have fun with your own project – and enjoy the sound (or the sweet silence) of your hard work.


I just finished reading your tips on installing sound absorbing panels. I thought they were just secured to the wall with screws but then I see something about sealing the edge of the panels periodically with caulking. I hate to say it but now I’m completely lost as to what I was thinking of buying. I hope to hear from you with some idea of what I am supposed to be buying.
Leave a comment