


How to Paint Wood Wall Panels: A 6-Step Beginner's Guide
Excited to give your space a fresh, new look? Painting your wood wall panels is a great weekend project that can transform your home with just a few steps—six, to be exact.
This task may seem simple, but seeing your room come alive with a fresh coat of paint can be incredibly satisfying.
Plus, it’s a practical way to upgrade your living space without breaking the bank.
In this guide, we’ll show you the six essential steps to paint your wood wall panels. From the initial setup to the finishing touches, you’ll discover everything you need to know to make sure your DIY project goes without a hitch.
Ready to start? Let’s bring your vision to life.
What you need to know before starting
Before you dip your brush into that can of paint, let's review some basics.
Painting wood wall panels begins with understanding what you're working with and setting up the right environment for your project.
Your crash course on wood panel materials
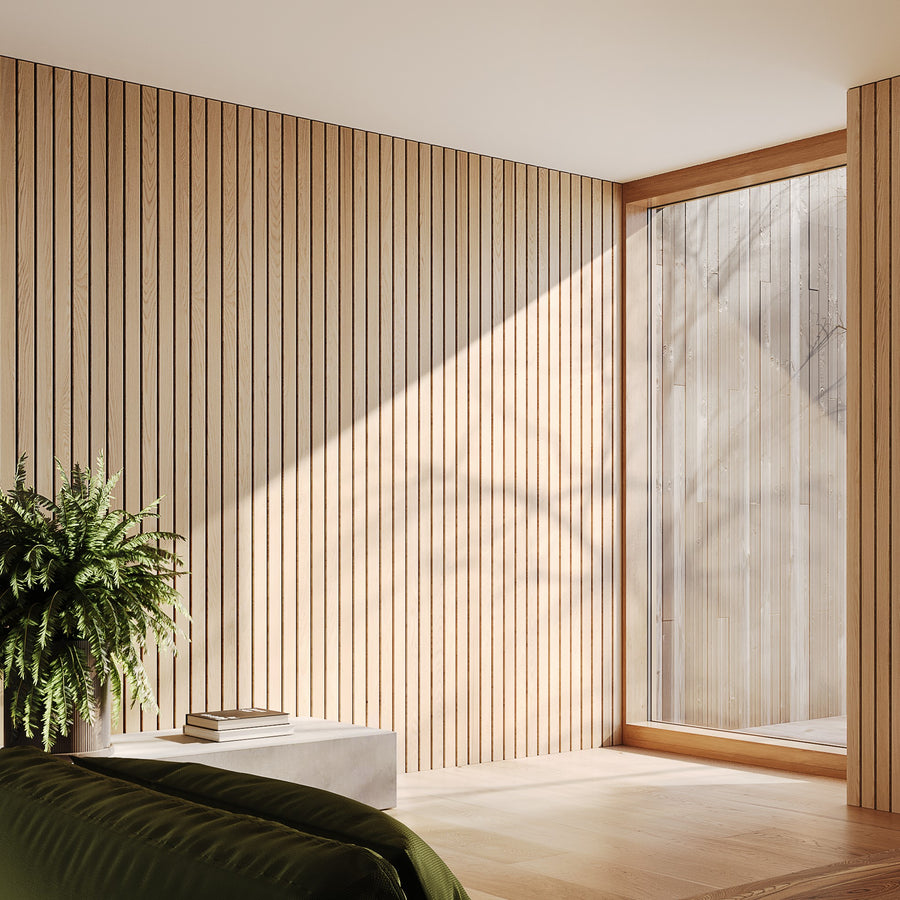
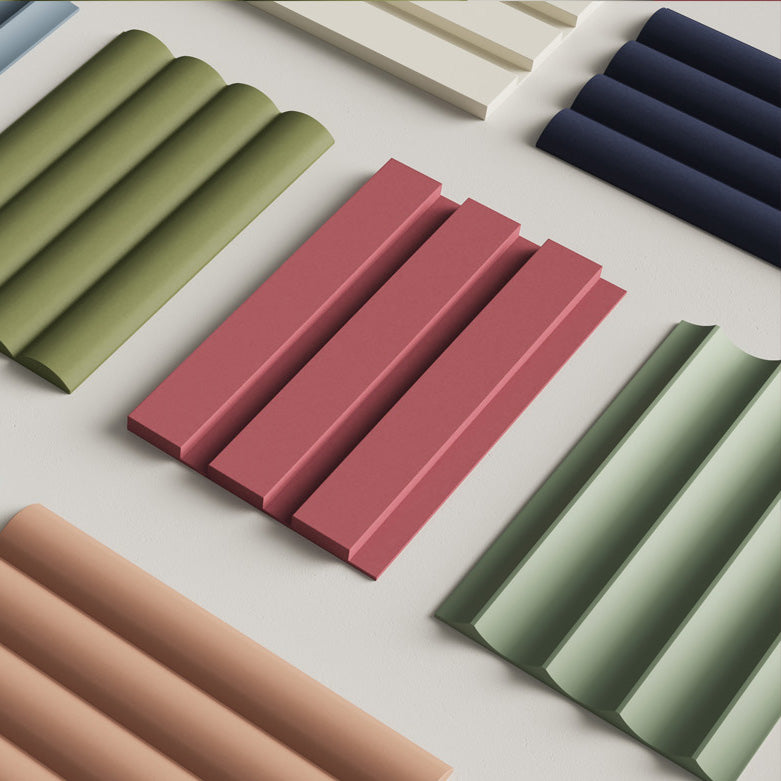
Wood panels come in various types, each with its unique traits and needs.
The most common types include solid wood, veneer, and engineered wood panels like MDF (Medium Density Fiberboard) and plywood.
- Solid Wood – known for its durability and natural grain, solid wood can be a bit tricky to paint because it’s porous, meaning it might absorb more paint.
- Veneer –these panels have a thin layer of real wood on the surface, providing the look of solid wood without the cost. However, veneers require gentle handling to keep the wood layer from peeling off during painting.
- MDF – MDF is smoother than solid wood, making it easier to paint a uniform coat. Remember though, it's important to seal the edges to prevent moisture absorption.
- Plywood – made by gluing layers of wood veneer together, plywood panels are sturdy but can show through the layers if not properly prepared.
Prepping for paint perfection
A well-prepared workspace is key to a hassle-free painting job. After all, paint can be challenging to remove, and the last thing you’d want is to stain your floors.
Here’s how to set it up:
- Clear the area – remove any furniture or fittings that might get in the way or get damaged by paint splatters.
- Lay drop cloths – protect your floors and any remaining furniture with drop cloths or old newspapers.
- Ensure good ventilation – open windows or use fans to keep the air moving. Paint fumes can get strong, so good ventilation is important.
- See what you’re doing – good lighting is essential to make sure you don’t miss any spots or end up with uneven coats. Natural light is best, but if that’s not bright enough, set up some additional lamps.
Brush up on your supplies

Now that your workspace is set up, it’s time to gather your tools and materials.
Here’s a checklist to make sure you have everything you need:
- Paint – choose a type that works for your panel and desired finish.
- Primer – this helps the paint stick better and last longer.
- Brushes and rollers – get both for flexibility. Brushes are great for edges and corners, while rollers cover large surfaces quickly.
- Sandpaper – you’ll need this to smooth out the surface before you begin.
- Painter’s tape – this helps you protect edges and create clean lines.
- Safety gear – gloves, masks, and goggles, even if you’re painting in a well-ventilated area.
When choosing your supplies, try to get the best quality you can afford. Good brushes and primers can make a huge difference in the finish and durability of your paint job.
However, don’t feel the need to splurge on professional-level supplies if you’re just starting out. Mid-range products often offer a good balance between quality and cost, giving you great results without breaking the bank.
Step-by-step guide to painting wood wall panels
Roll up your sleeves—it’s time to paint!
Here’s a detailed step-by-step guide to help you get those wood wall panels looking perfect.
Step 1 – Clean the panels
Start with a clean slate. Using a mild detergent, remove any dust, dirt, or grease from the wood panels. This step makes sure that your paint and primer will stick properly.
After scrubbing, rinse the panels with clean water and allow them to dry completely before moving on to the next step.
Step 2 – Sand the surface
Sanding makes the surface smooth and ready for primer.
Use medium-grit sandpaper and gently sand the wood toward the grain. This avoids creating scratches that can show through your final paint job.
Remember, always wear a mask to avoid inhaling dust. Make sure that you also work in a well-ventilated area to keep the air clear.
Step 3 – Apply the Primer
Primer is important for a long-lasting paint job. It helps the paint stick better and provides a uniform base.
For wood panels, it’s best to use an oil-based primer. Apply the primer with a brush or roller in even coats, covering all nooks and crannies.
Let the primer dry as recommended by the manufacturer before moving on to painting.
Step 4 – Choose your paint
The right type of paint varies depending on your wood panel and the room’s purpose.
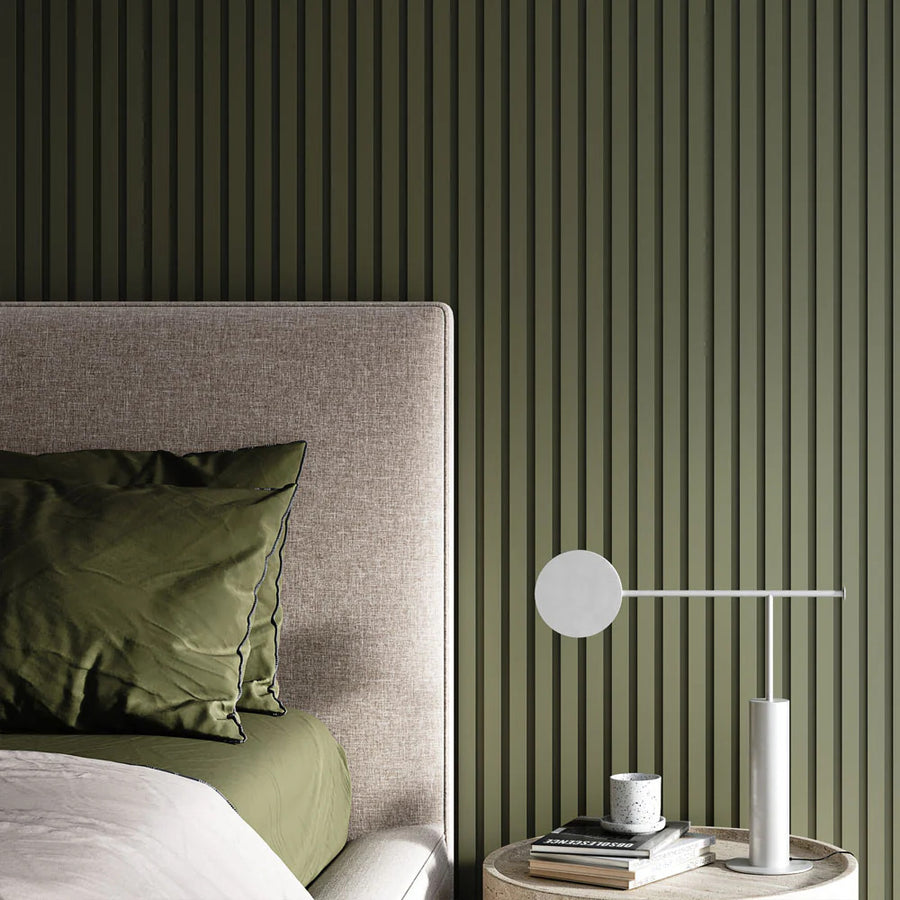
For high-moisture areas like kitchens or bathrooms, consider a latex-based paint that resists humidity. For other areas, acrylic latex paint provides a durable finish.
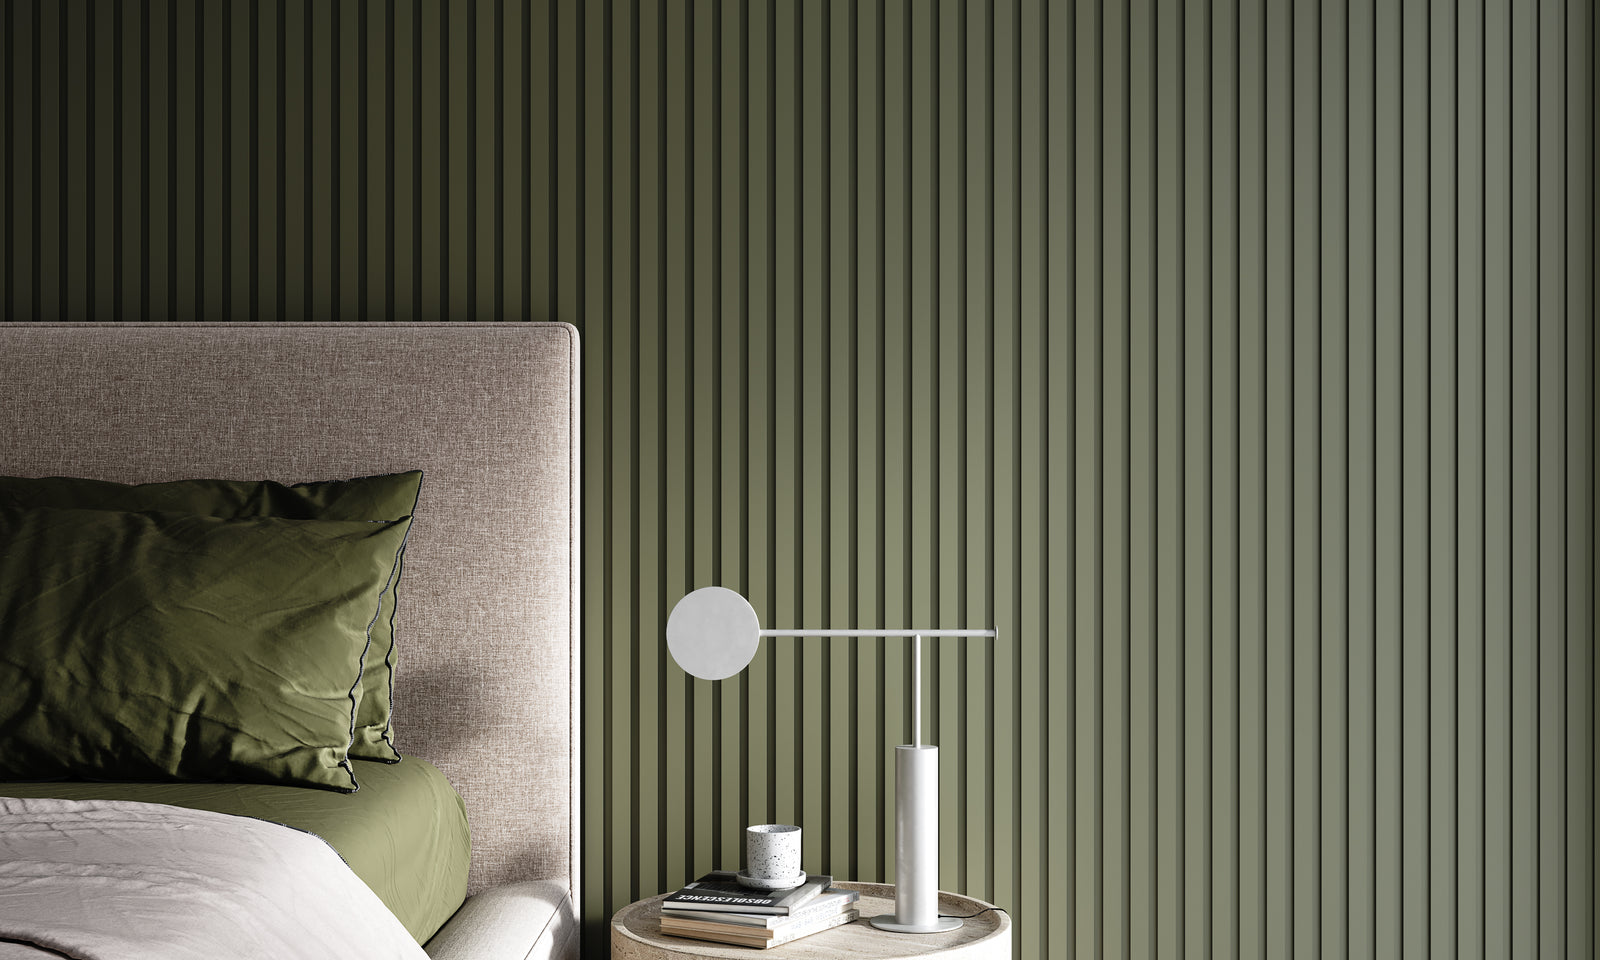
Pro tip: Choose light colors to make a room feel bigger and brighter. You can go for dark colors to add a touch of sophistication.
Step 5 – Use the right painting techniques
Now, let’s paint! Use a brush for edges and corners and a roller for the larger, flat sections. Brushes give you more control, while rollers help achieve an even coat quickly.
Apply paint in thin, even layers, and always paint in the direction of the wood grain for the best finish.
Step 6 – Add a second coat
A second coat ensures even coverage and optimal color richness. Wait for the first coat to dry completely—this could take a few hours to overnight, depending on the paint type.
Before applying the second coat, lightly sand the surface with fine-grit sandpaper to help the layers bond. Then, wipe away the dust and apply the second coat just like the first.
Simplify Your DIY: The Perks of Using Pre-Primed Wood Panels

![]()
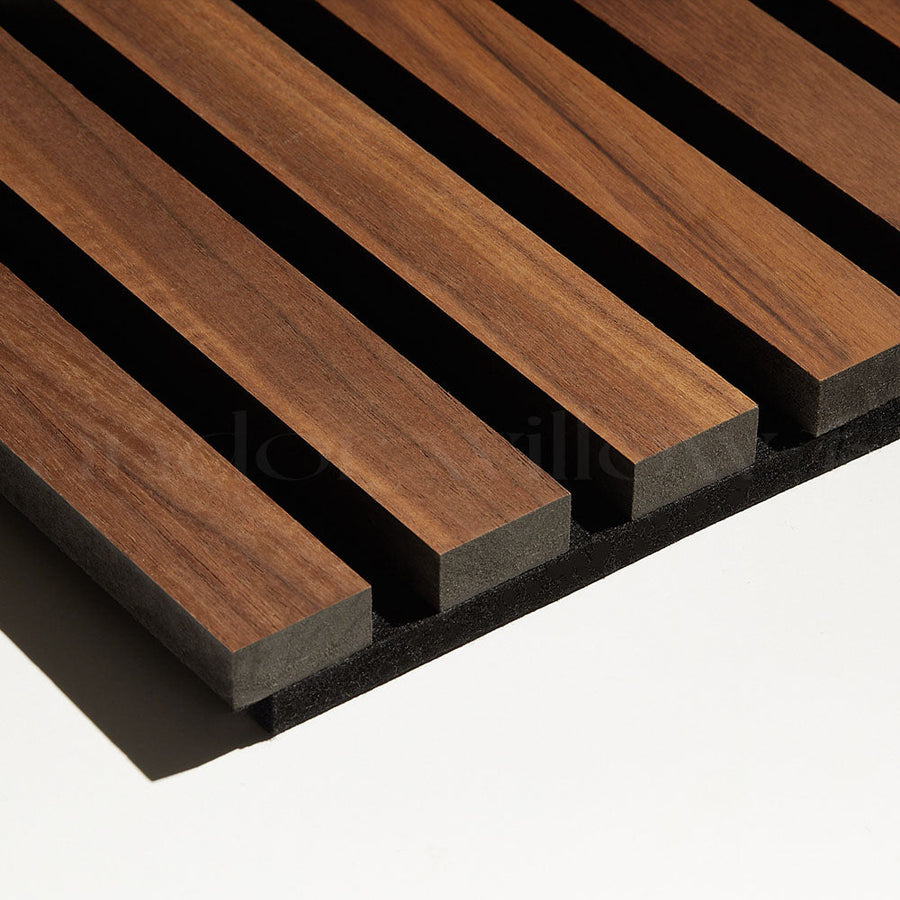
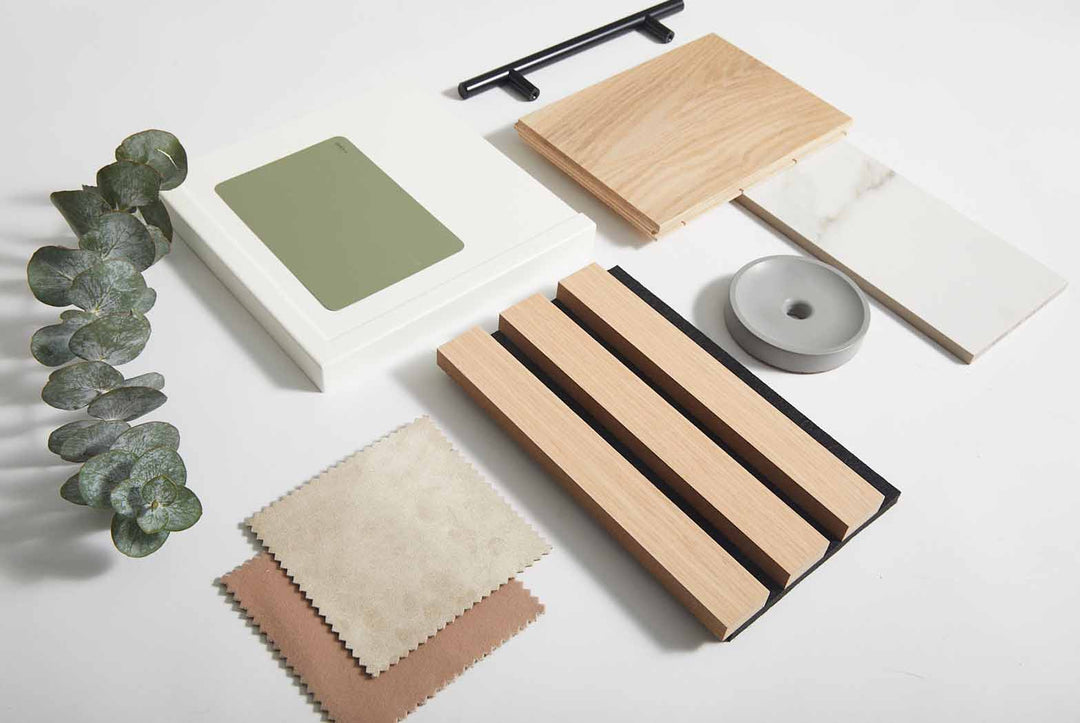
When tackling a painting project, pre-primed wood panels offers a big head start.
These panels have already been coated with a primer that prepares the surface for painting, ensuring better paint adhesion and longevity.
Want to take a shortcut? This section delves into the benefits of using pre-primed panels, guides you on choosing the best ones, and walks through the process of painting them.
Benefits of Pre-Primed Panels
Pre-primed wood panels bring several advantages to your DIY projects:
-
Time-saving
Since the priming step is already done, you can dive straight into painting, reducing the overall project time. -
Uniform coating
Factory-applied primer offers a consistent, evenly distributed coat, which can be difficult to achieve with manual application. This uniformity helps in achieving a smoother finish with your topcoats. -
Reduced labor
The effort of applying primer, which includes additional sanding and cleaning steps, is completely skipped, making your task less labor-intensive. -
Enhanced durability
Pre-primed panels are typically treated to resist moisture and adhere better, which can extend the life of your paint job by preventing issues like peeling and blistering.
Choosing the Best Pre-Primed Panels
To select the best pre-primed wood panels for your project, consider the following:
-
Surface smoothness
Feel the surface of the panels to ensure the primer has been applied smoothly without any bumps or imperfections. -
Type of primer
Check whether the primer used is suitable for your painting needs. Oil-based primers are ideal for durability and stain blocking, while latex primers are good for general use and easier cleanup. -
Panel material
Match the panel material with your project requirements. MDF is great for smooth finishes, while plywood can offer more texture. -
Environmental considerations
Look for panels that are primed with low-VOC (volatile organic compounds) primers if indoor air quality is a concern.
Painting Pre-Primed Wood Panels
Painting pre-primed panels is straightforward but requires attention to detail to maximize the benefits:
-
Surface inspection and cleaning
Even though your panels are pre-primed, inspect them for any dust or oil traces that could have settled during storage. Wipe them clean with a damp cloth. -
Choosing paint
Opt for a paint that complements the primer base. If the primer is oil-based, you can use either oil or latex paint over it, but if it's latex-based, stick with latex paint. -
Applying paint
Use a high-quality brush or roller to apply the paint. Begin with the edges and corners, then move to the larger surfaces. Apply in thin, even coats to prevent drips. - Drying and recoating
Allow adequate drying time as recommended by the paint manufacturer before applying a second coat. This will ensure a durable finish. -
Final inspection
Once dry, inspect your work for any touch-ups. A final light sanding can be done for an ultra-smooth finish.

![]()
Ready to start your next project?
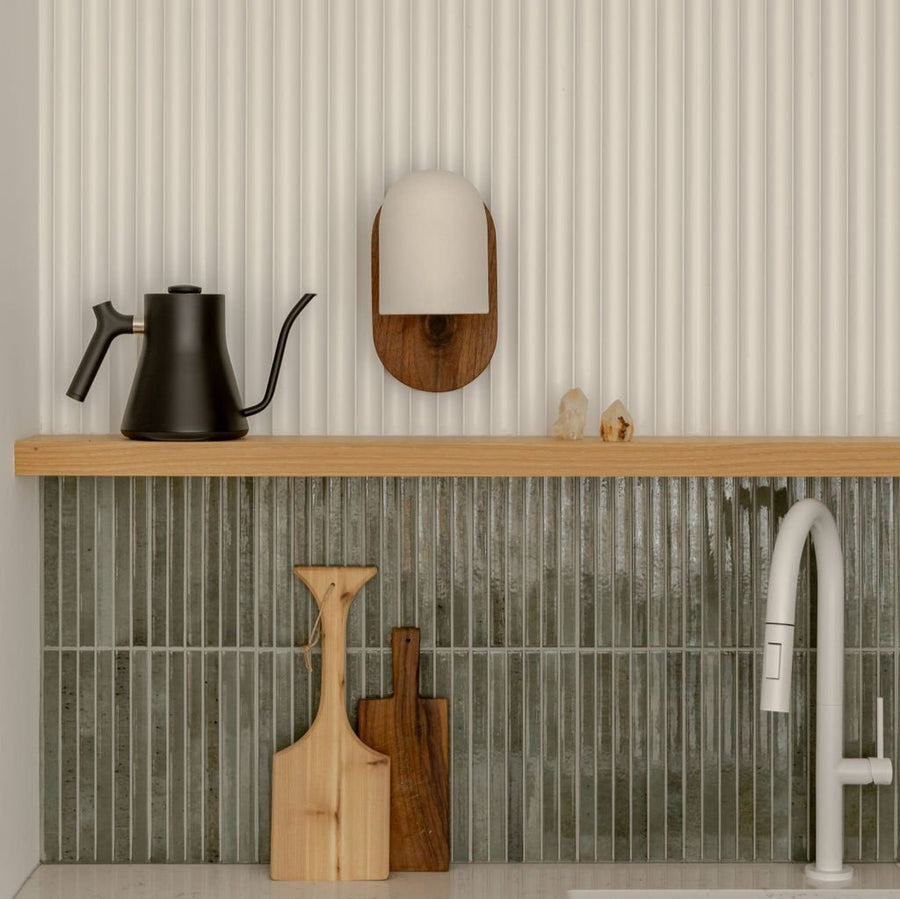
Now that you’ve mastered the art of painting wood wall panels, why stop there? With your newfound skills, a world of DIY home improvement projects is waiting for you.
Consider adding floating shelves to accent your freshly painted walls. Or, perhaps update old furniture to match your new look.
Each project you tackle builds confidence and creativity. So go ahead and turn your home into a canvas for your inspiration.
Let your imagination lead the way and keep transforming your space, one project at a time.


Leave a comment