


5 Fun Ways to Style Decorative Wood Panels
Itching to spruce up your home but don’t want to break a sweat?
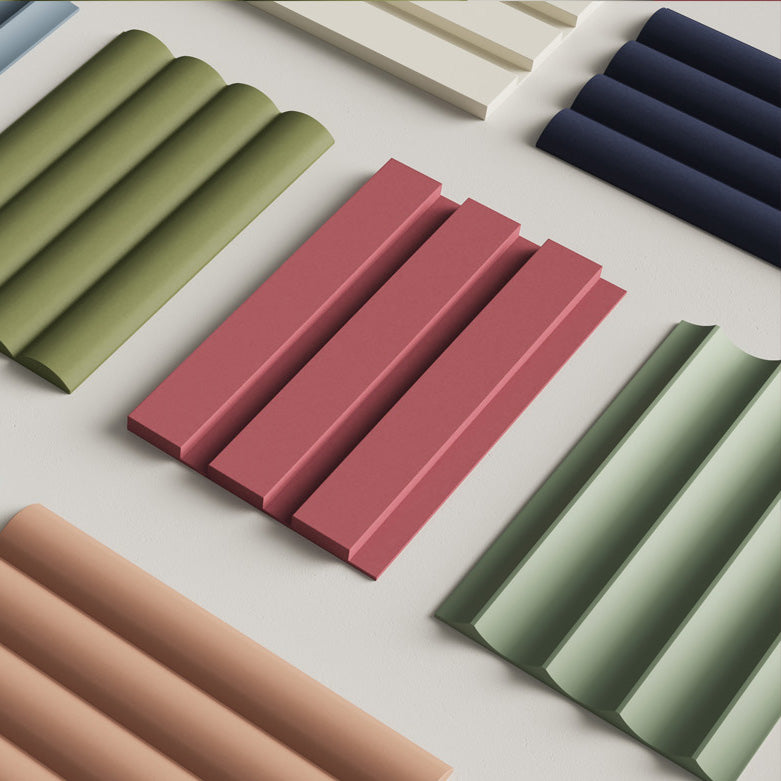
We have three words for you - decorative wood panels.
Unlike major structural renovations, these panels can easily refresh your space without the hassle of bigger projects. Decorative wood panels are also a smart choice if you are craving to add more personality to your home, without knocking down walls or ripping out fixtures.
Don’t have a clue on how to start? Here are a few projects to get you started revamping your home, one panel at a time.
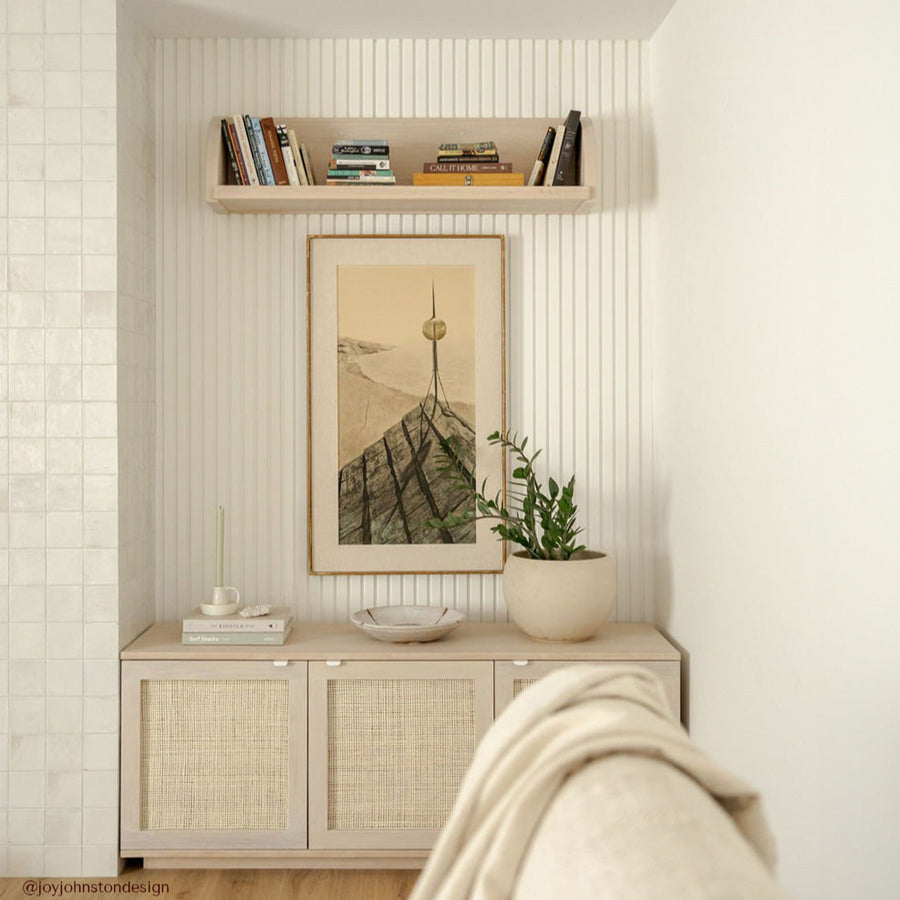
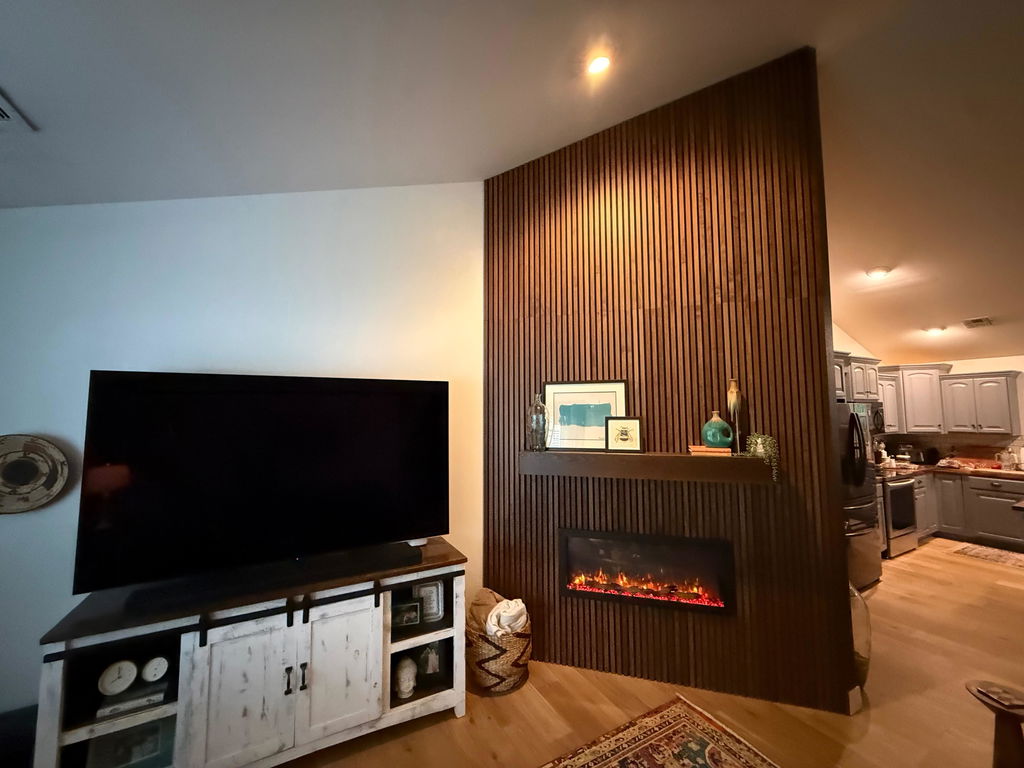
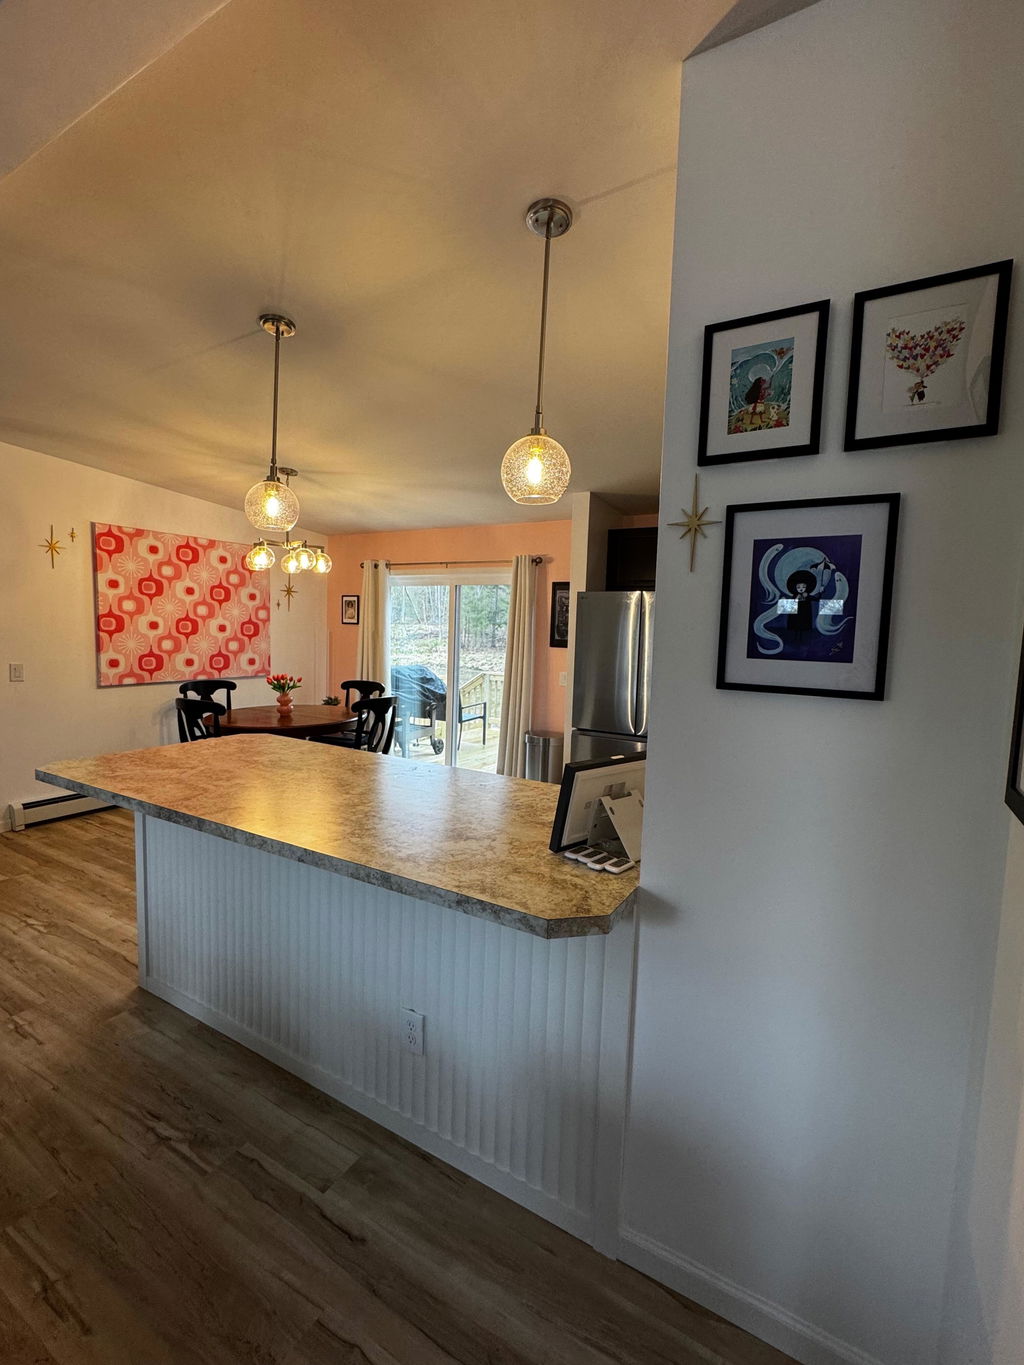
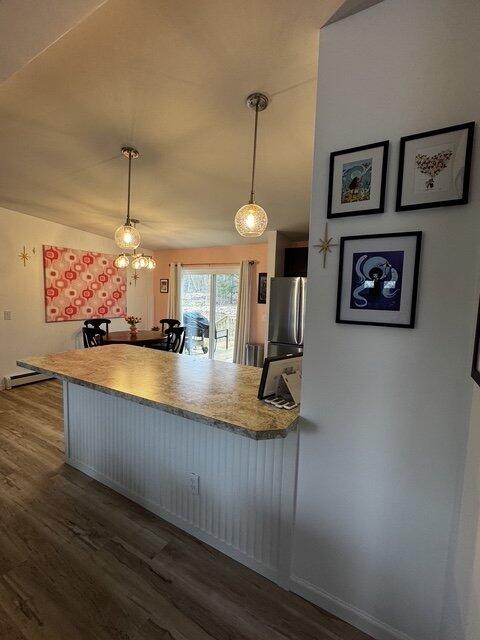
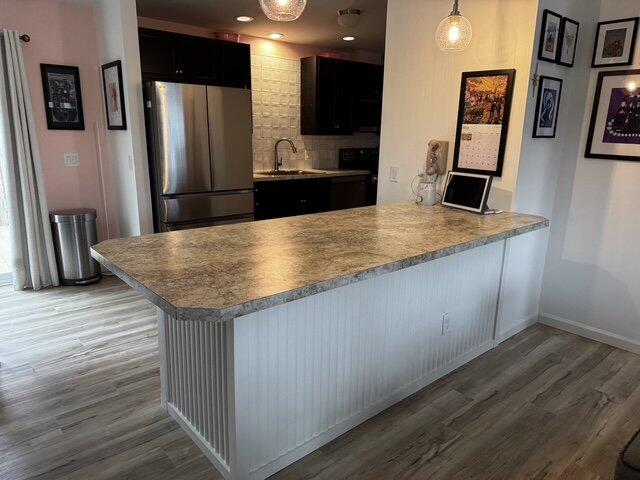
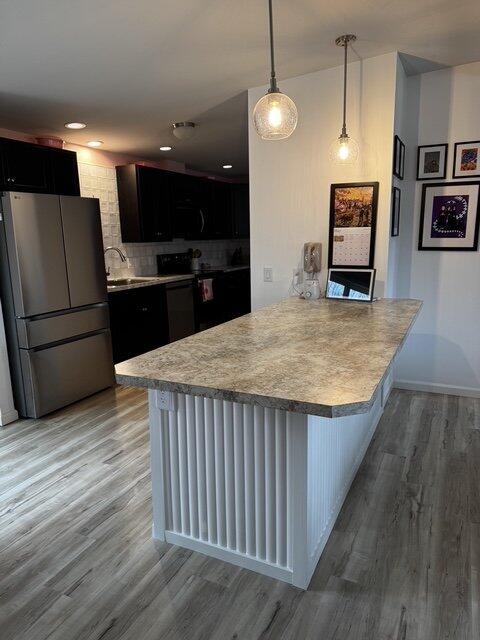
Project #1: Add a gallery wall showcase
Installing decorative wood panel gallery walls is an amazing way to showcase your art pieces. They don’t just add a focal point to a room. They also add a personal touch to your space.
Plus, gallery walls are incredibly versatile. You can easily swap out or rearrange pieces whenever inspiration strikes.
Adding decorative wood panels also gives your gallery wall extra texture and depth. Whether you choose sleek and modern panels or rustic reclaimed wood, their natural warmth and character will complement your artwork beautifully.

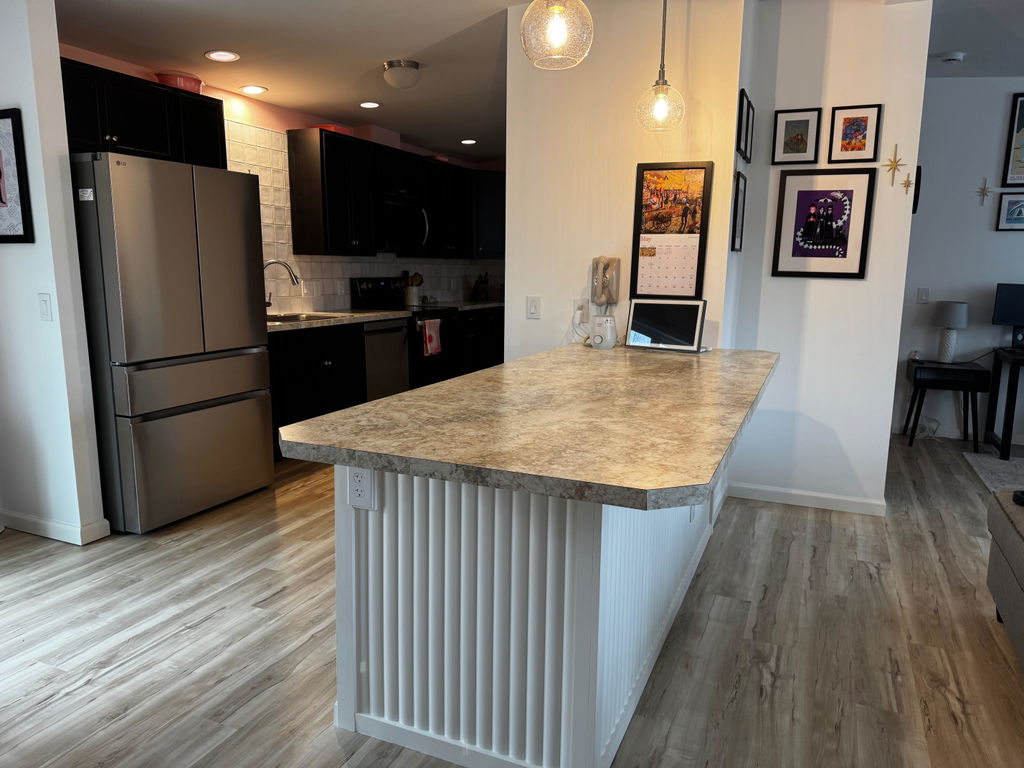
To start creating your gallery wall, measure and mark the space where your display will be installed. This helps you know exactly how many panels you’ll need.
Then, get creative with your layout and experiment with different panel sizes and arrangements. Mix and match larger panels with smaller ones. You can also try them vertically and horizontally for a little extra oomph.
Want to make this decorative wall more versatile? You can use removable adhesive strips on your panels for hassle-free installation. These handy strips make it easier to adjust the placement of your panels without damaging your walls – and simpler to achieve the perfect arrangement.
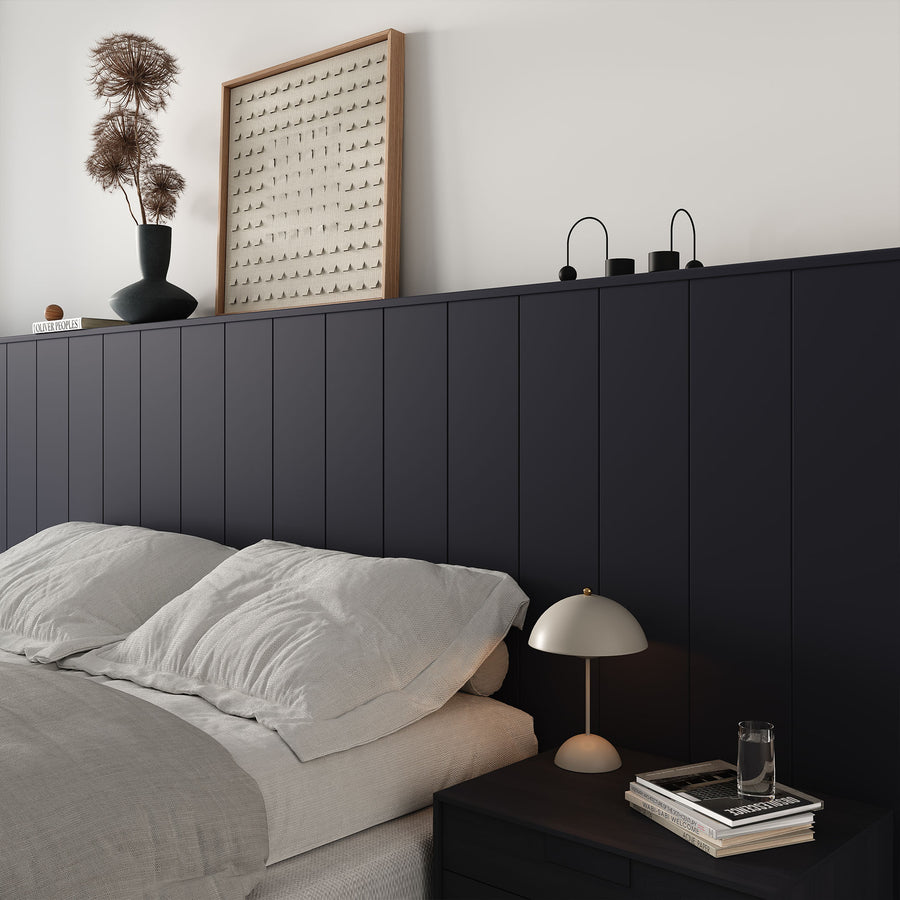
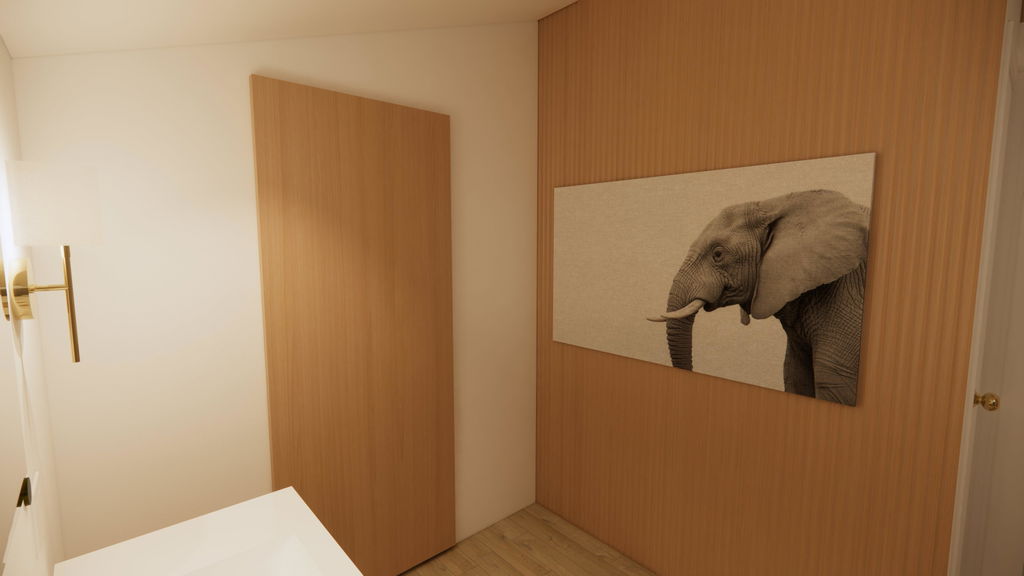
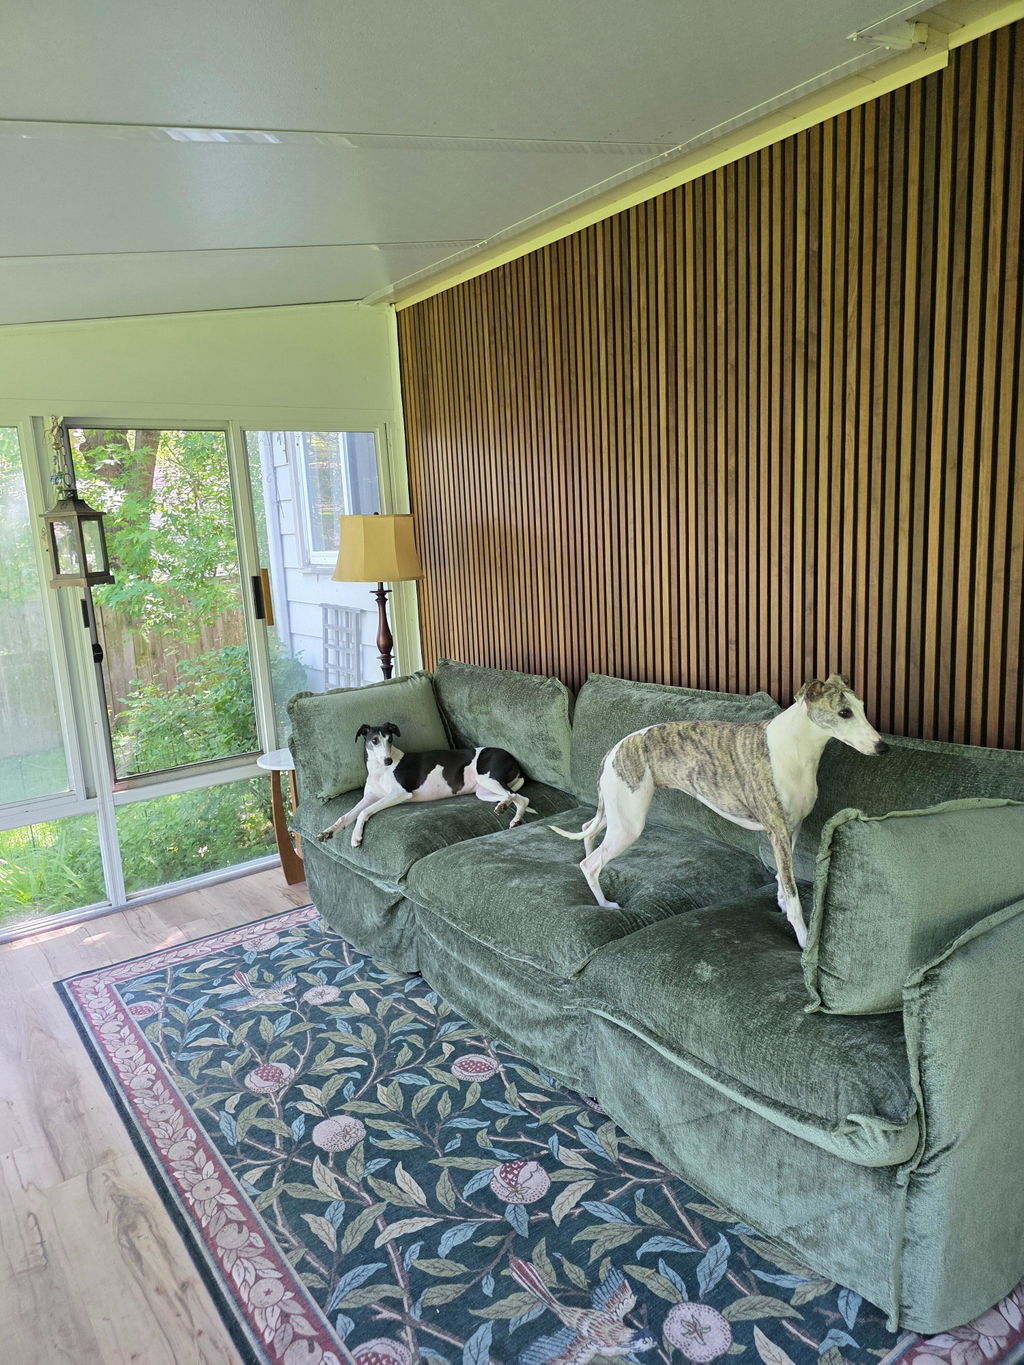
Project #2: Spice up the bedroom with a statement headboard

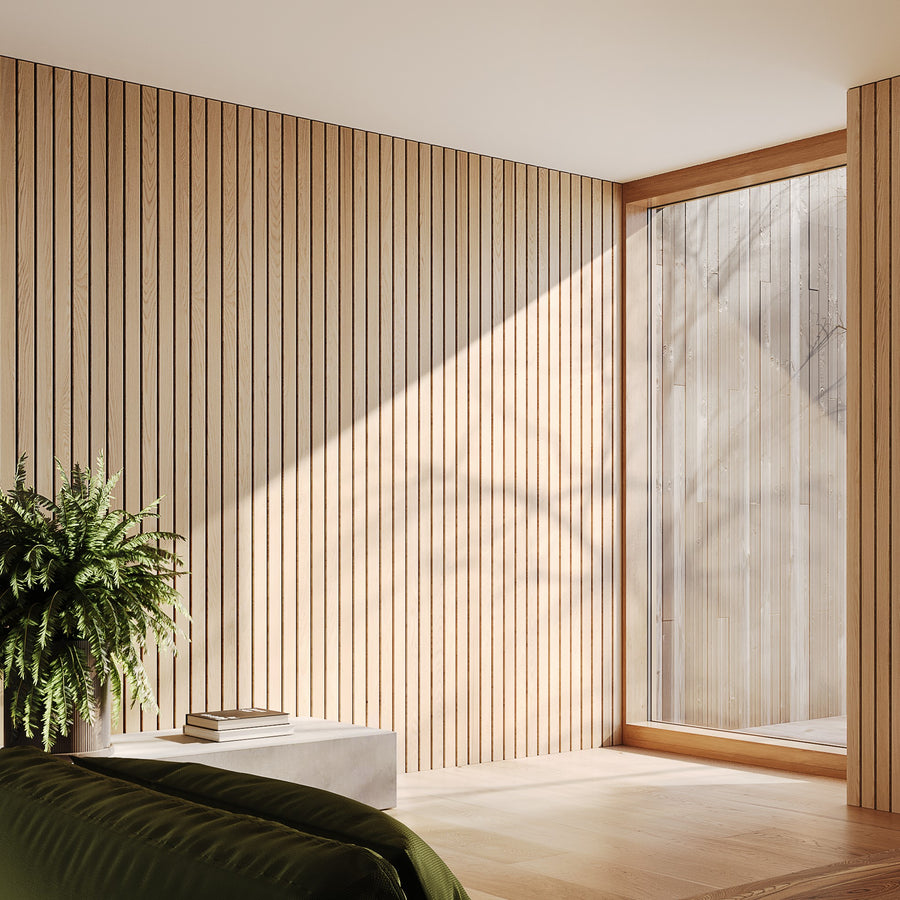
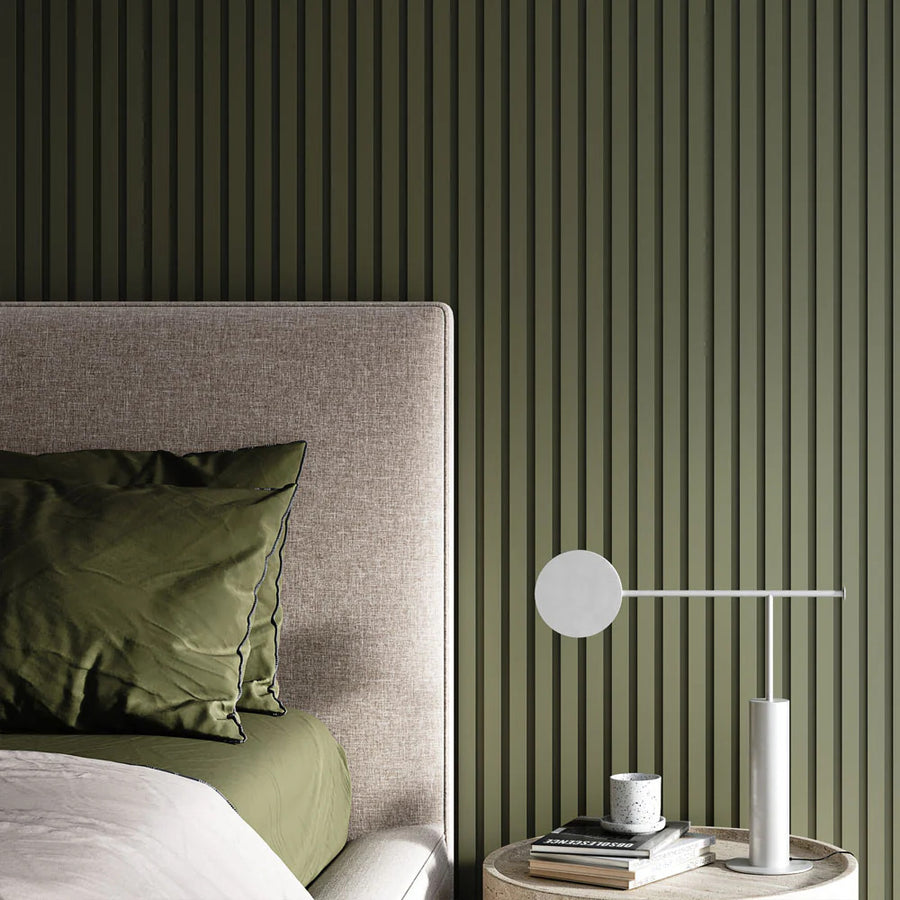
Do you want to turn your drab bedroom into a cosy sanctuary? Styling decorative wood wall panels can infuse a touch of warmth and character to your space.
The first step is to decide on the size and shape that would best match your bed frame. Take note of the dimensions of your mattress, the height of your ceiling, and the overall aesthetic of your bedroom. Do you want a sleek, modern headboard that reaches the ceiling? Or perhaps a cosy, rustic one that sits lower?
Once you've settled on the size and shape, it's time to bring your vision to life. Secure the panels to the wall behind your bed for a clean look. Or, for more versatility, attach them to a freestanding frame. The possibilities are endless, so play around with different panel orientations and arrangements to create an eye-catching design.

Why settle for a generic headboard when you can create a one-of-a-kind masterpiece? With some decorative wood panels, a few hours in your day, and a whole lot of creativity, you can transform your bedroom into a stylish retreat that you'll never want to leave.
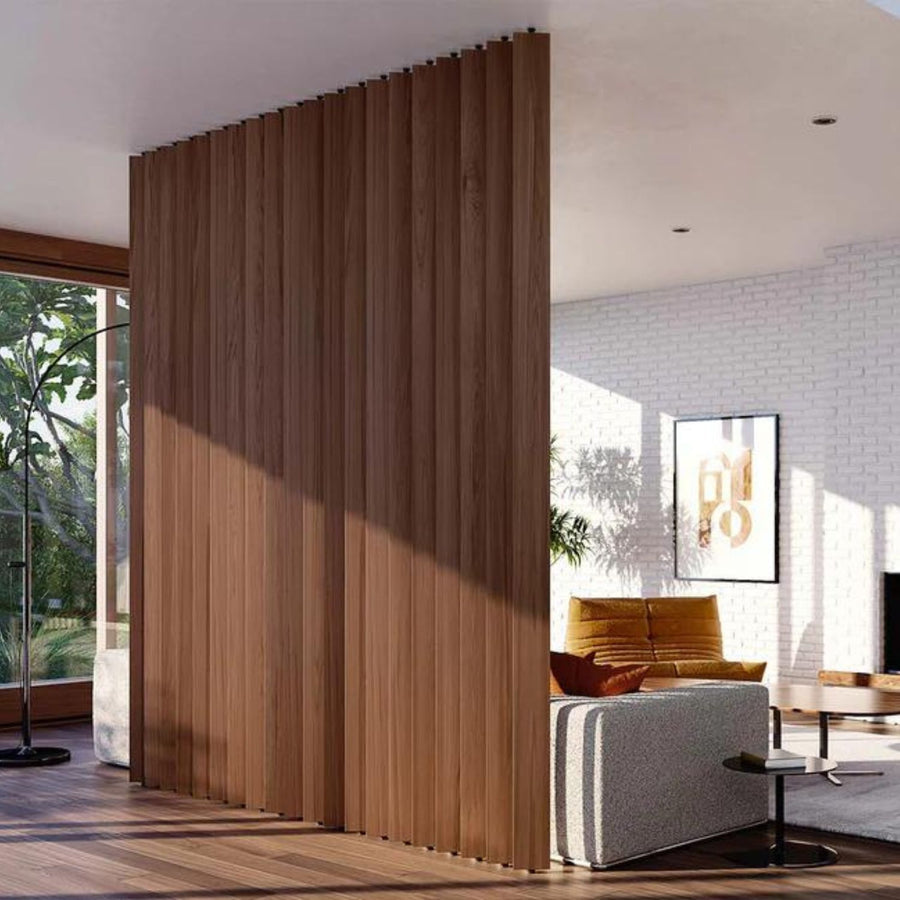
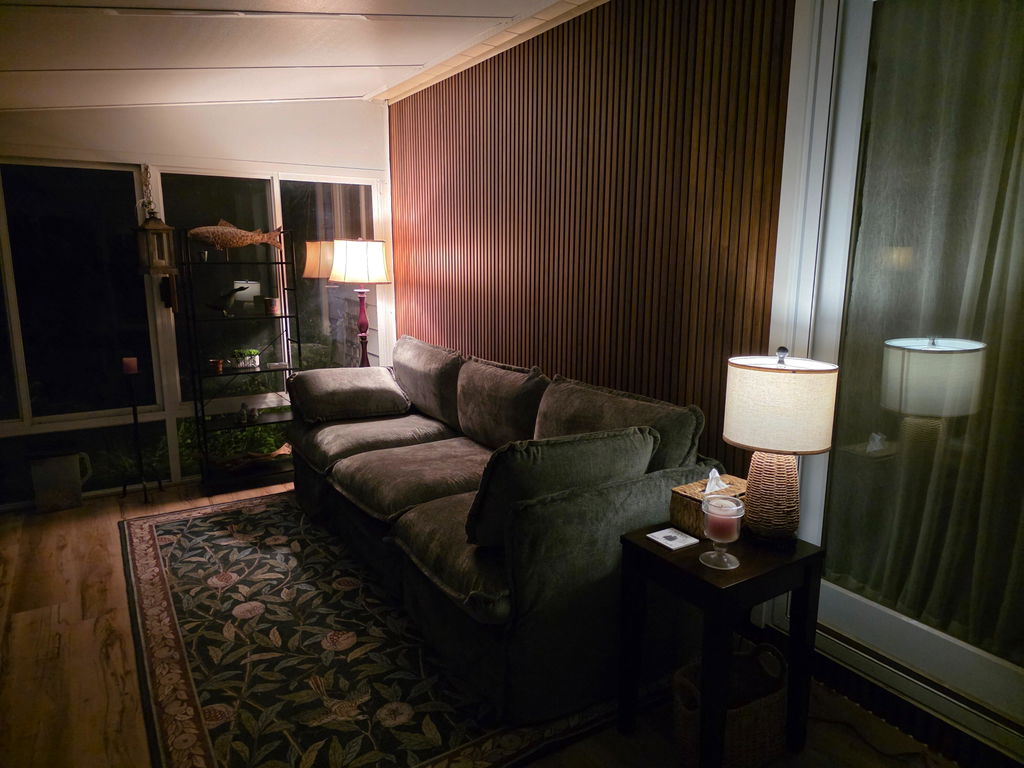
Project #3: Create privacy with wood slat room dividers
Everyone loves a good open floor plan. It makes even the smallest room feel more spacious and airy.
But, sometimes, you may find yourself craving a bit of privacy.
That's where wood slat room dividers come in handy.
They are a great way to divide open spaces without the need to build a wall. Whether you're looking to create a cosy nook for your home office or a peaceful space for a nursery, these dividers can help you achieve the perfect balance.

Installing wood slat room dividers is also easy. You can choose between rotating wood slat room divider hardware or sliding tracks, depending on your preference and budget.
Rotating dividers might be more practical if you need more flexibility, because they can be folded away. Sliding tracks, on the other hand, are more elegant and aesthetically pleasing - perfect if you want the divider to be a conversation piece.

When choosing panel designs for your room dividers, always go back to your current decor scheme. You want the divider to blend into the space so it doesn’t feel like you’ve cut the flow.
Whether you're looking to create a private sanctuary or define separate zones within an open floor plan, these versatile dividers can help add more functionality and style.
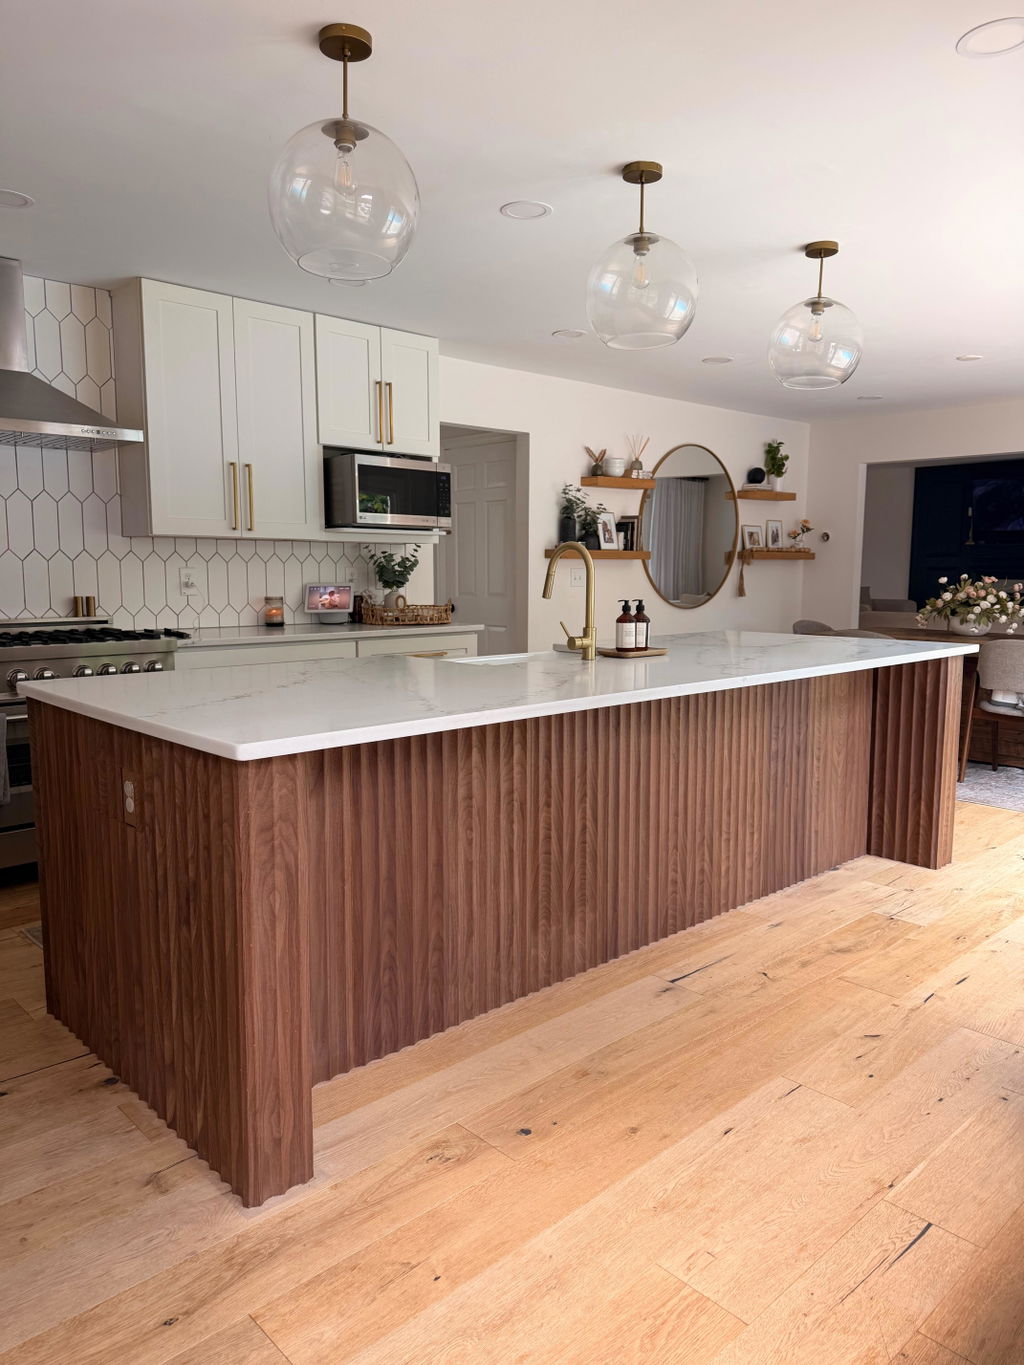
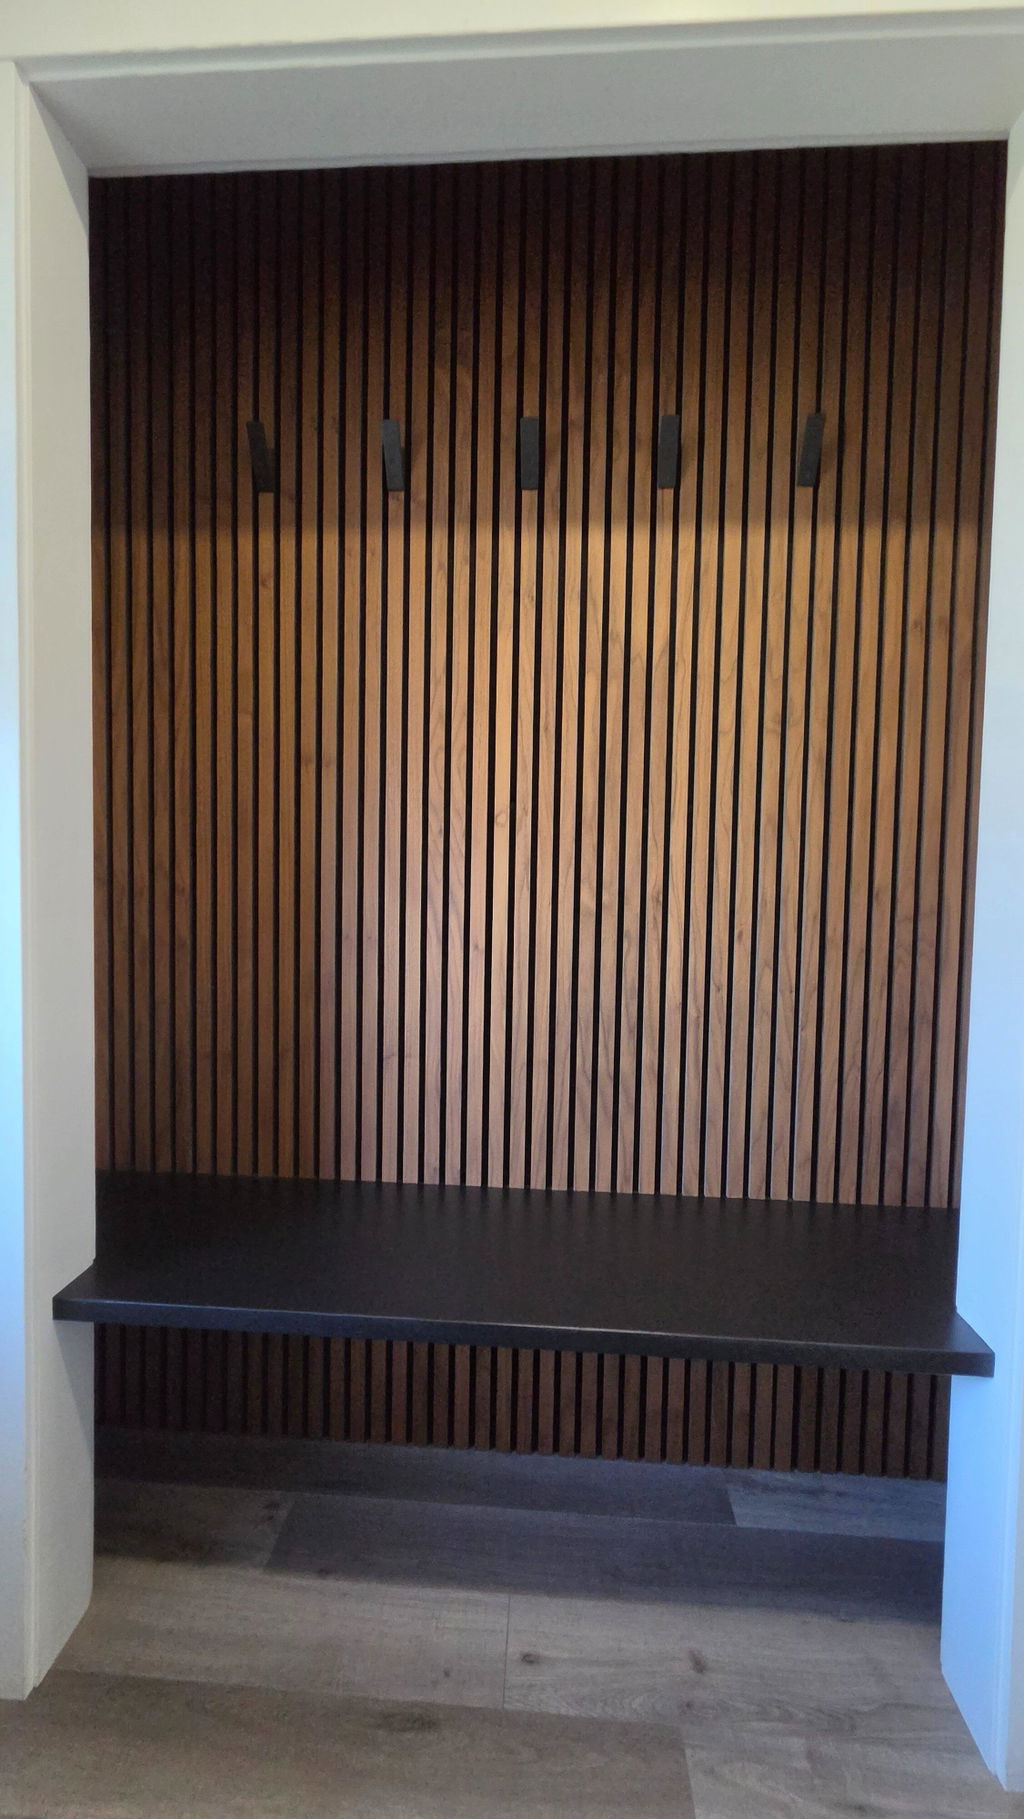
Project #4: Enjoy more storage with floating shelves

Perfect for rooms with more wall space than floor space, floating shelves are a great solution for when you want more storage even in tight areas.
The first step in this project: measure, measure, measure. Think about the items you want to store on the shelves and measure their length, depth, and width. Remember that these shelves are customizable - so don’t be afraid to get specific.
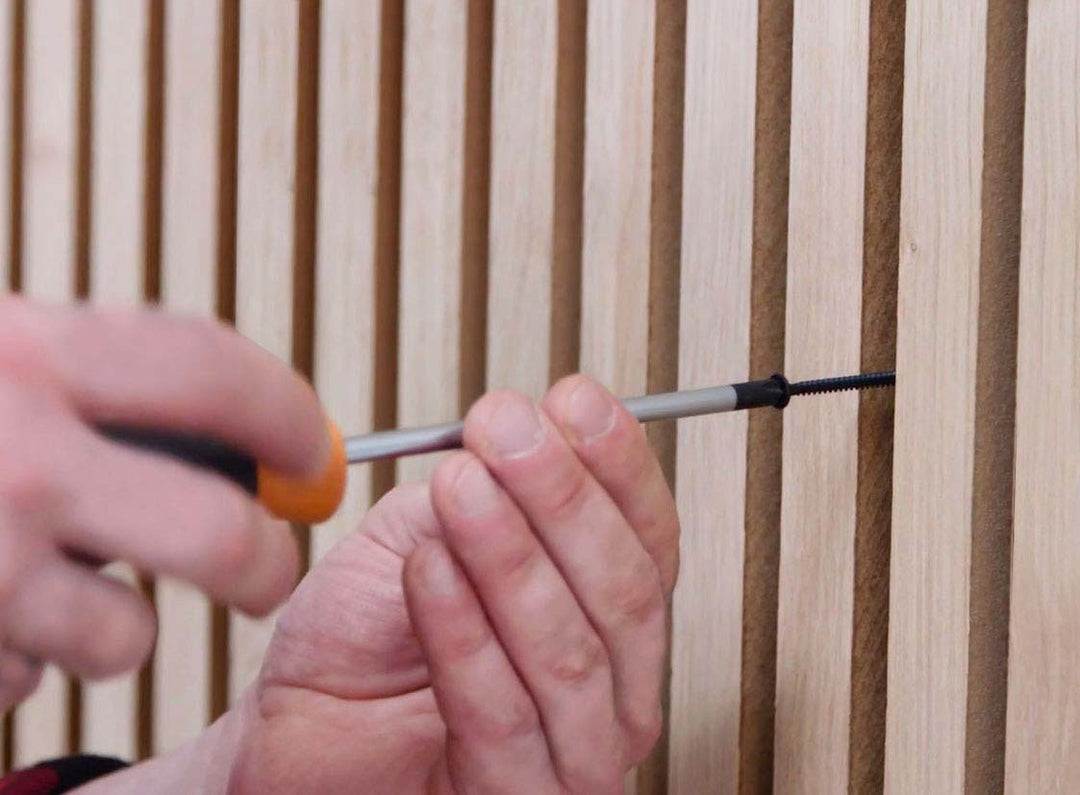
Once you've settled on the dimensions, it's time to install the shelves. Attach brackets to the wall studs or use heavy-duty anchors for added stability. Proper installation helps make sure your shelves can support the weight of your belongings without sagging or collapsing.
With your shelves securely in place, it's time for the fun part – decorating.
Mix and match different textures, colours, and shapes. And if there are items that you want hidden away, you can use decorative boxes or baskets. This way, every element will look nice and you’ll have your things always accessible.
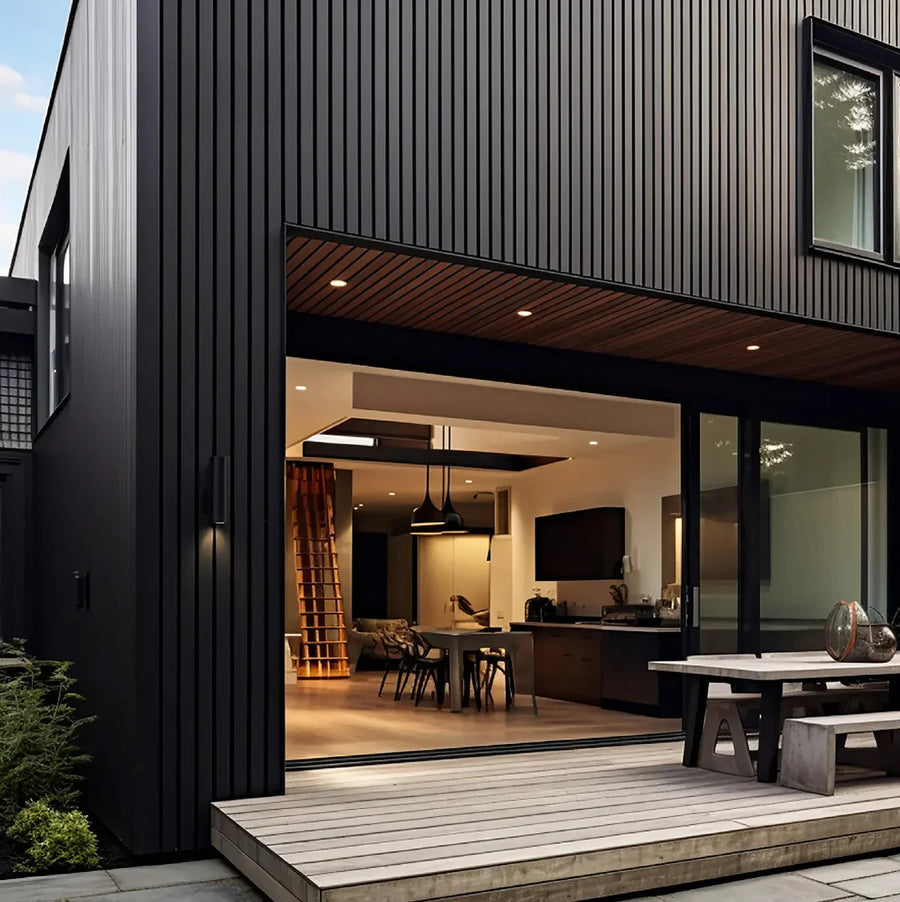
Project #5: Jazz up your ceilings
Ceilings often get overlooked when it comes to home design. But with a little creativity, they can be a stunning decorative point that adds depth and character to any room.
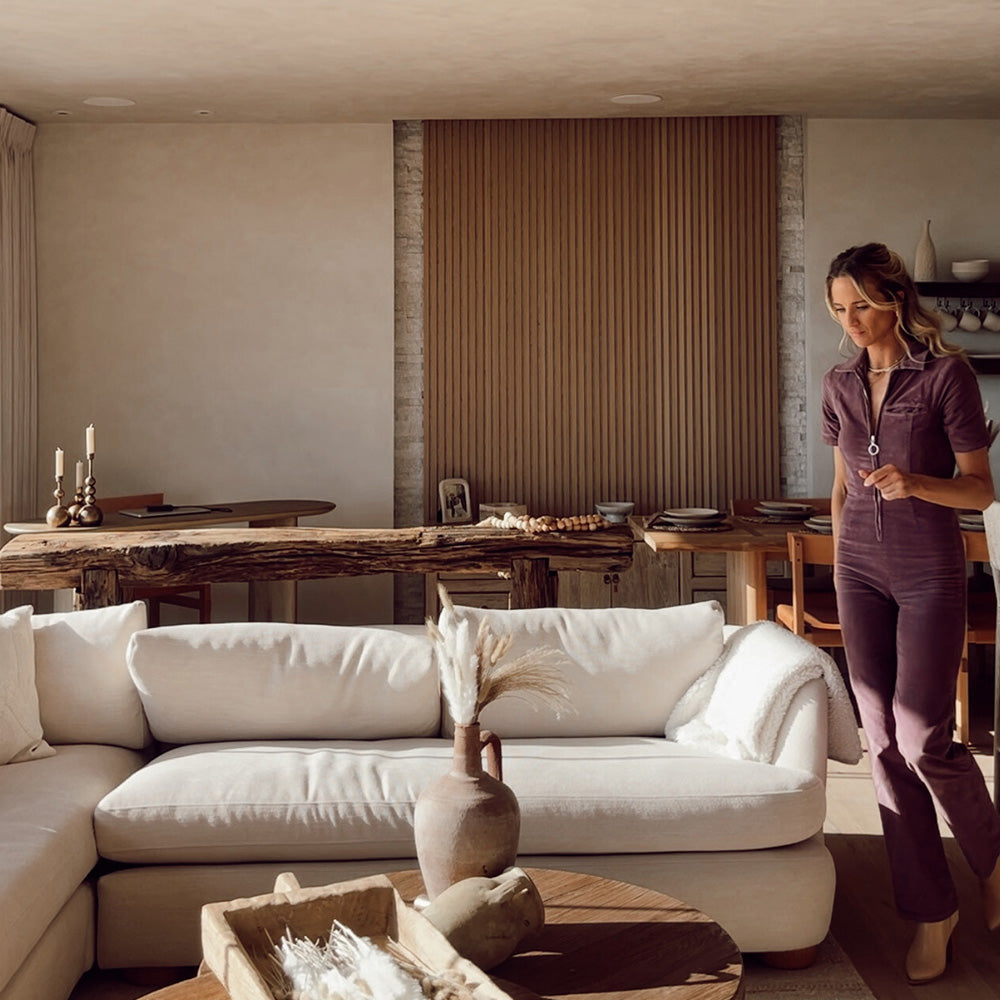
Wood panels can be fantastic ceiling treatments if you're aiming to warm up a space.
And they’re not just aesthetic. There are also acoustic benefits to jazzing up your ceiling with wood panels. They can improve sound quality and reduce noise levels, making them perfect for home theatres, offices, or bedrooms.

Like any project, this one begins with measuring your ceiling.
Don’t worry, you don't have to cover the entire room, especially if your budget is limited. Be strategic about where you place the panels. You can choose a grid pattern or staggered arrangement to spice things up.
For an extra touch of versatility, add recessed lighting for a soft and inviting feel. You can also use decorative moulding to make the space look more finished and polished.
Refresh any room with the perfect decorative wood panel project
Picking a project for your home might feel a bit overwhelming.
But don't worry— there is always a place to start.
Begin by looking around your space and thinking about what you need. How big is the room? What's your style? Each home is different, so it is best to figure out what you want before anything else.
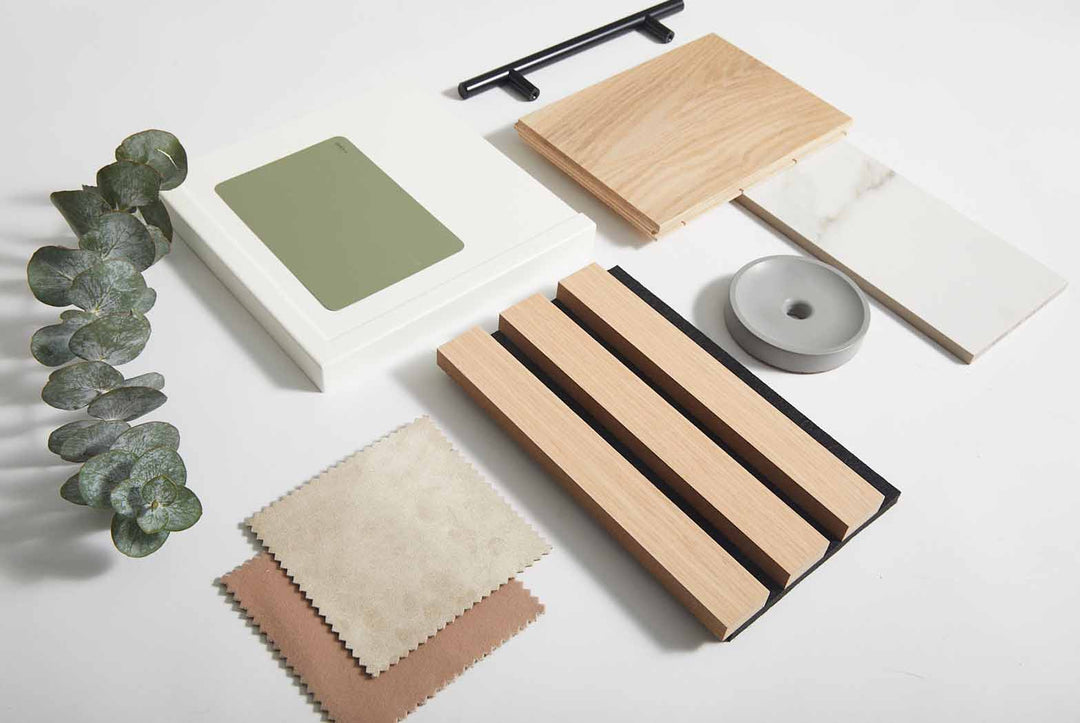
Once you've got that figured out, pick the panels that match. Do you like modern design, cosy vibes, or something else? There are tons of options, so take your time to find the perfect fit.
Also, think about how you'll use the room. If it's a busy area, you'll want panels that can handle the wear and tear.

And, of course, don't forget about your budget. There are plenty of affordable options. And with a little thought and some browsing, you'll find the perfect decorative wood panel project to make your space feel like home.
Decorative wood panels are like magic wands for your walls. They bring warmth, personality, and a whole lot of style to any space with hardly any effort. Whether you're dreaming of a cosy corner, want to define areas in an open room, or just fancy sprucing up your decor, these panels are the answer.
The best part: you don't need a fancy toolkit or a big budget. With a bit of imagination, some basic tools, and a dash of inspiration, you can make magic happen in your home.
So why wait? Look into your decorative wood panel options and see what magic you can create in your space.


Leave a comment