


How to Create a Black Wood Slat Accent Wall

Furniture is, of course, central to interior design. Flooring, too is always one of the main topics of discussion when it comes to designing a space.
But when it comes to the walls, they're sometimes left behind, often because people just aren't sure where to start. From painted accent walls, to gallery walls, to wood slat walls, there are a wide range of projects that will turn any wall from a boring, blank canvas into a stunning focal point.
That being said, choosing the right project for your space, your budget, and your skill level is where it gets a little tricky. Gallery walls are fairly simple to install, but curating a framed art decorative collection that reflects your style and personality isn’t just something that happens overnight, nor is it cheap. Painted accent walls can look great, but choosing a paint colour that feels fresh without being too trendy is tough, and sometimes it can start to feel stale within months of completing the project.
Wall panelling has been an interior design feature for as long as we can remember - from the walnut wood veneer panelling of the mid-century, to the shiplap of the 2010s, wall panelling of all kinds has always been a great way to add some visual distinction to your space. When this decorative wall is done tastefully, it creates that timeless-yet-fresh quality that is central to great design.
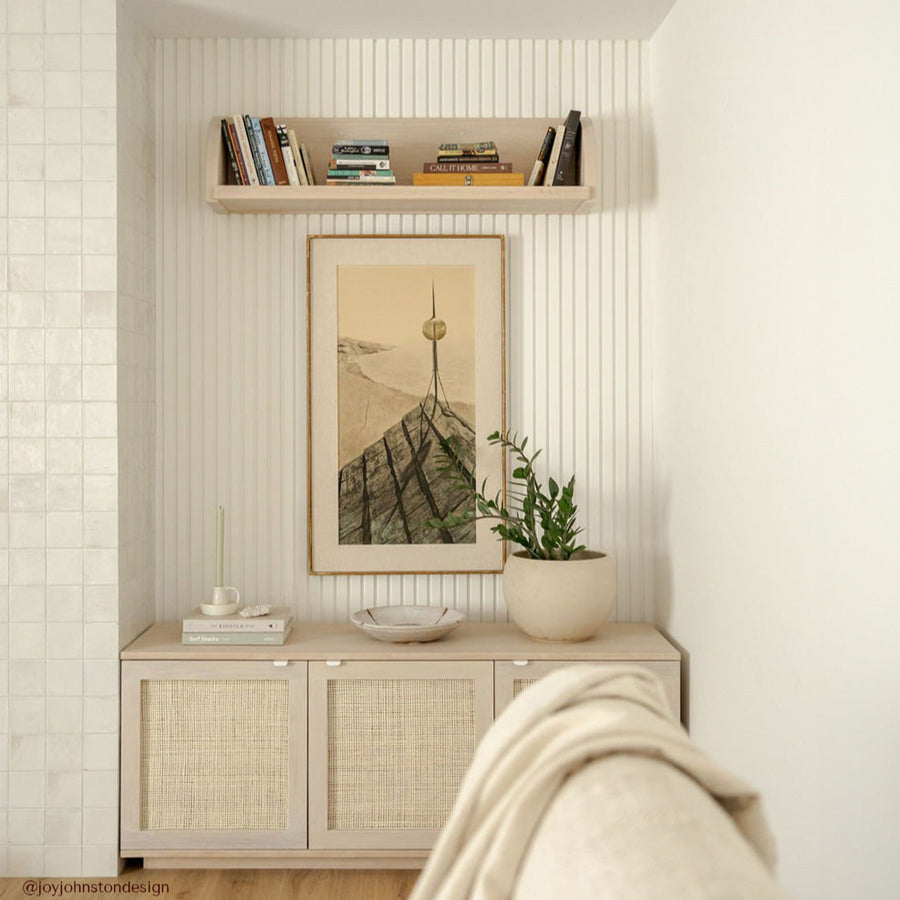
Here to Stay: Wood Slat Accent Walls
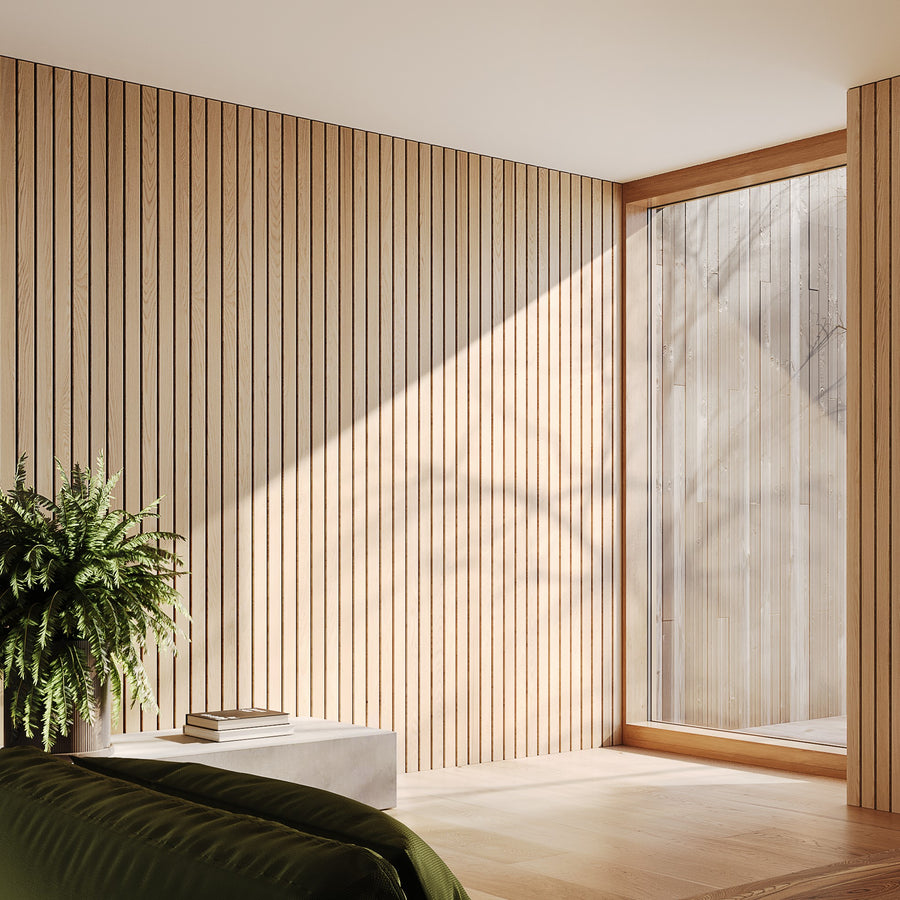
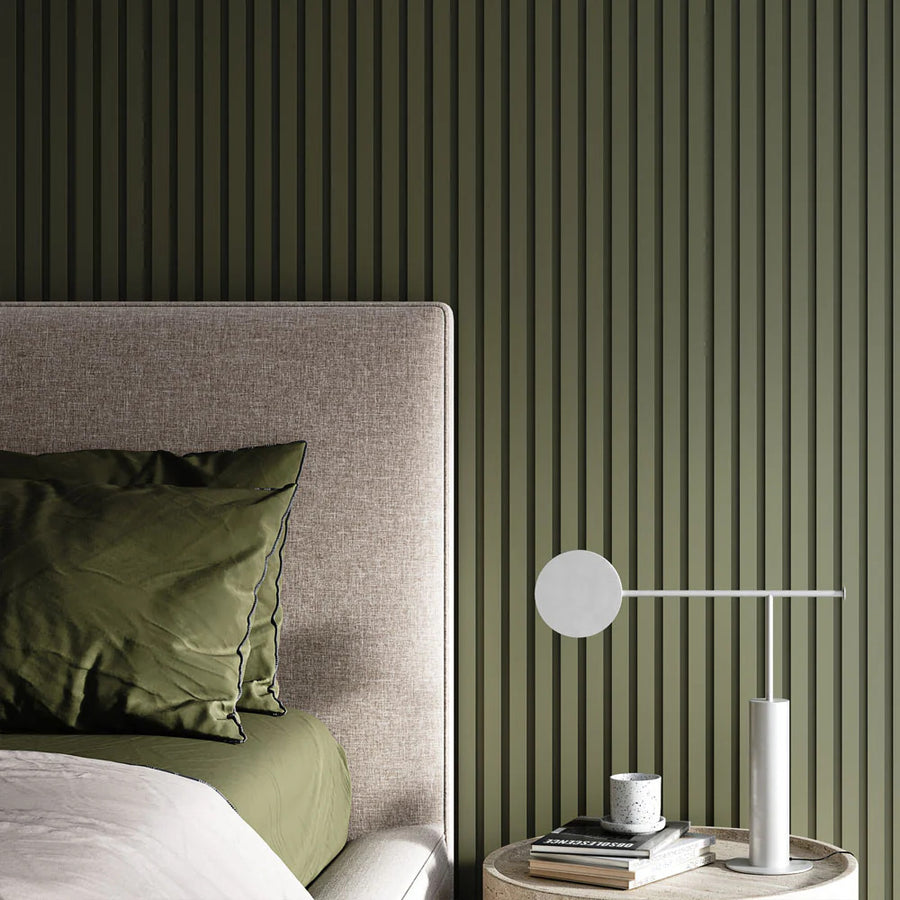
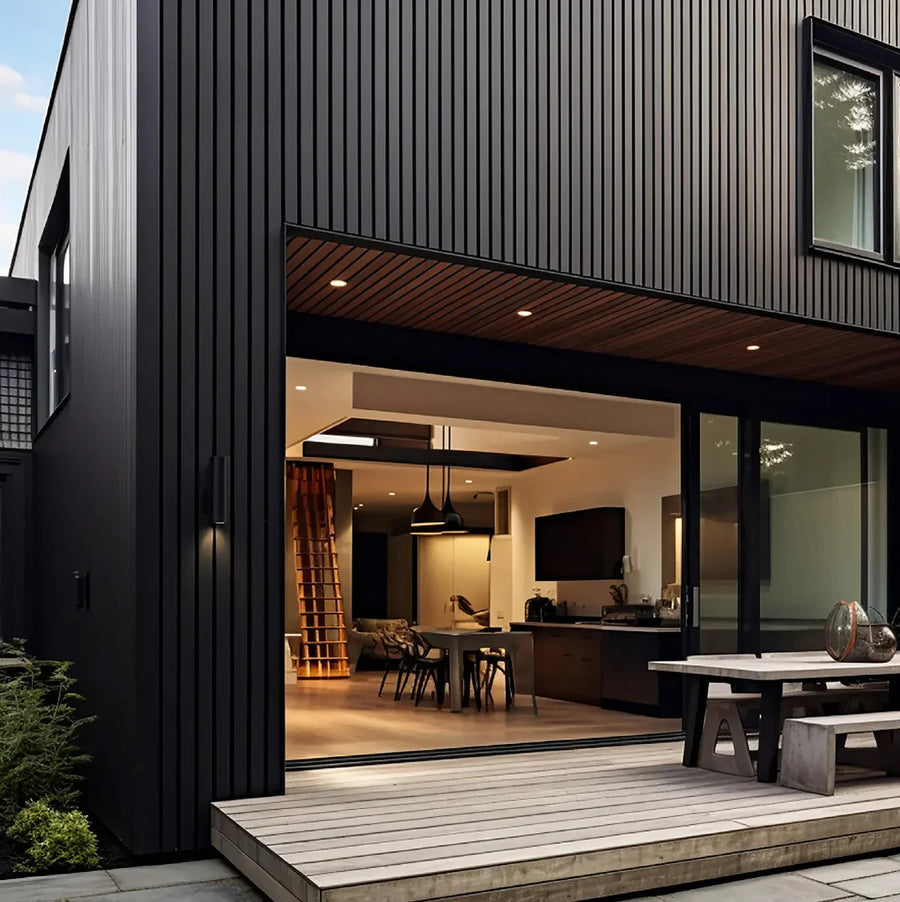
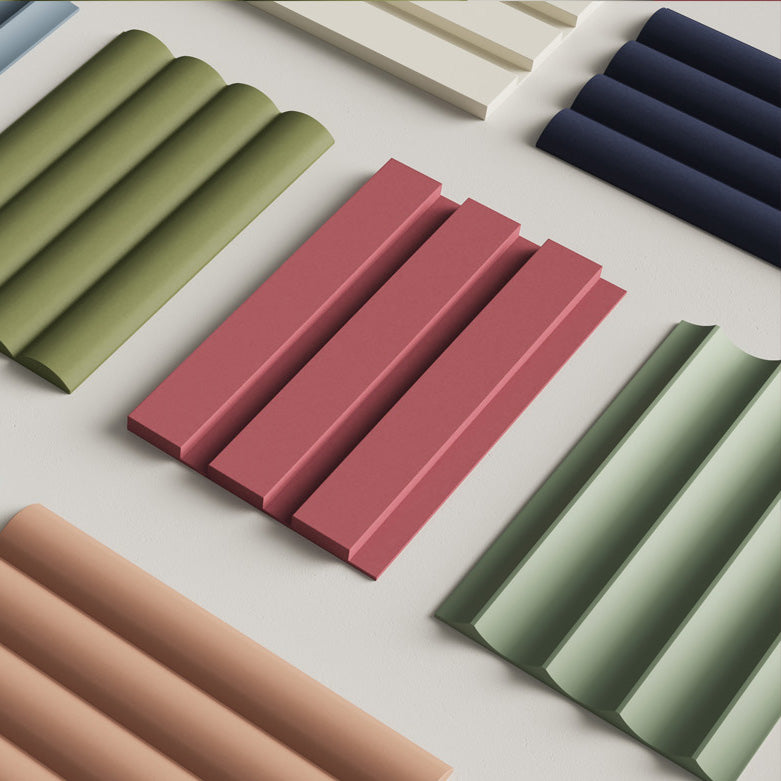
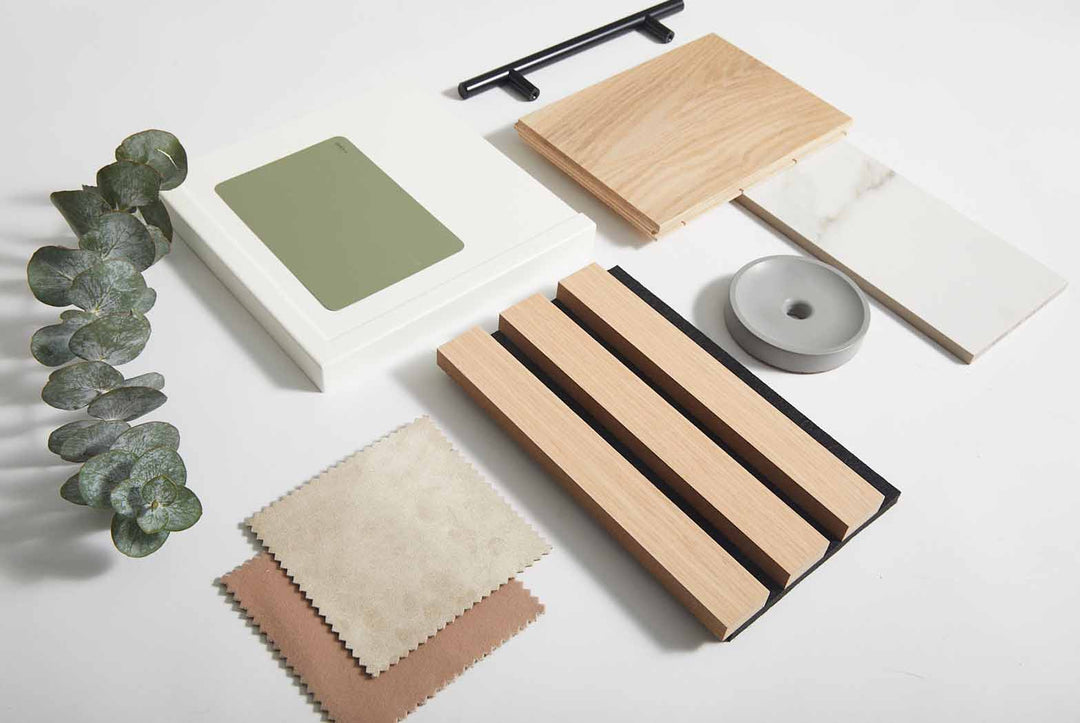
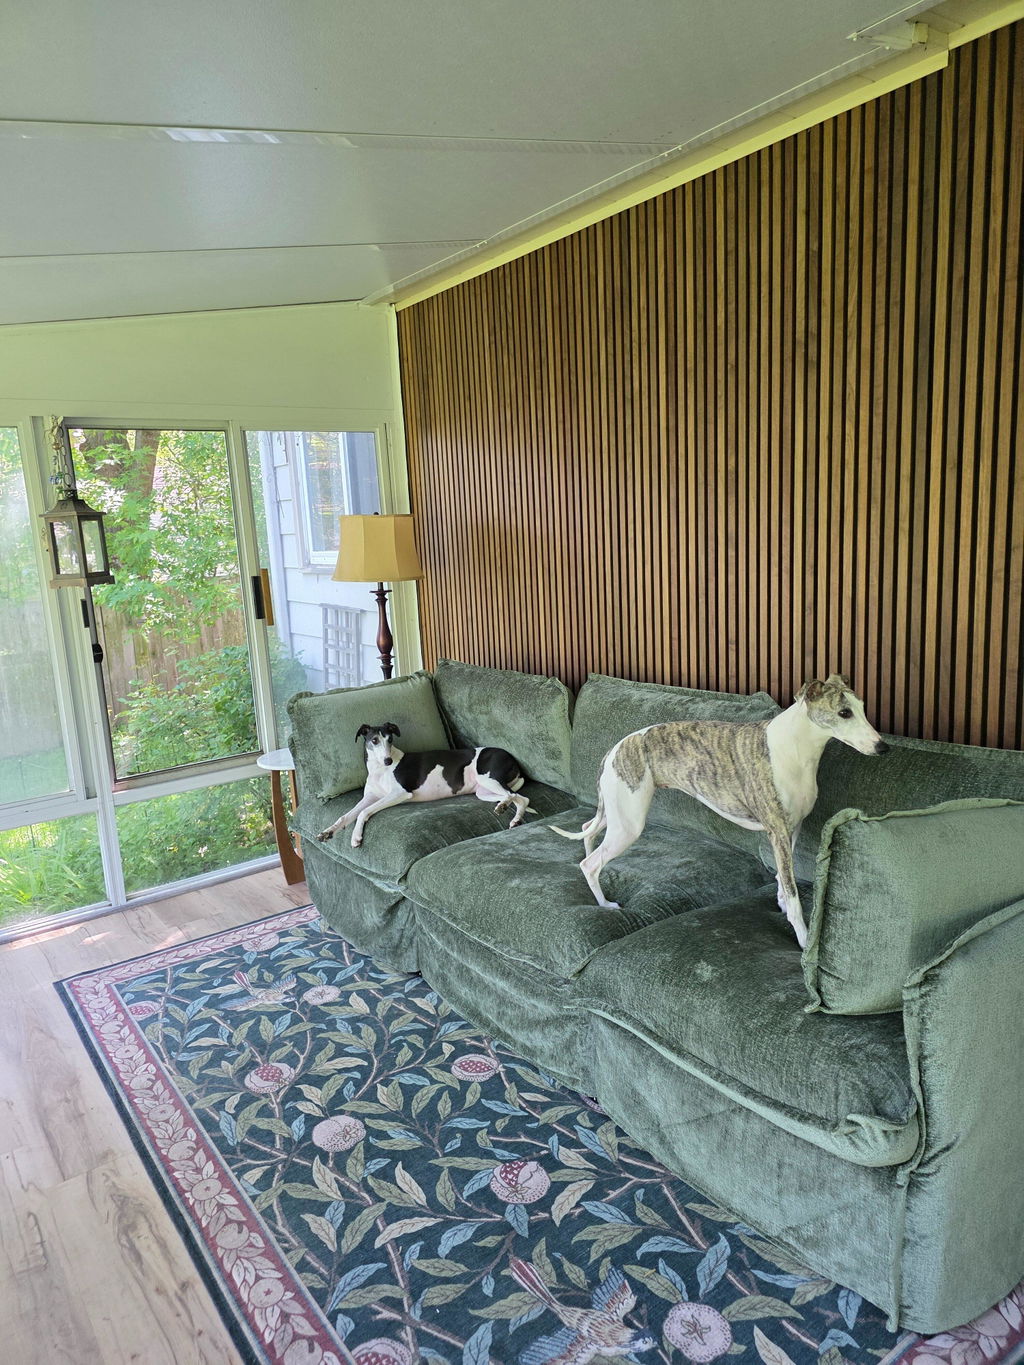
Wood slat accent walls are often made with hardwoods such as walnut or real oak, but for those of us that want something a bit more contemporary and monochromatic, the black wood slat accent wall is a great way to combine texture and contrast to create visual interest in a space.
There’s two primary ways you can go about creating a wood slat wall: You can use black wood slat wall panels that are shipped, preassembled, to your door, or you can DIY it from scratch using wood slats that you cut, sand, and paint yourself. We'll first look at using black wood slat wall panels, before diving deeper into how you can create a DIY and easy to install black wood slat wall from scratch.
1. Create a Black Wood Slat Wall With Wood Slat Wall Panels
For the intermediate DIYer, wood slat wall panels may be the way to go if you're looking to add a wood slat feature to your home. Not that the full-DIY project detailed below is impossible, but it does require a range of tools (ahem, the table saw) and much more time and space for cutting, sanding, and staining the wood.
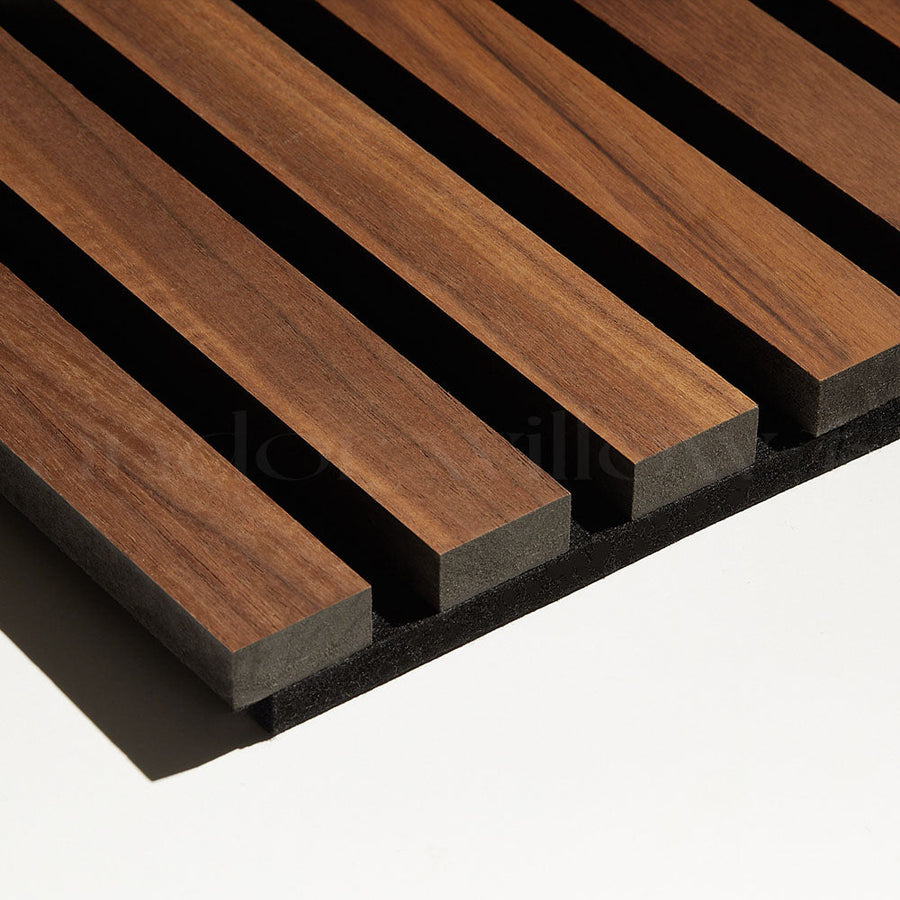
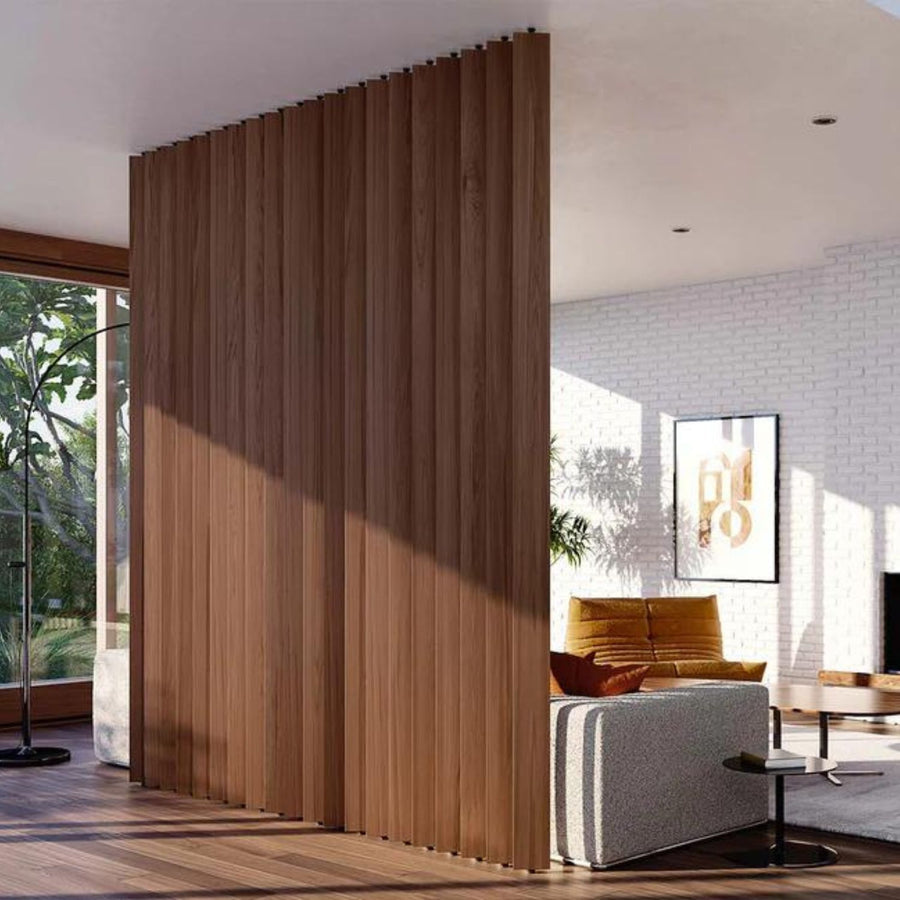
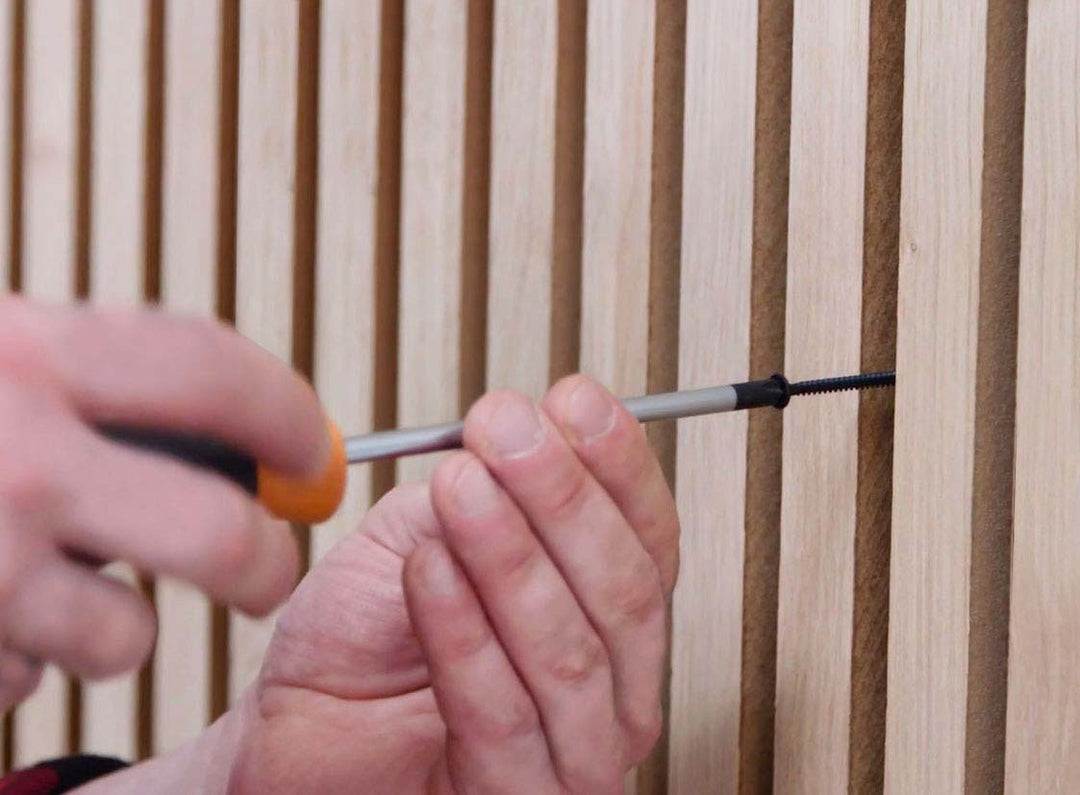
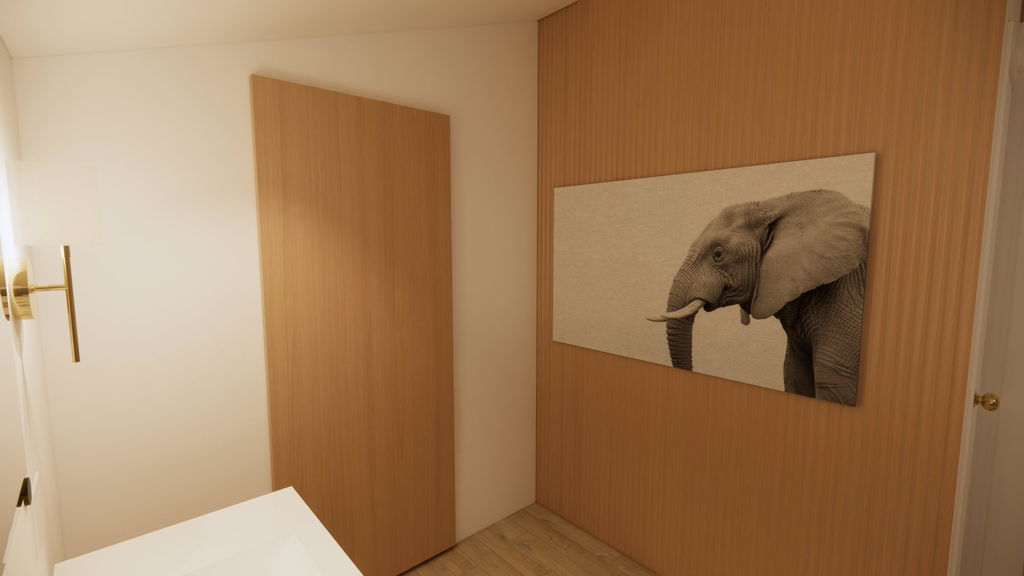
Wood slat wall panels solve those issues because they're already assembled when they arrive at your door. Every slat is perfectly spaced and fastened to a flexible-yet-sturdy felt backing. All that's left to do is pick your spot and screw the panels into your walls giving you an ease of installation.

![]()
Every panel has a tongue-and-groove edge, so they fit together endlessly and allow you to create the wood slat accent wall you've been dreaming of, in minutes!
But, if that sounds too easy...
2. Create a DIY Black Wood Slat Wall Using Plywood or MDF Sheets
Here's what you'll need:
Tools:
- Drill
- Table saw
- Wood conditioner
- Black paint
- Black screws
- Paint, brush, tray
- Sandpaper
- Palm sander (not absolutely essential, but will make the project substantially easier)
- Wood filler
Select Your Materials
To start, you'll need to decide what material you're using. While we did say this was a wood slat wall, you're going to be painting it black so you could also opt for MDF. On one hand, MDF will be cheaper and extremely easy to work with when it comes to cutting and painting. On the other hand, MDF won't have any of the wood grain or texture coming through the paint, so it won't really look like wood at all.
Plywood sheets are the next most budget-friendly option for a project like this, and they do have the wood grain and texture that will usually come through faintly even after a few coats of paint. This will keep the look of authentic wood present in the final product, even after you've applied wood conditioner and a few coats of paint. Ultimately, the choice between MDF and plywood for a project like this will come down to price, availability, and personal preferences on texture.
You could also go with higher-end planks in a hardwood like ash or maple if you wanted, but if you're DIYing this project and you're going to be painting the slats black, it's probably safe to assume an expensive hardwood isn't necessary here.

If you have a smaller vehicle, you may want to pay for Home Depot to deliver the sheets to your home. If you're in a rural area and that's not possible, use their cutting services on site to rip the sheets into 12" wide planks before loading them into the Camry.
Cutting and Staining the Wood Slats
Once you get the sheets home, use your table saw to rip them into slats. For slat width, we'd recommend between 1"-1.5" to get the narrow, sleek slatted look that you're going for. Using a saw horse or two to catch the slats that come out the other side (as pictured below) is always a good idea!

Once the slats are ripped, you'll want to give them a light sand to get rid of any hard edges before painting (assuming you're not using MDF).
Once you've sanded and brushed the sawdust off, it's time to paint! If you're plywood or any kind of softwood like pine, start by applying a generous coat of wood conditioner to the slats. This is essential as it makes the wood more receptive to the paint, and will prevent the paint from being absorbed unevenly.

Fastening the wood slats to your wall
This is where things get interesting, especially if you're trying to decorate a wood slat wall on a wall that's over 8' in height, as 8' is the length of most wood and MDF sheets. If your ceiling is higher than 8', you'll need to get creative in how you arrange the slats on your wall. Here, we were working with a 10' high ceiling and decided to cut our slats into 4' and 6' long pieces, and install them in an alternating pattern.
The easiest way that we've found to mount the slats is to add horizontal mounting slats that are drilled into the studs. The other option is using adhesive or drywall anchors, but both of those have significant downsides that make them less-than-ideal solutions.
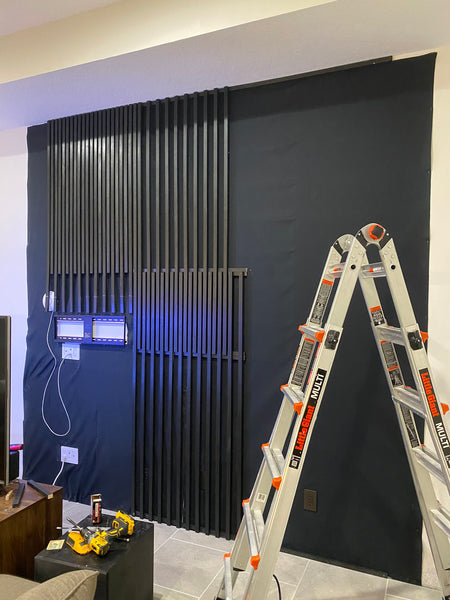
Before you do that, don't forget to prep the wall in the colour you want - you can either paint it black, or if you want to reduce the echo (important for home theatres) add a fabric backing and fasten it to your wall with staples.
Filling the Gaps

Once all the slats have been screwed into the horizontal furring strips, you'll want to patch the indents with a stained black wood filler, and give the entire wall a good sanding before applying another coat of paint. Tired yet? Don't worry, we're almost finished!
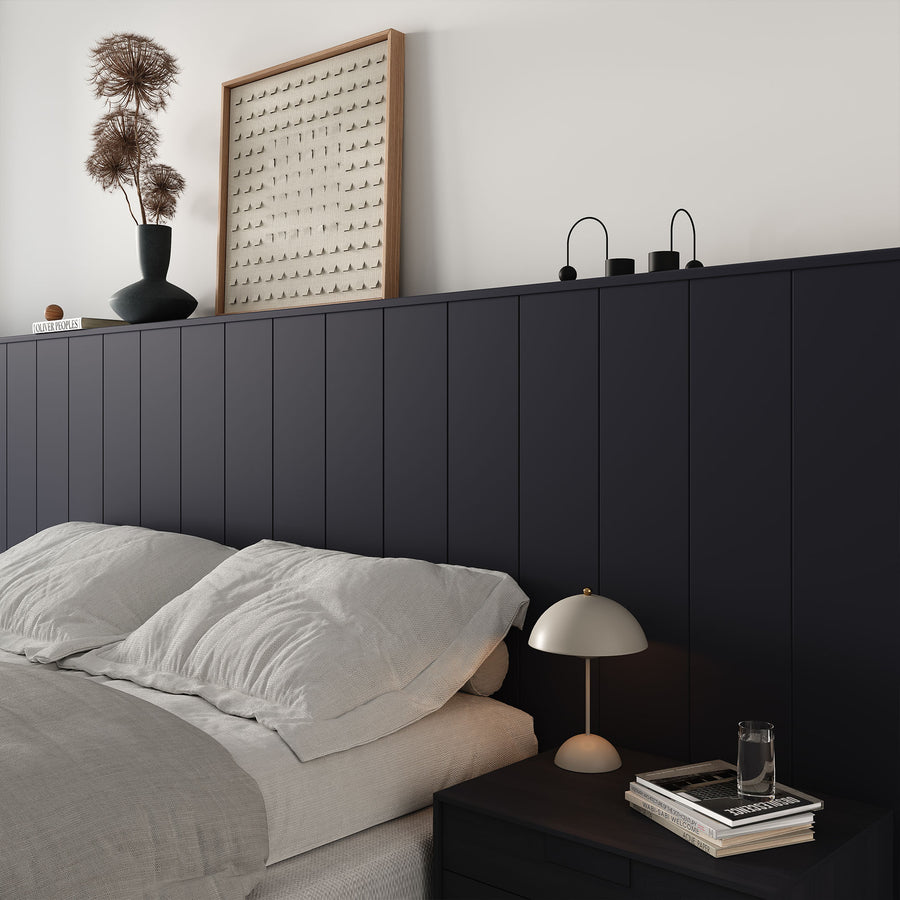
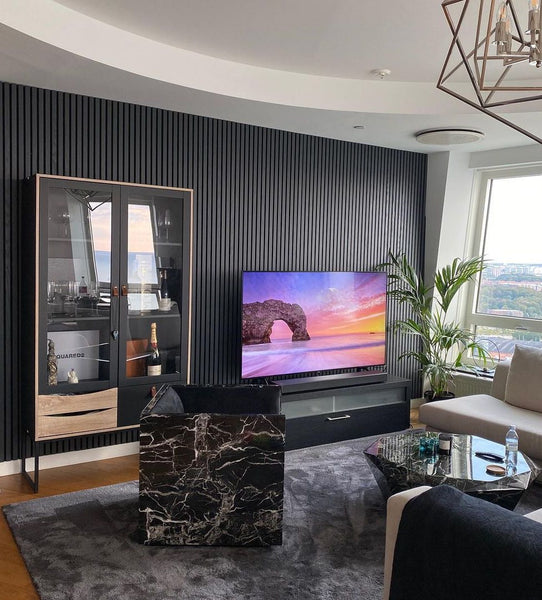
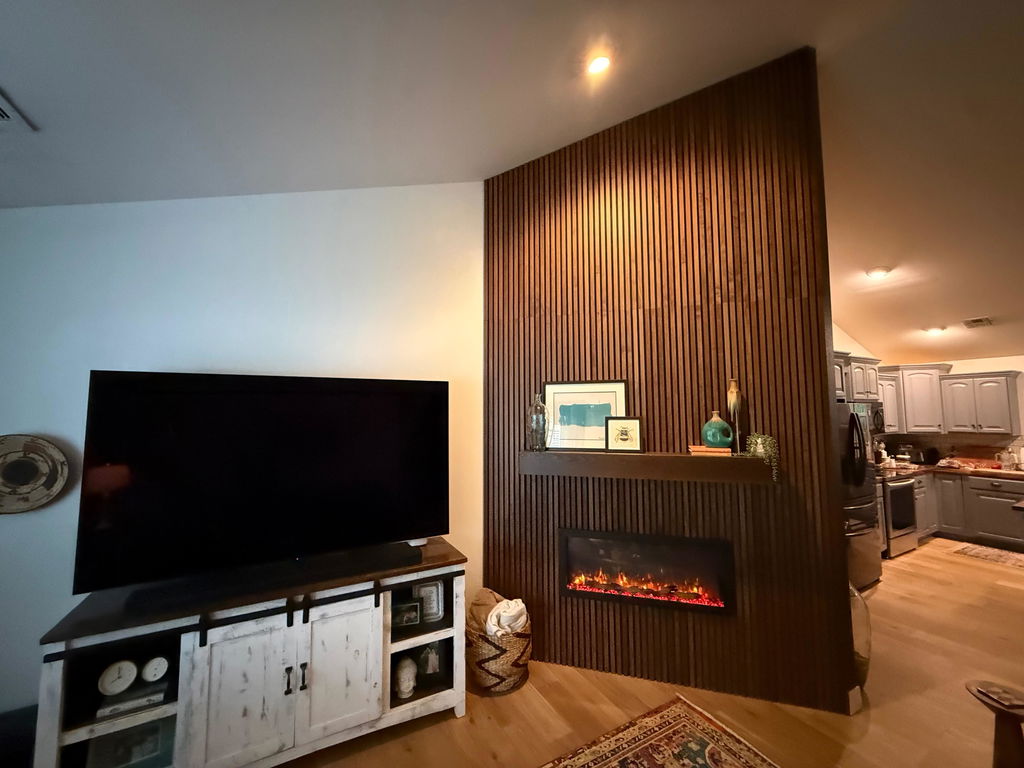
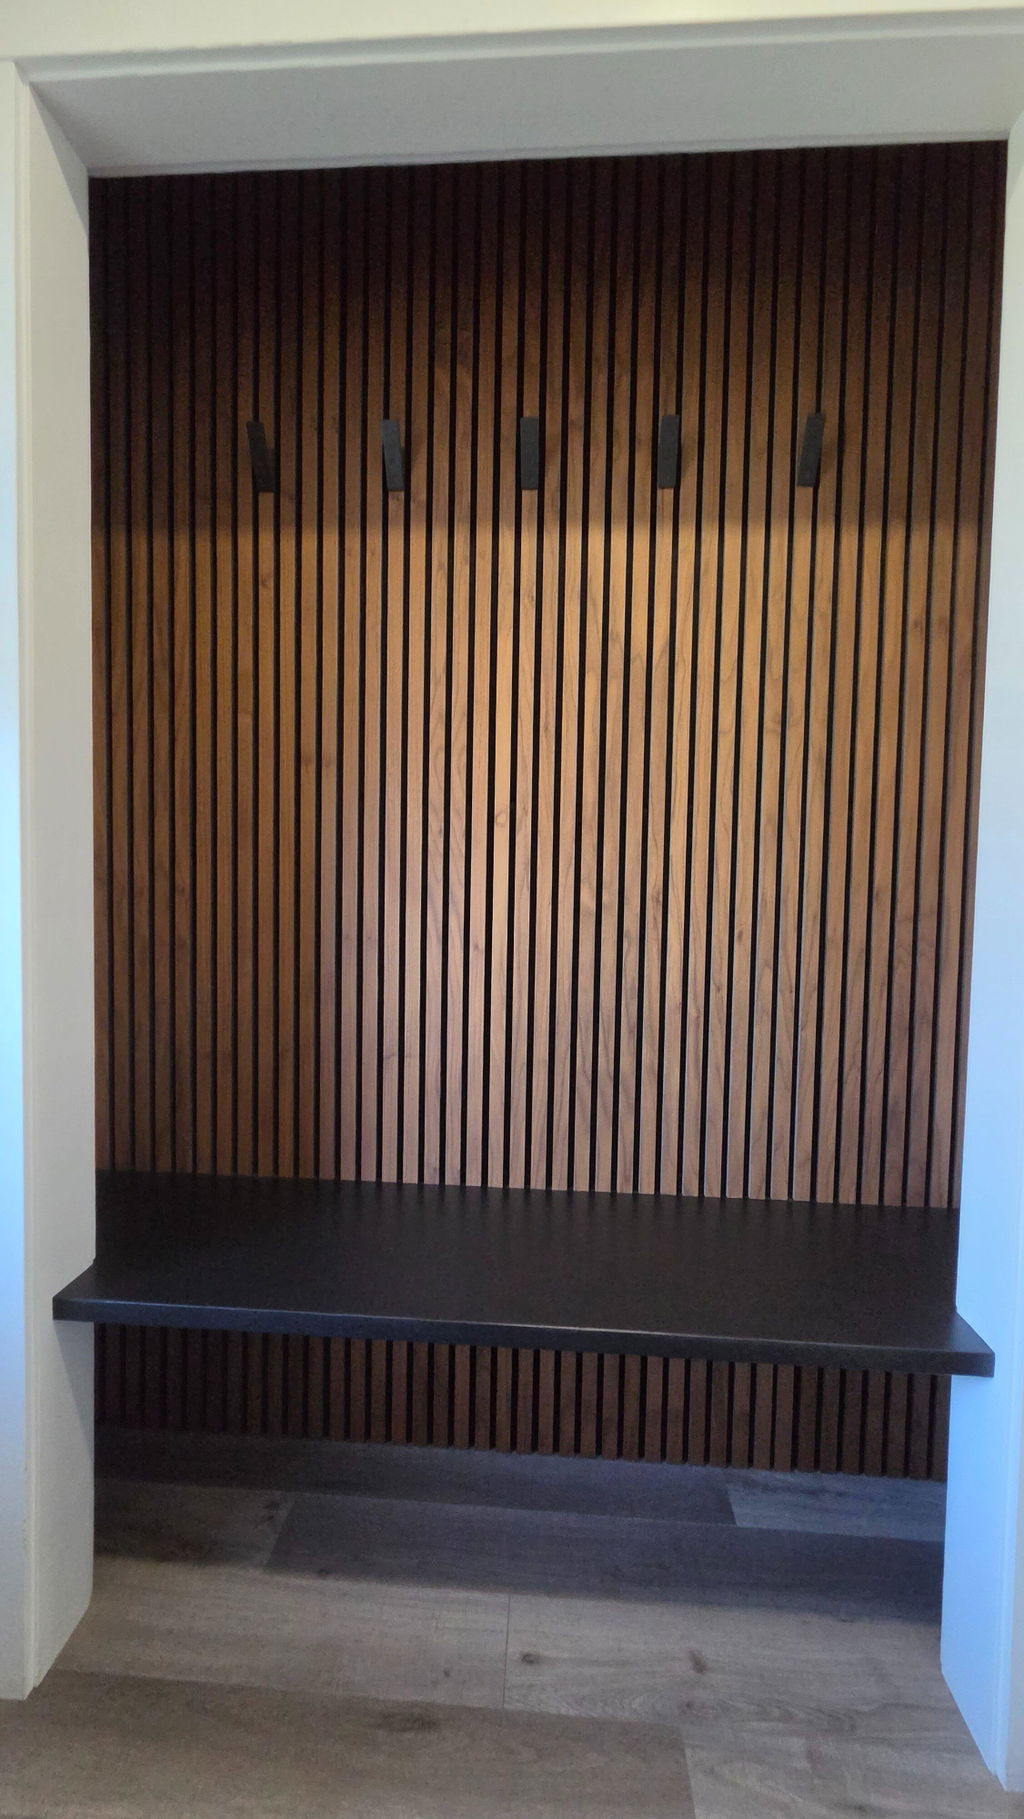
Finished Project: Black Vertical Slat Accent Wall

Once all the wood filler has been applied, give the entire wall a good sanding before applying one final coat of paint across the entire wall. And there, you're done! It's not an easy project by any means, but with some patience and basic tools, you can definitely an absolutely gorgeous end result from scratch. Shoutout to u/NeededANewName on Reddit for this amazing project.
How would you go about completing a customize panel project like this?
Not an expert DIYer?
![]()
Check out our other home decor blogs:
1. Creative Ideas for Your Very Own Kitchen Accent Wall


I’m trying to do a black wall with black slats to make the wall pop what color black and what sheen to use on both
I don’t know, I didn’t see it mentioned here, but it’s best to advise to NOT put 500 holes in an exterior wall’s vapor barrier. That would be 500 rusty brad nails and 500 points of moisture intrusion.
Leave a comment