Timeless by Nature
Timeless by Nature
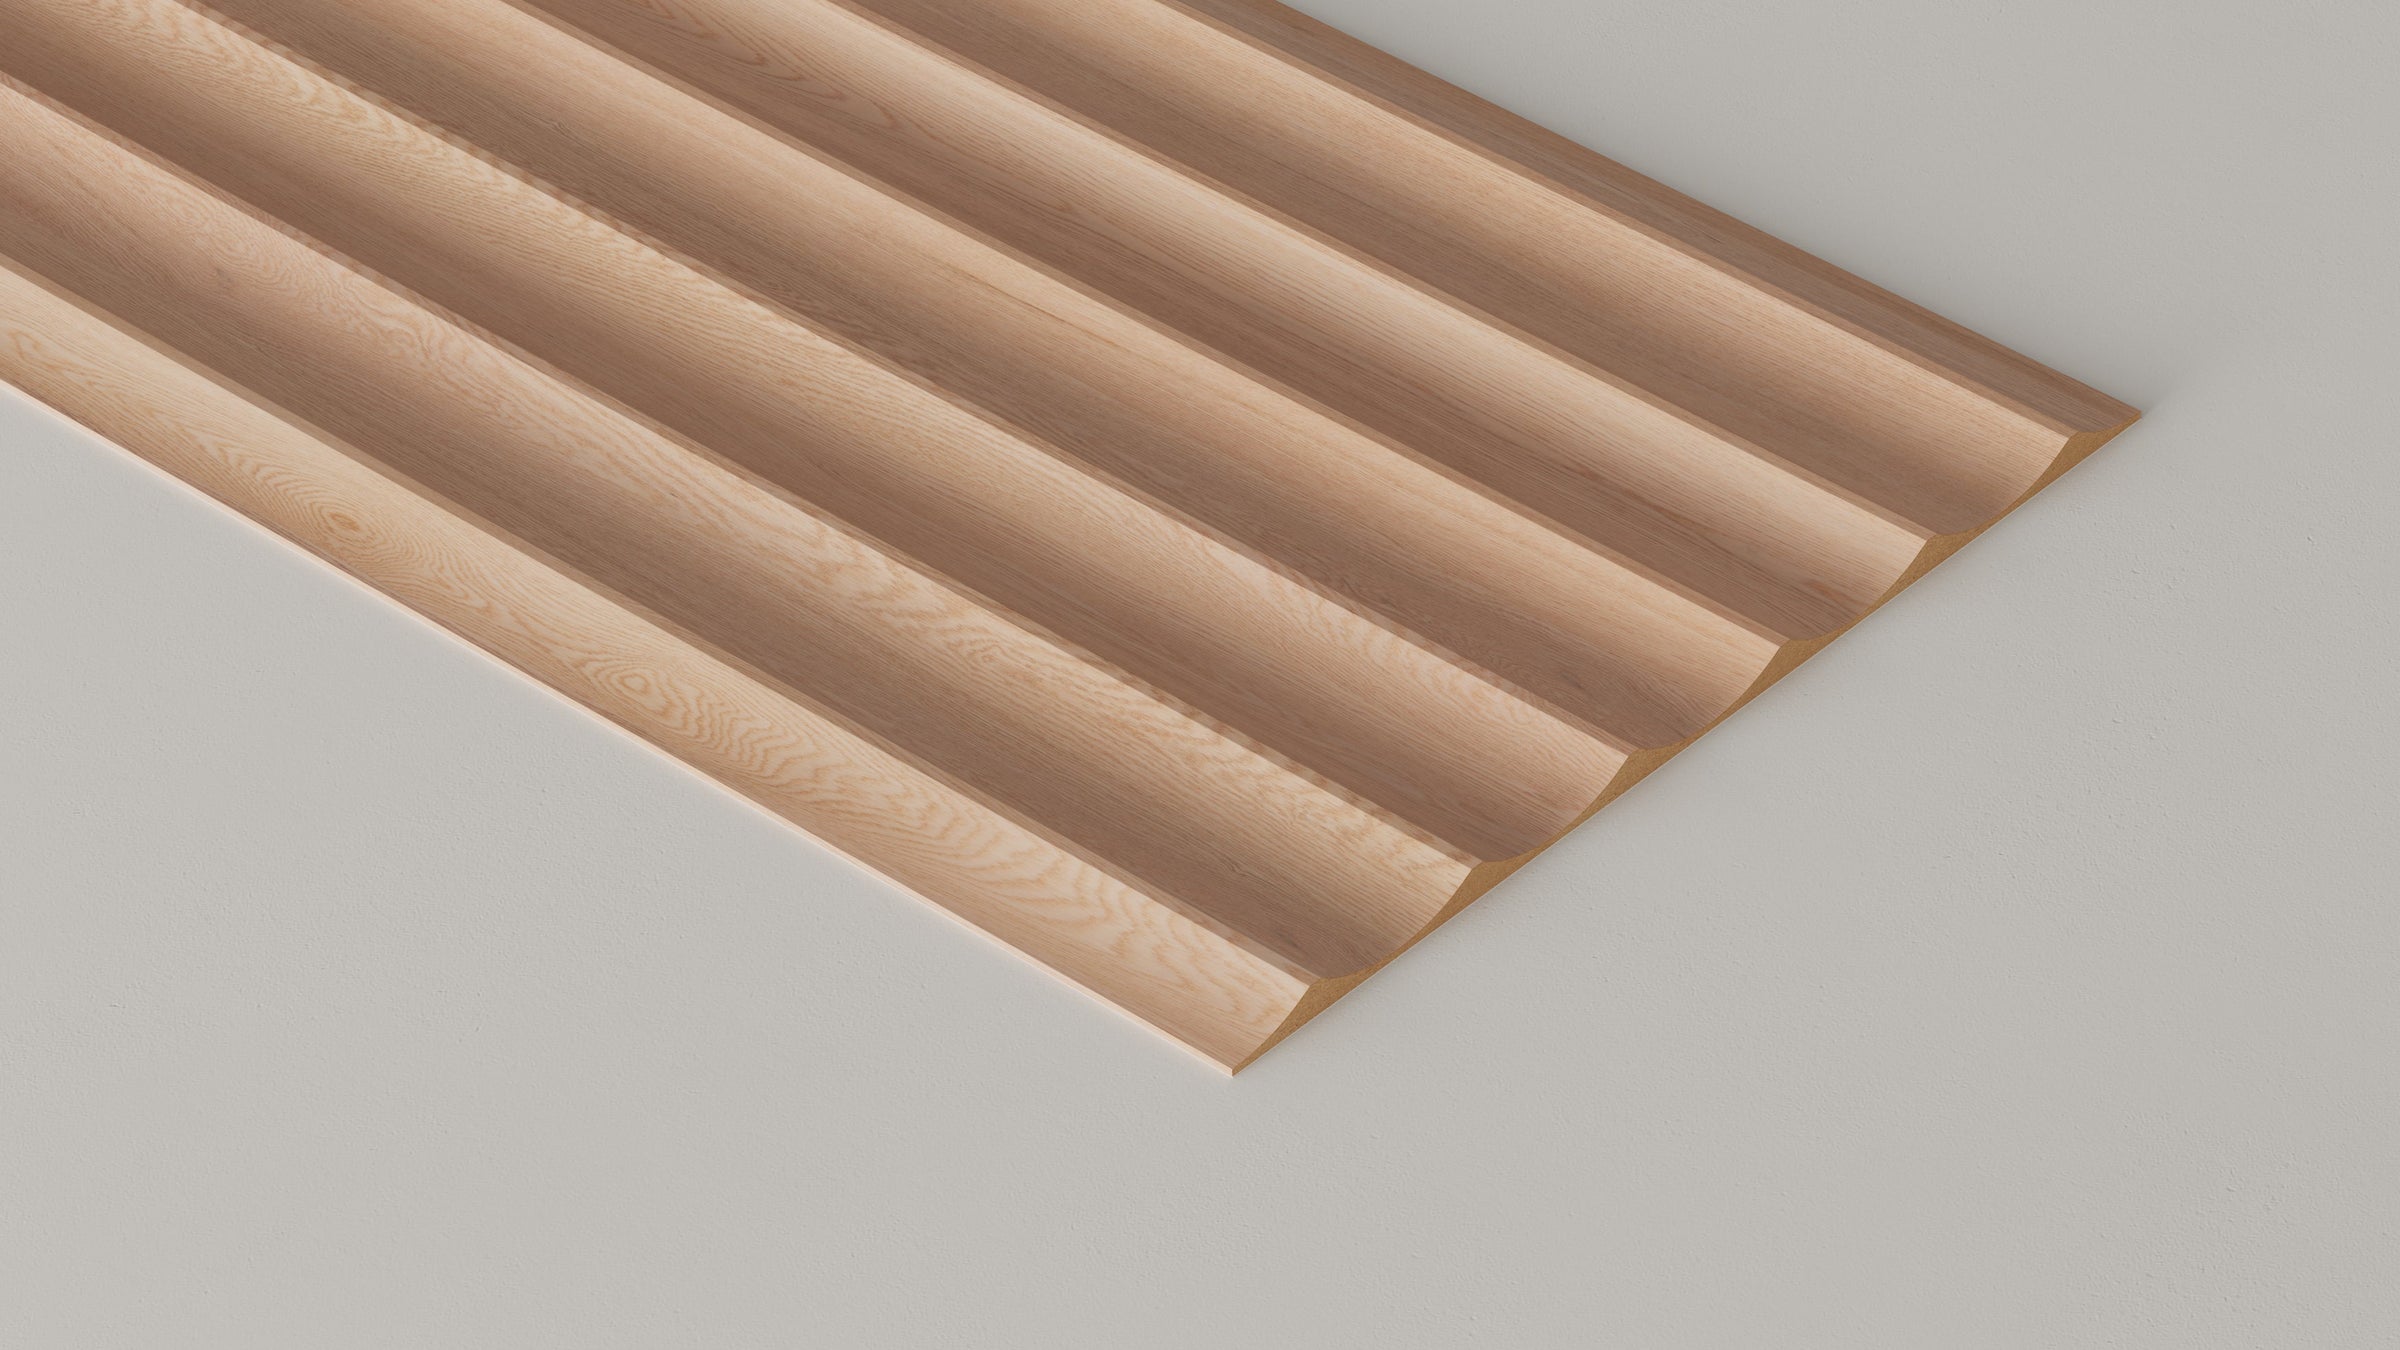
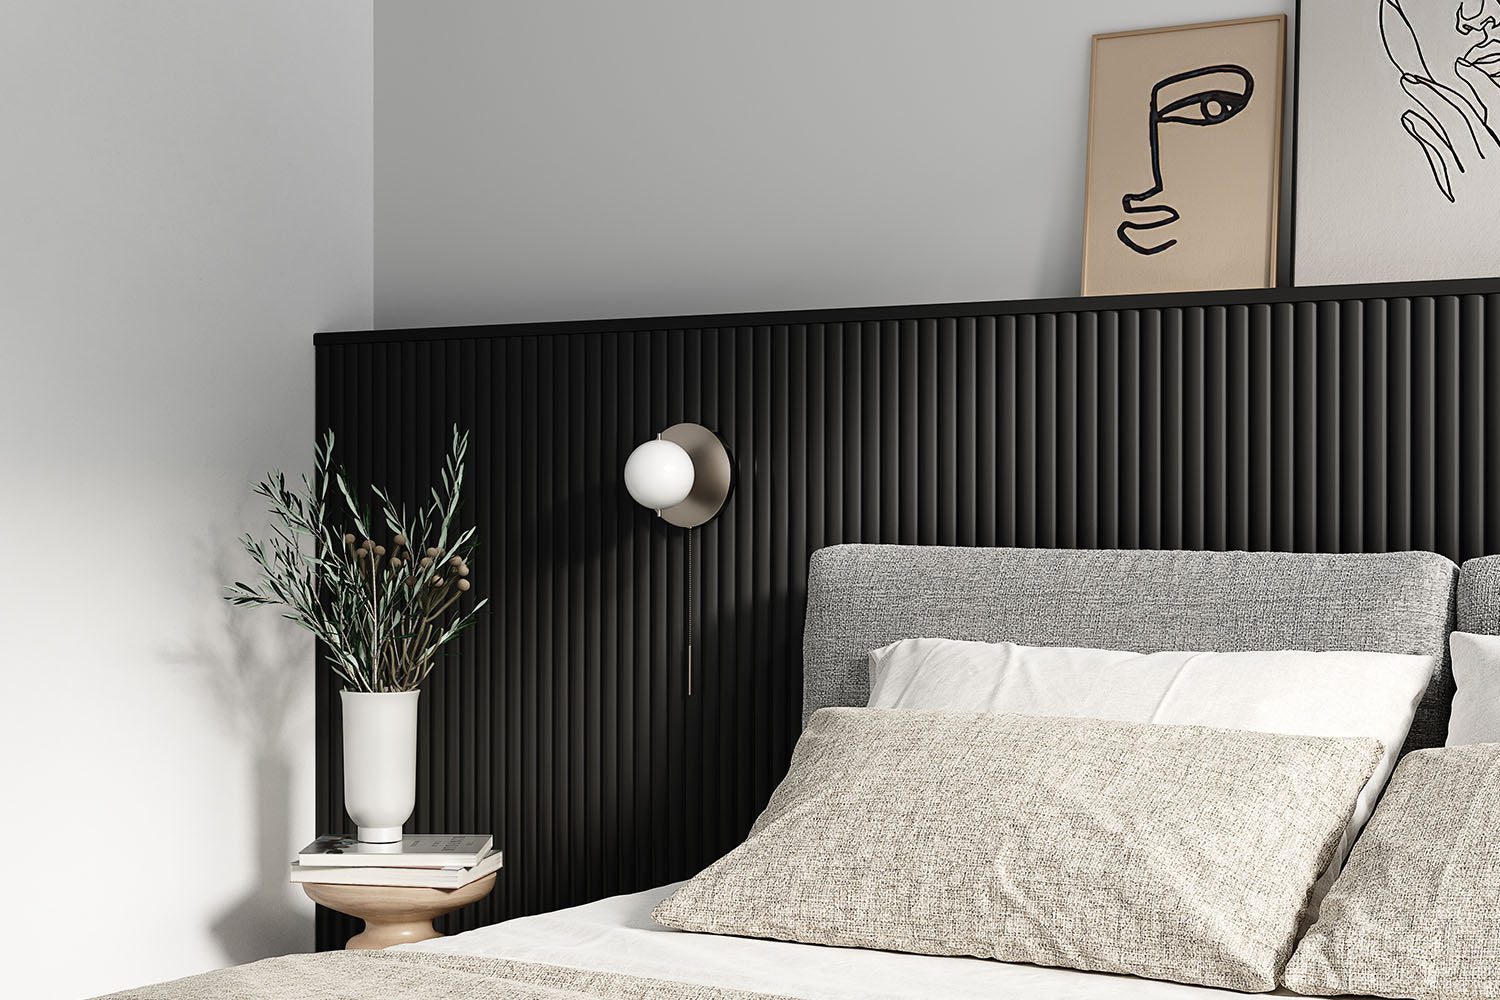
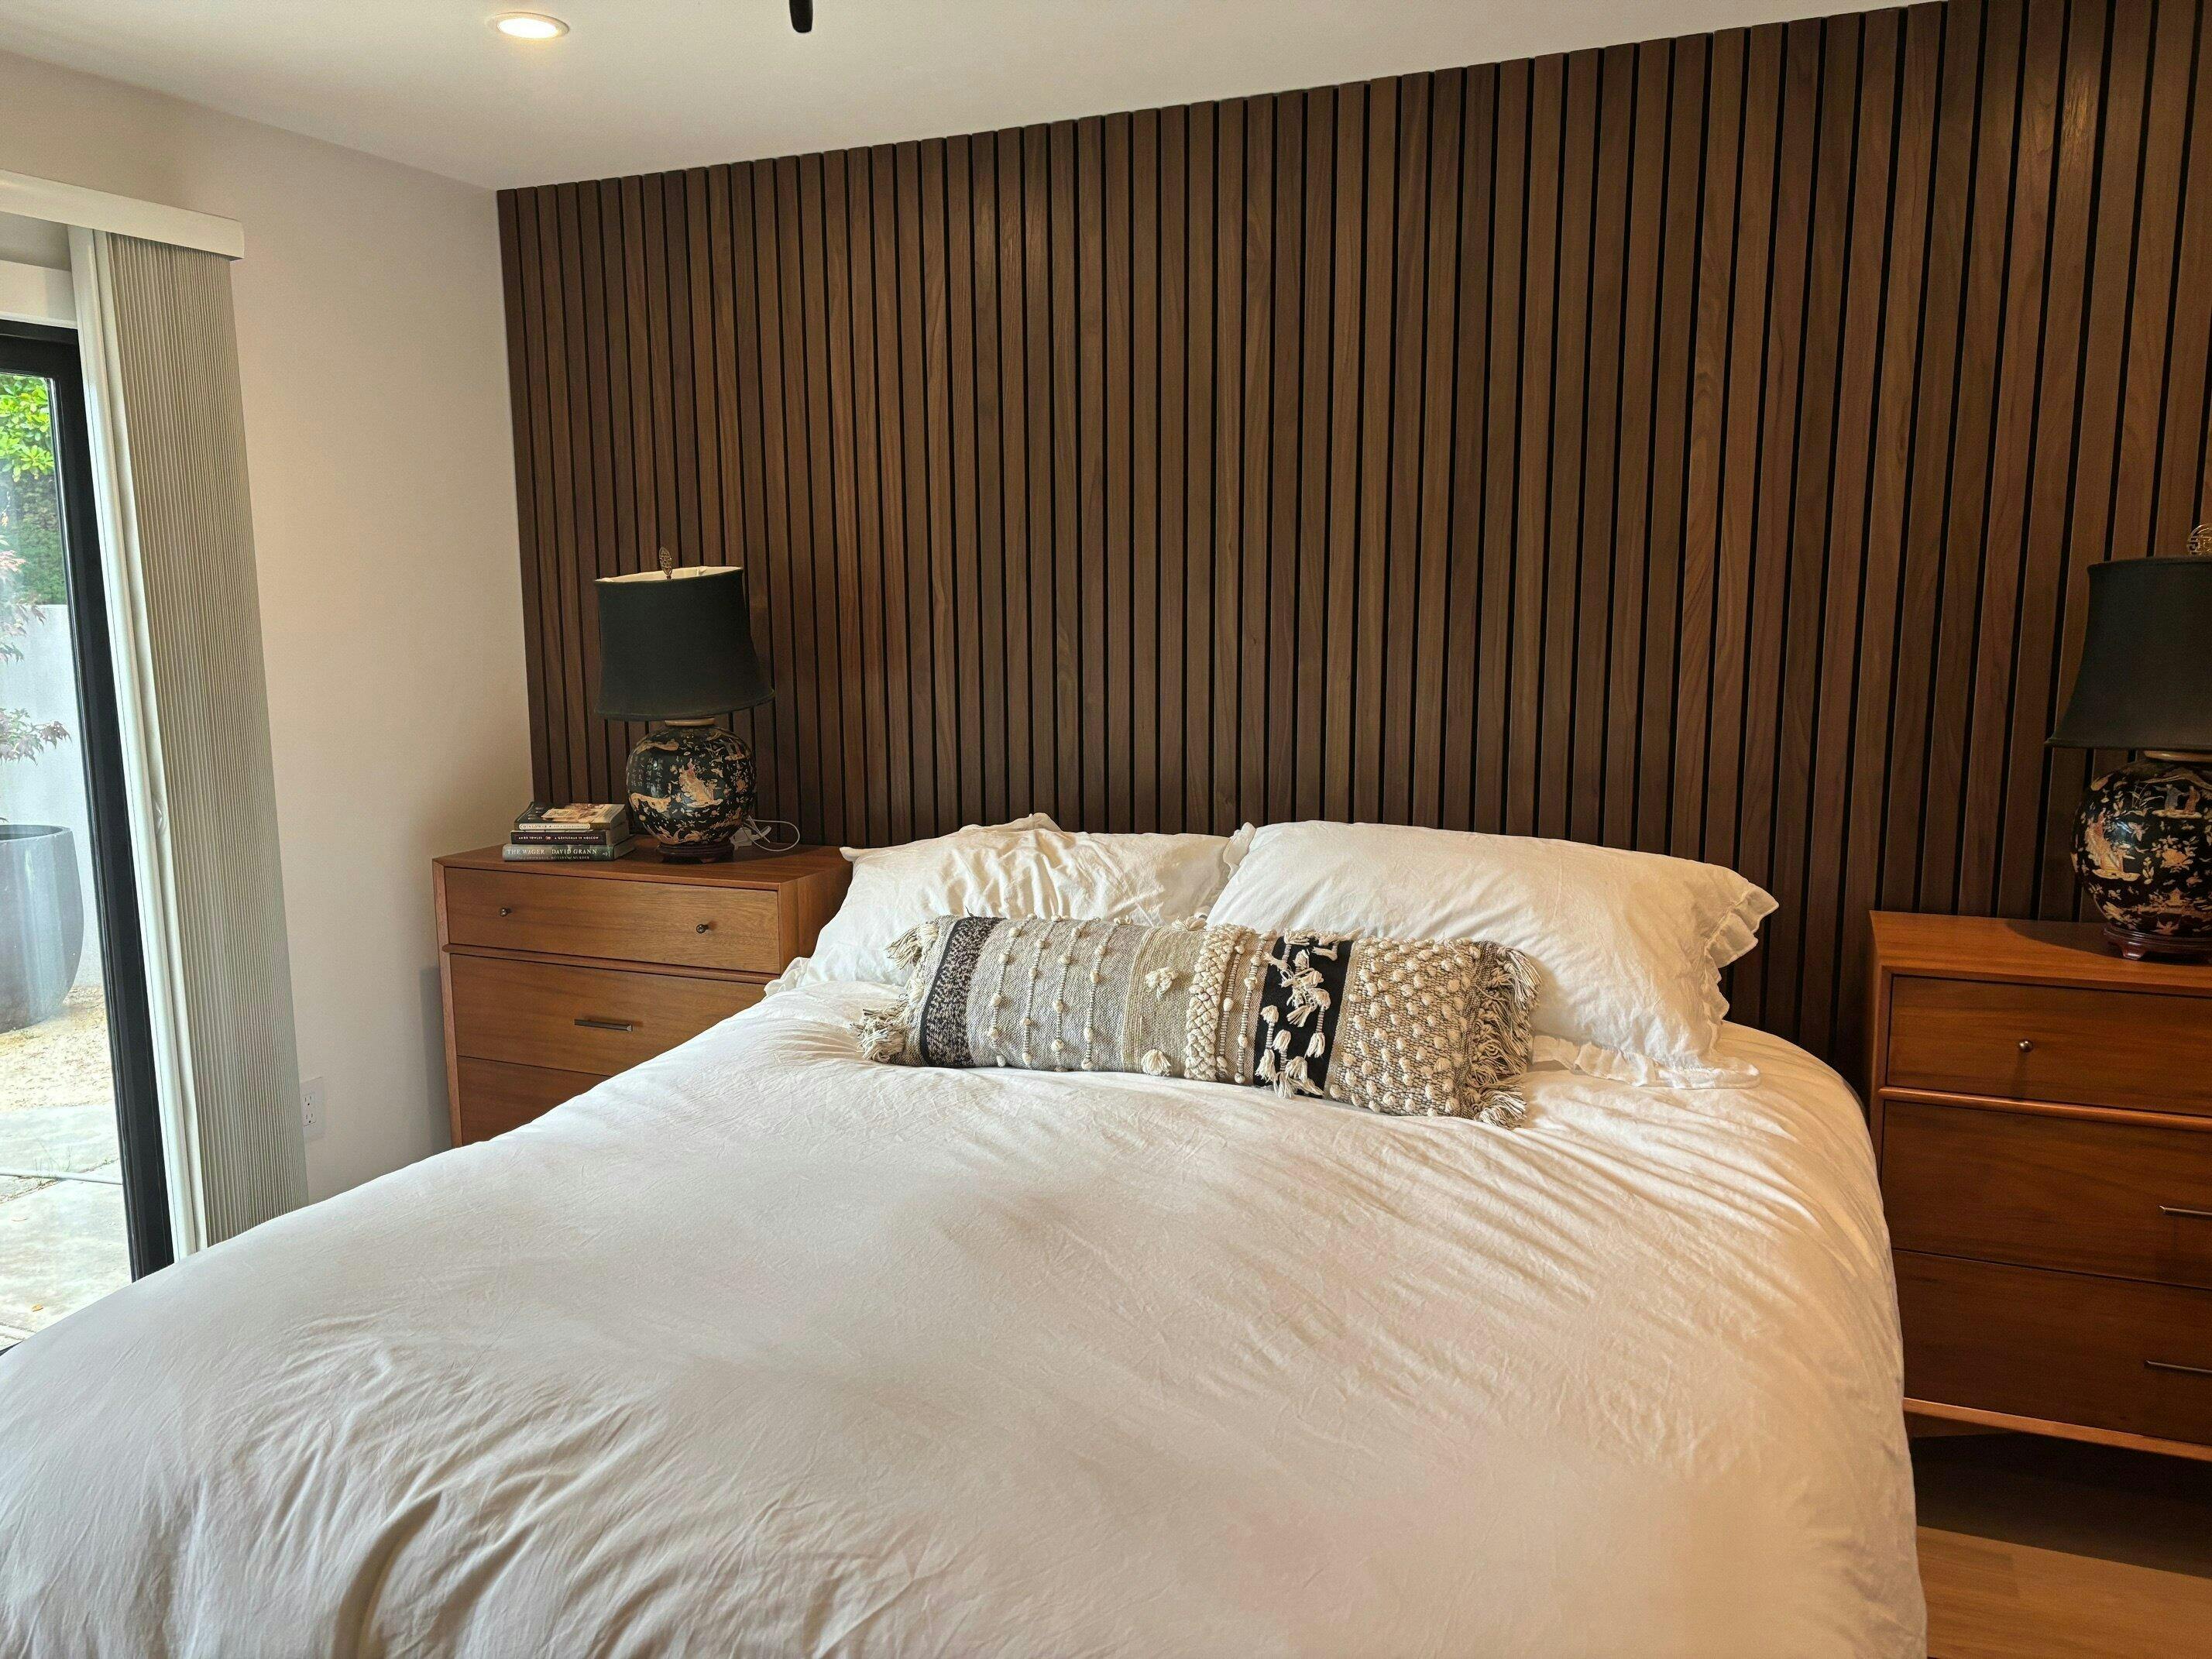
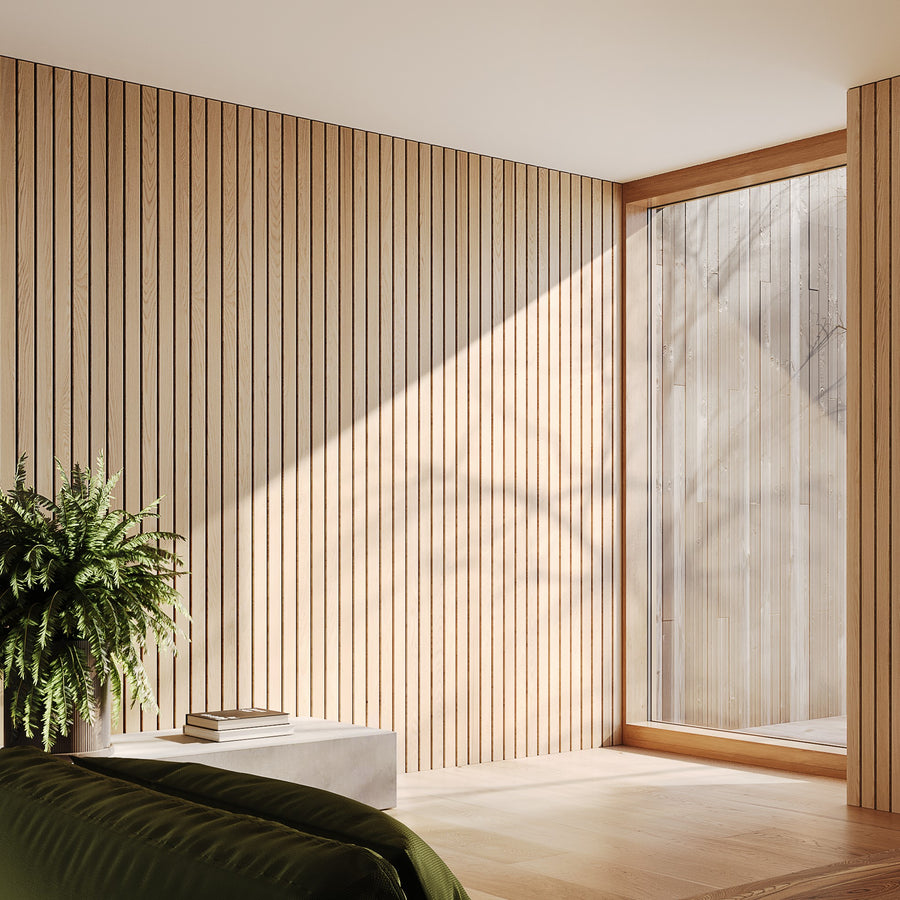
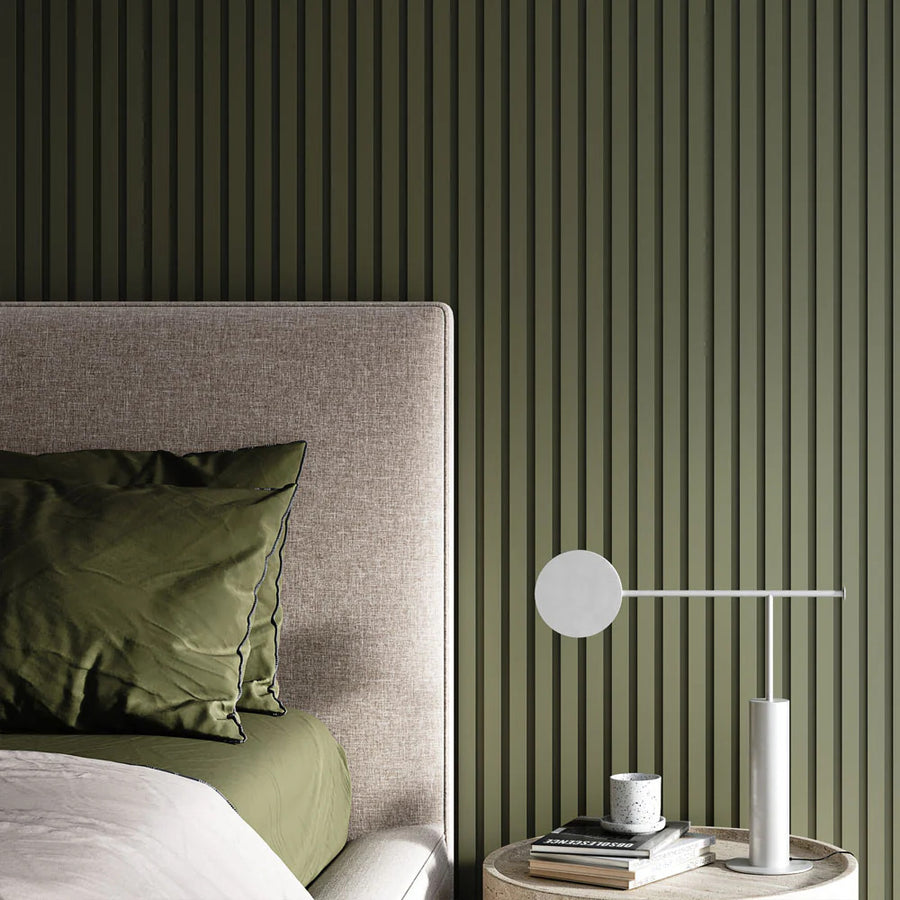
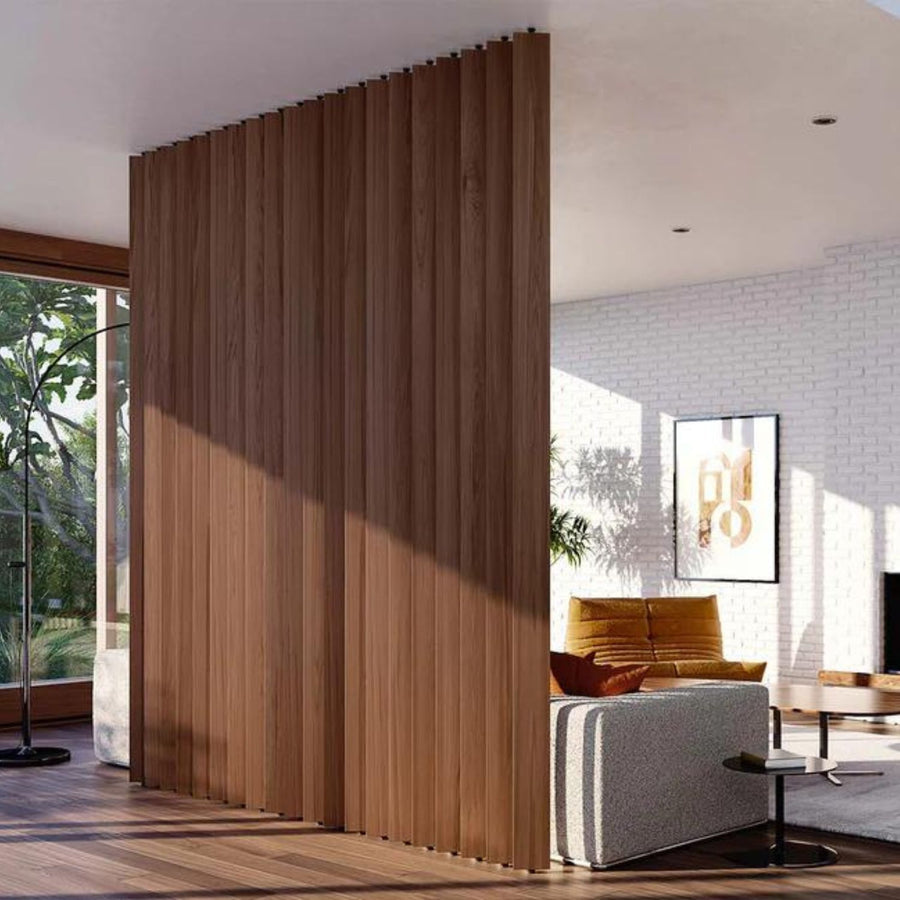
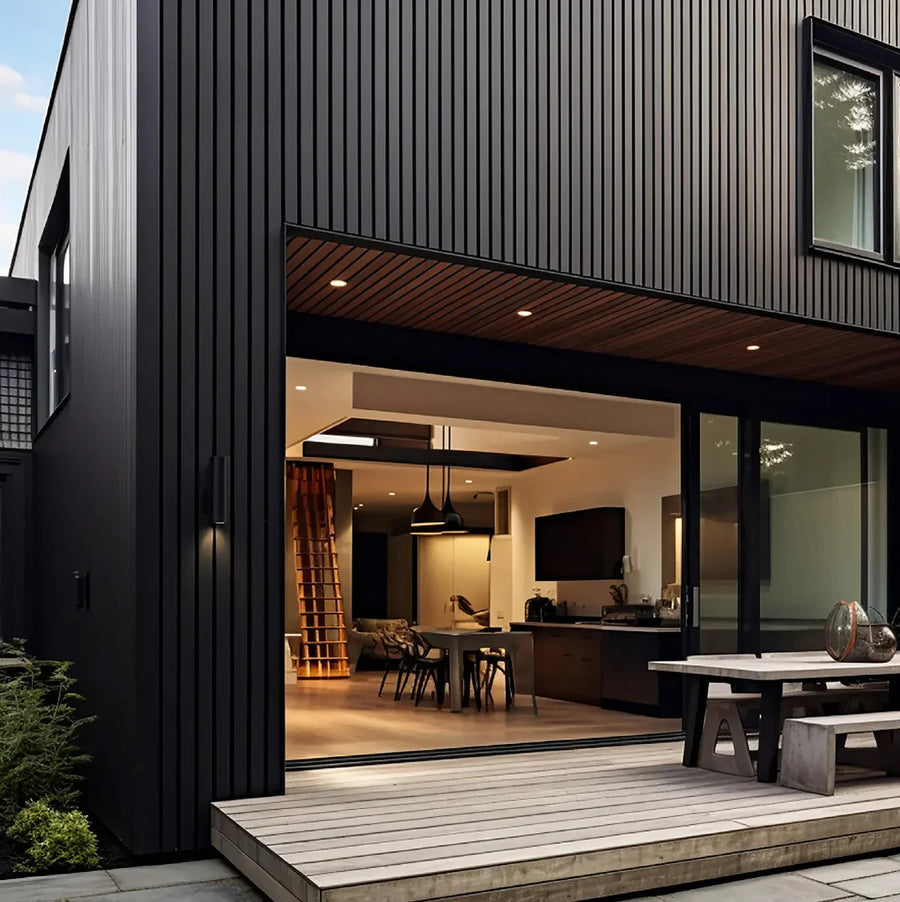
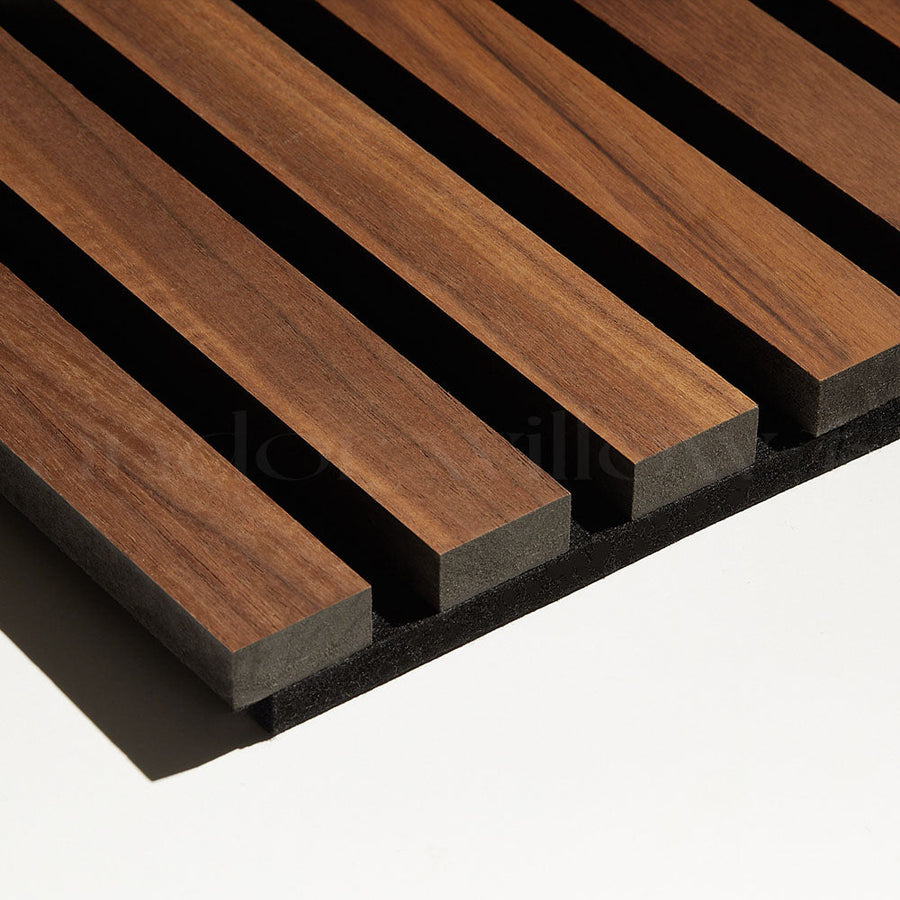
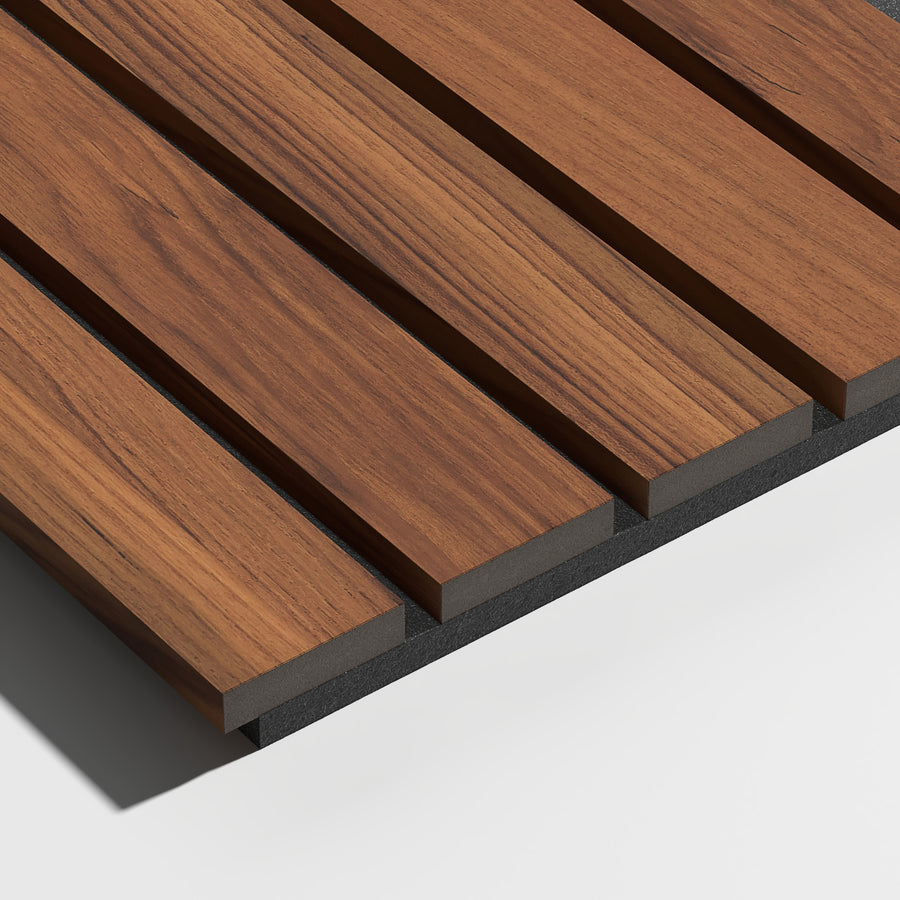
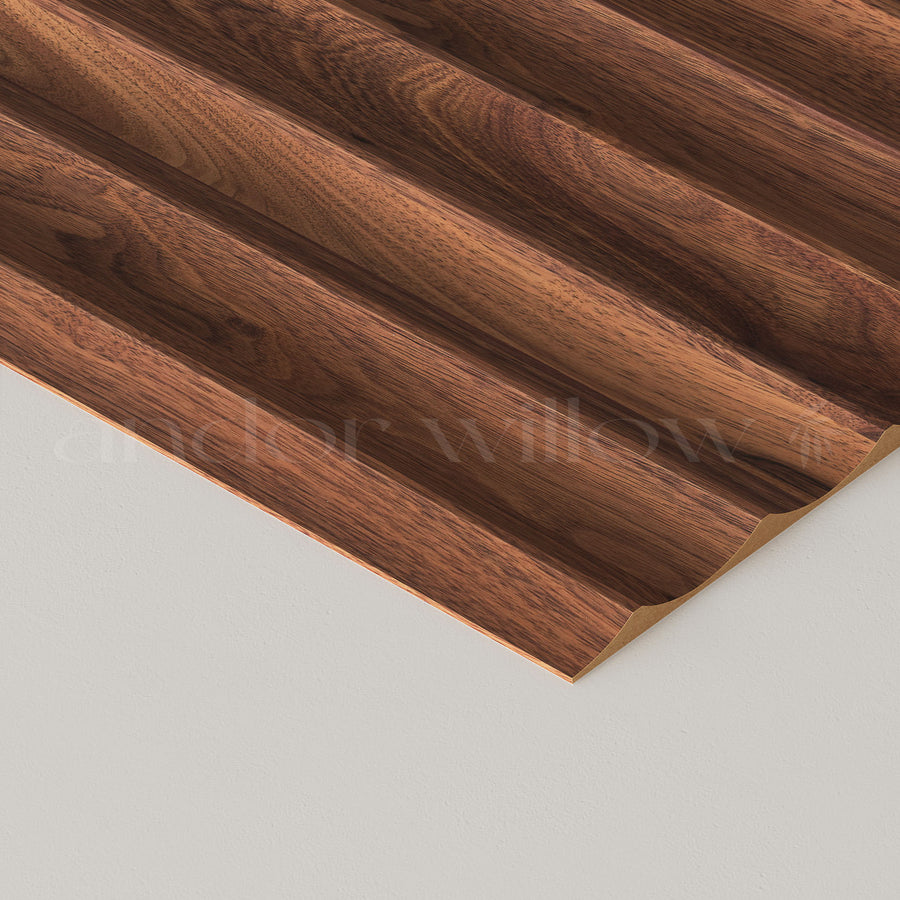
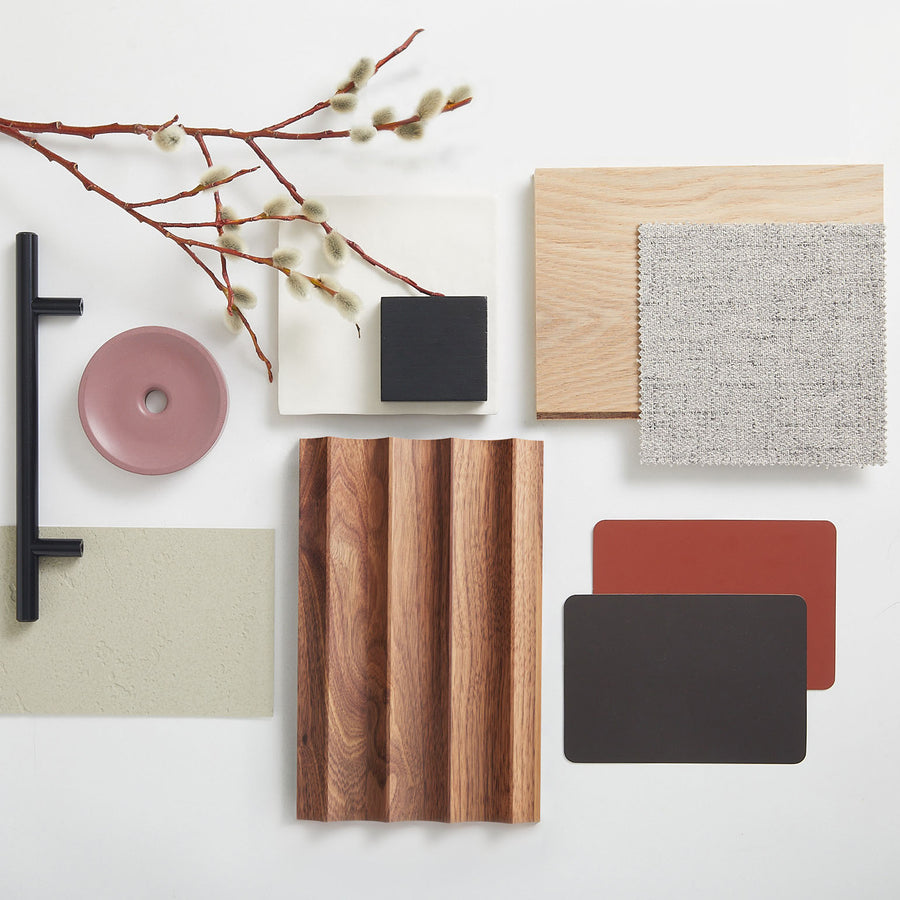
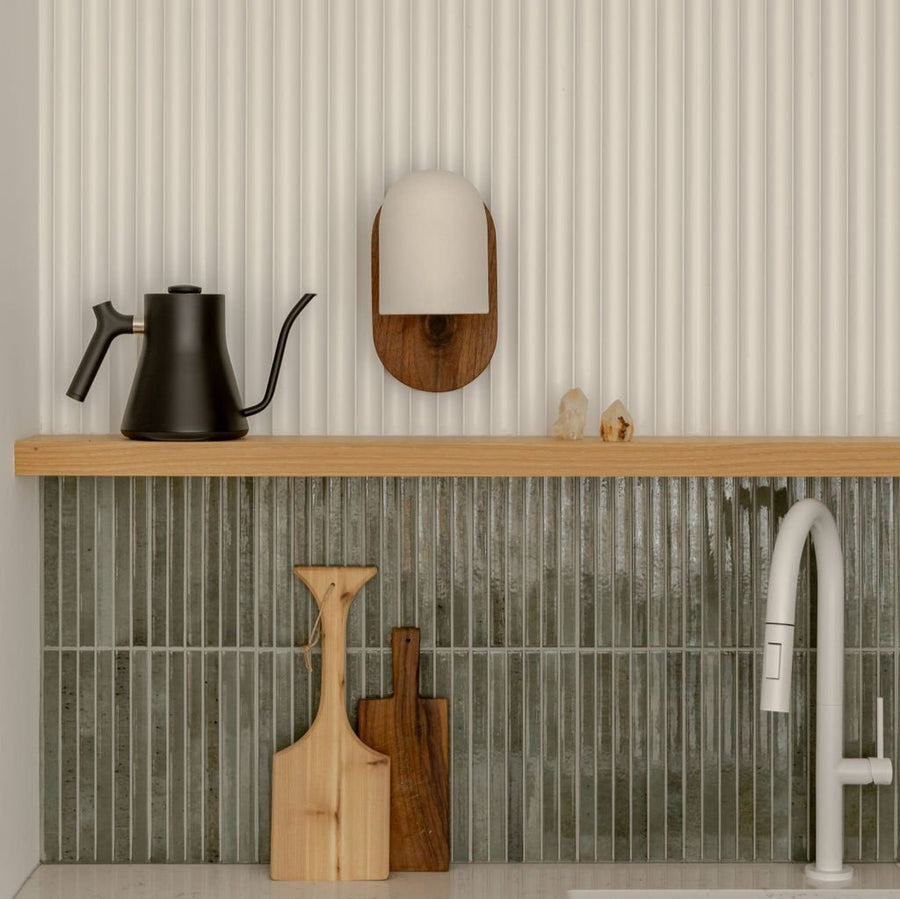
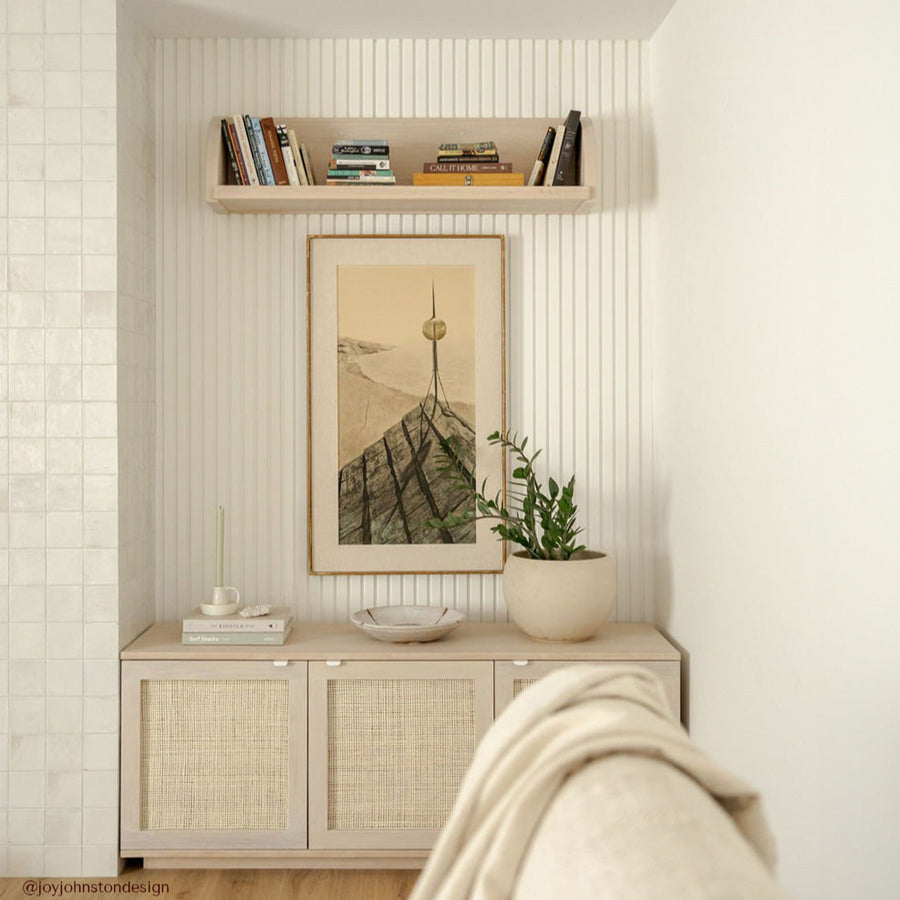
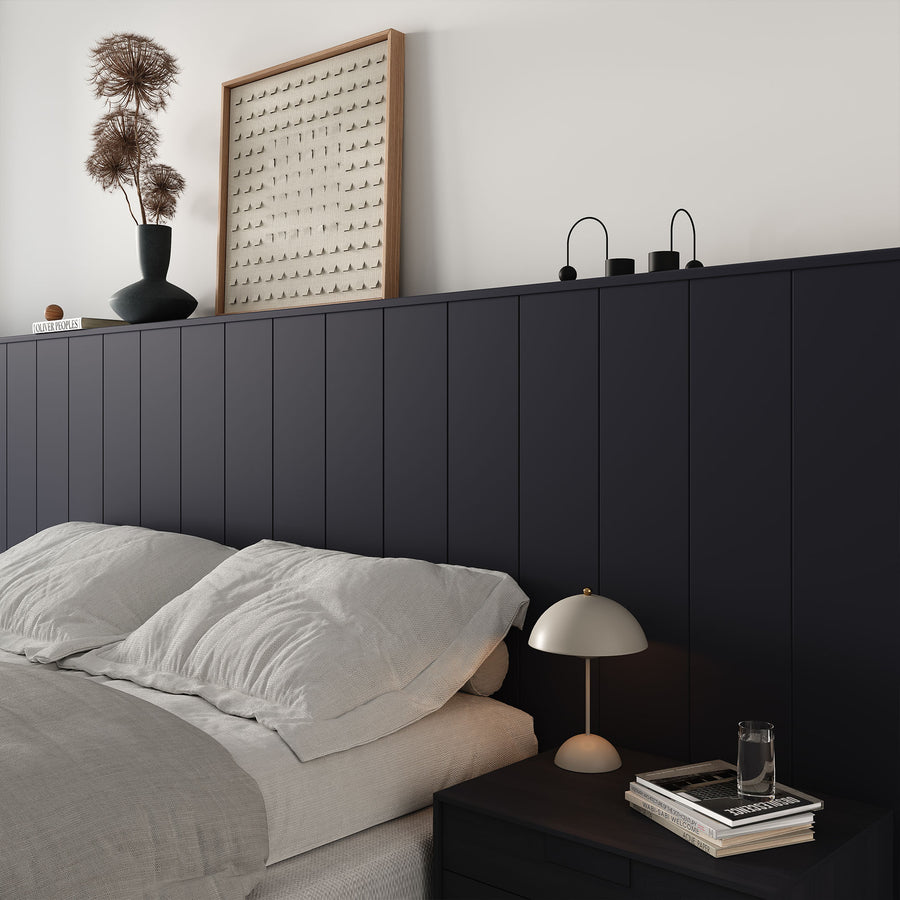
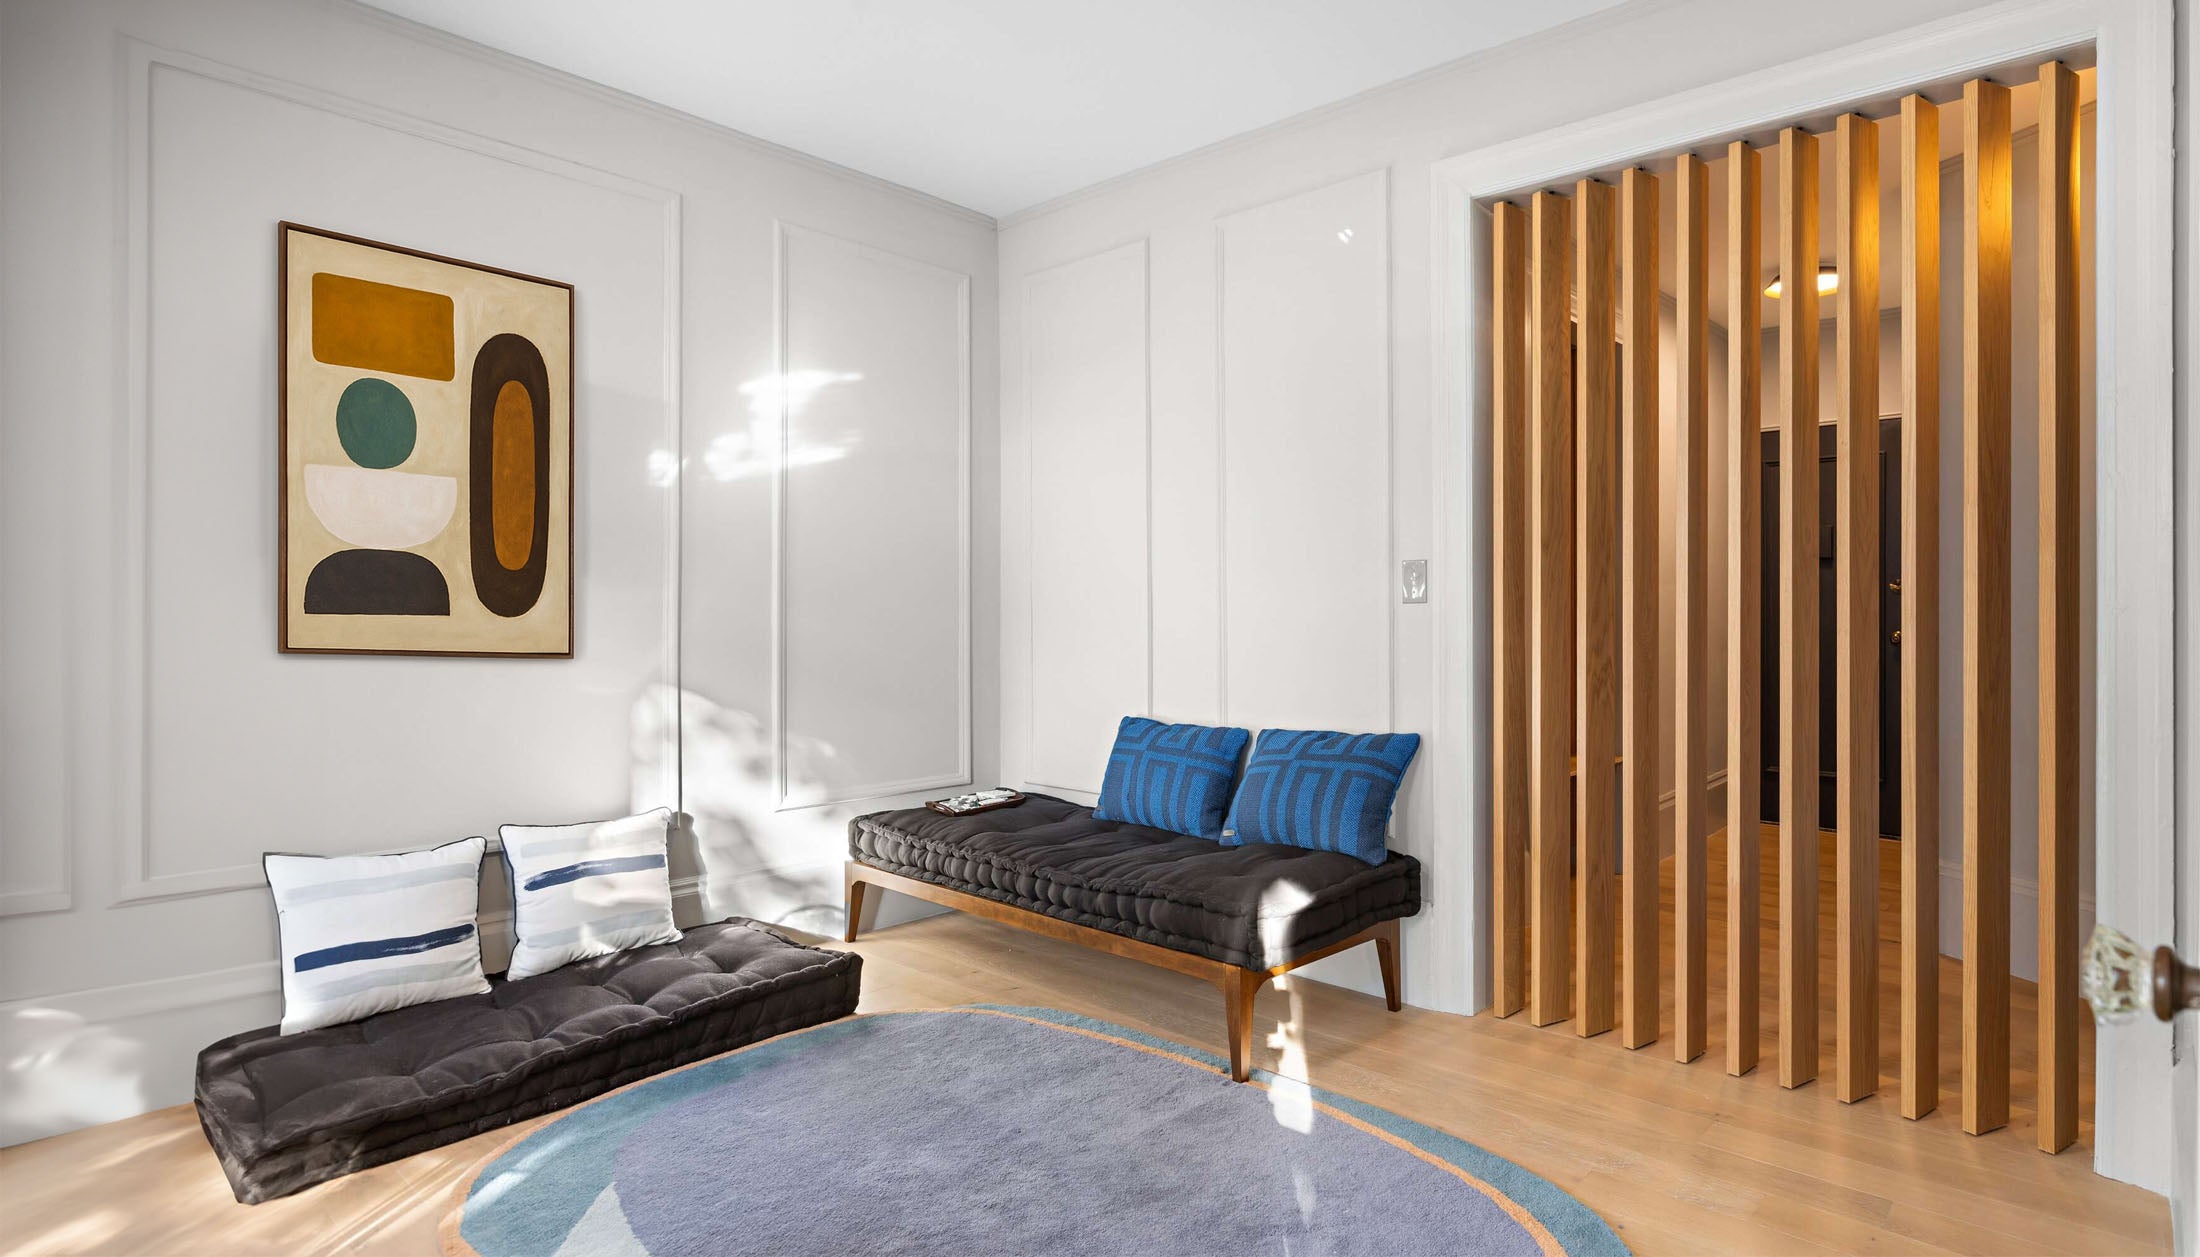
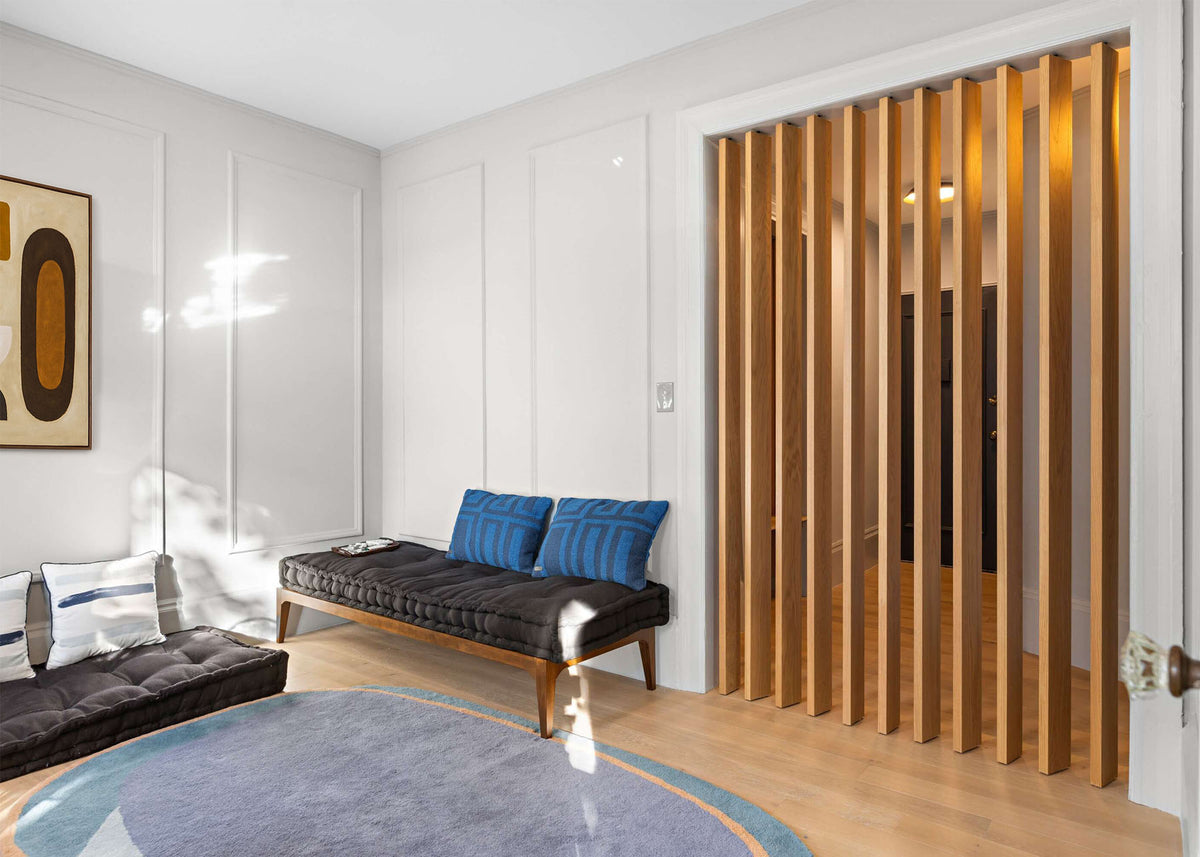
Wood paneling, paintable paneling and room dividers for refined spaces.


These panels are a great way to really get that beautiful, designer look you might be looking for!
Nick Lewis
Interior Designer & Youtuber
Extremely happy with our Andor Willow panels. Installation could NOT be easier and they immediately give any space more architectural detail and interest. 10/10!
Taylor Weimar
Homeowner & Designer
Andor Willow has a high-quality panel product that is ready to go out of the box...I've used a variety of their panels for my home, offices, and more.
Justin Tse
CEO, Feature Media


FULLY REFUNDABLE
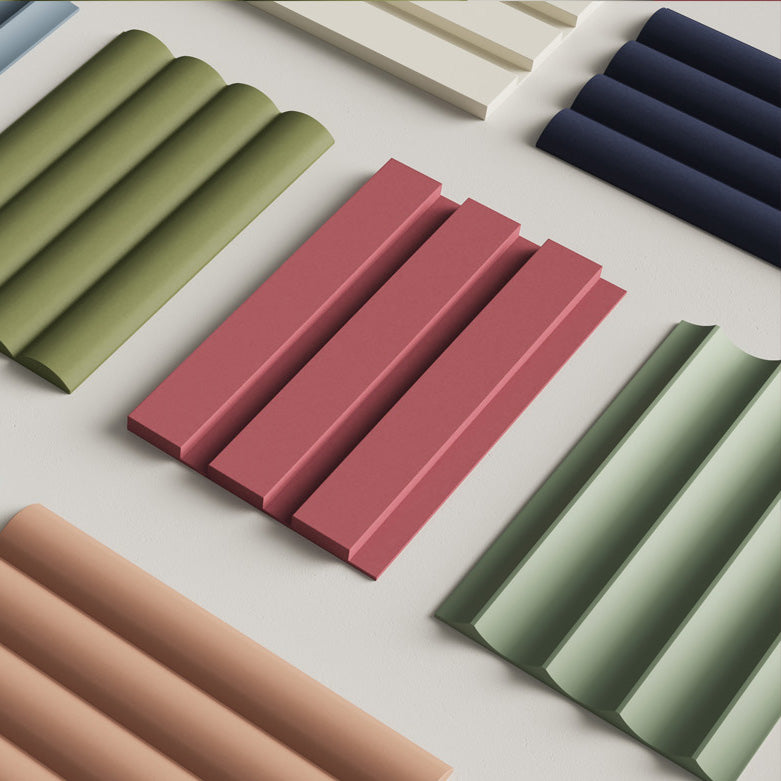
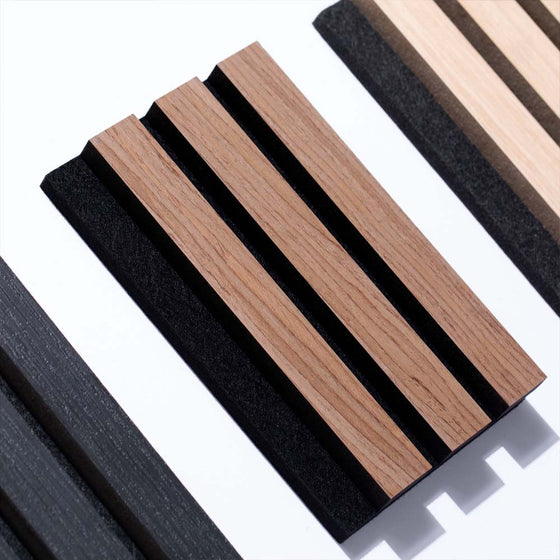
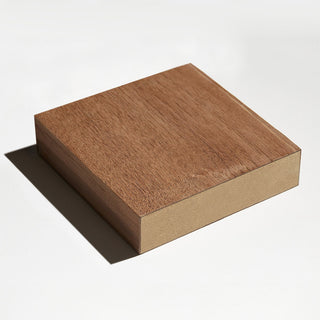
Order 3 samples, get the 4th free. Refundable samples of any of our exclusive product lines are available to order and ship in a matter of days.
I used the narrow slat panels to finish two rooms in a new build contemporary house and the look is phenomenal. The installation was very straight forward-I installed 28 panels in 9 hours by myself . If you want to dramatically change the look of your room these panels are the easiest and most cost efficient way to do it. The panels have a high quality finish and the felt backing provides effective sound proofing
I highly recommend these panels.
We love our fluted panels! My carpenter thought they were an easy install. Only recommendation I have is to sell them by the panel instead of box. I have some leftovers and they are quite expensive to not use.
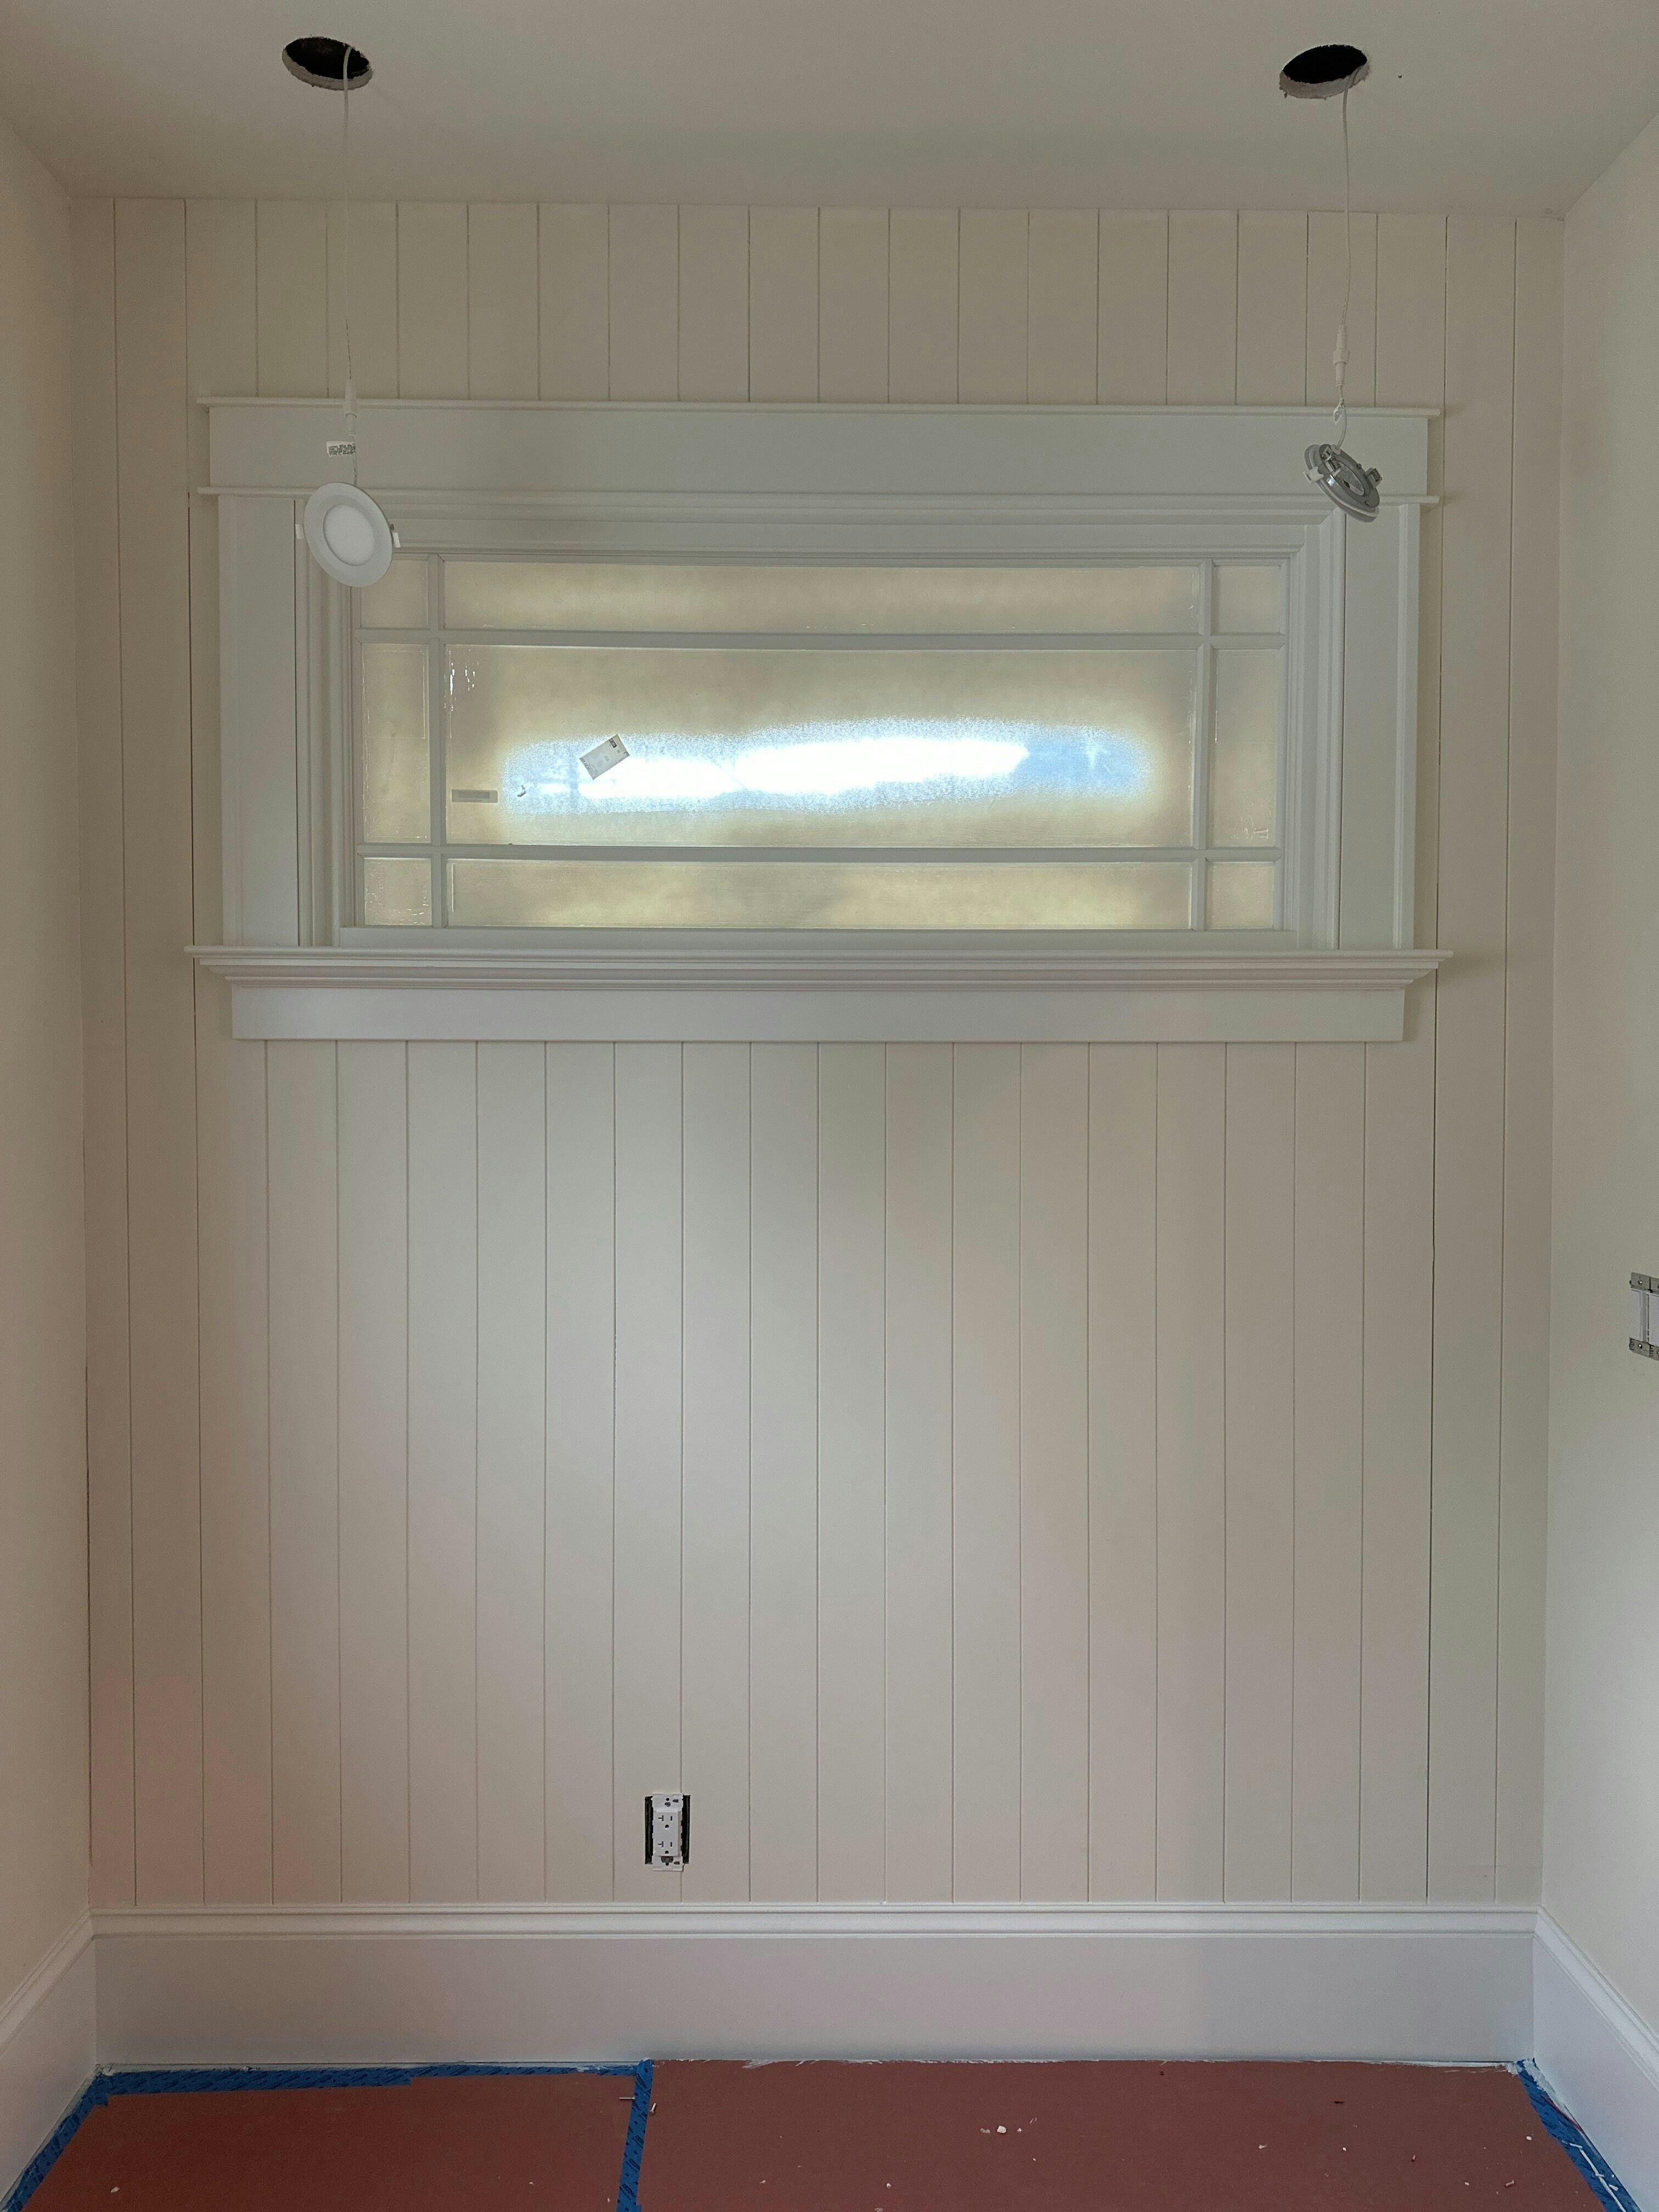
These wall panels were so easy to put up and they turned out beautiful! We did the scalloped panels and they are different than anything I’ve ever seen. We hung them with glue and caulked in between each panel before painting to make it all seamless.
I can't say enough about how much I enjoy working with Andor Willow. The samples I requested arrived quickly, my sales rep (Devon) made quoting simple, then the product shipped and installed easily. My clients could not be more pleased with the transformation of their space! I am already specifying their product on a few other projects and look forward to working with them again in the future as often as possible.
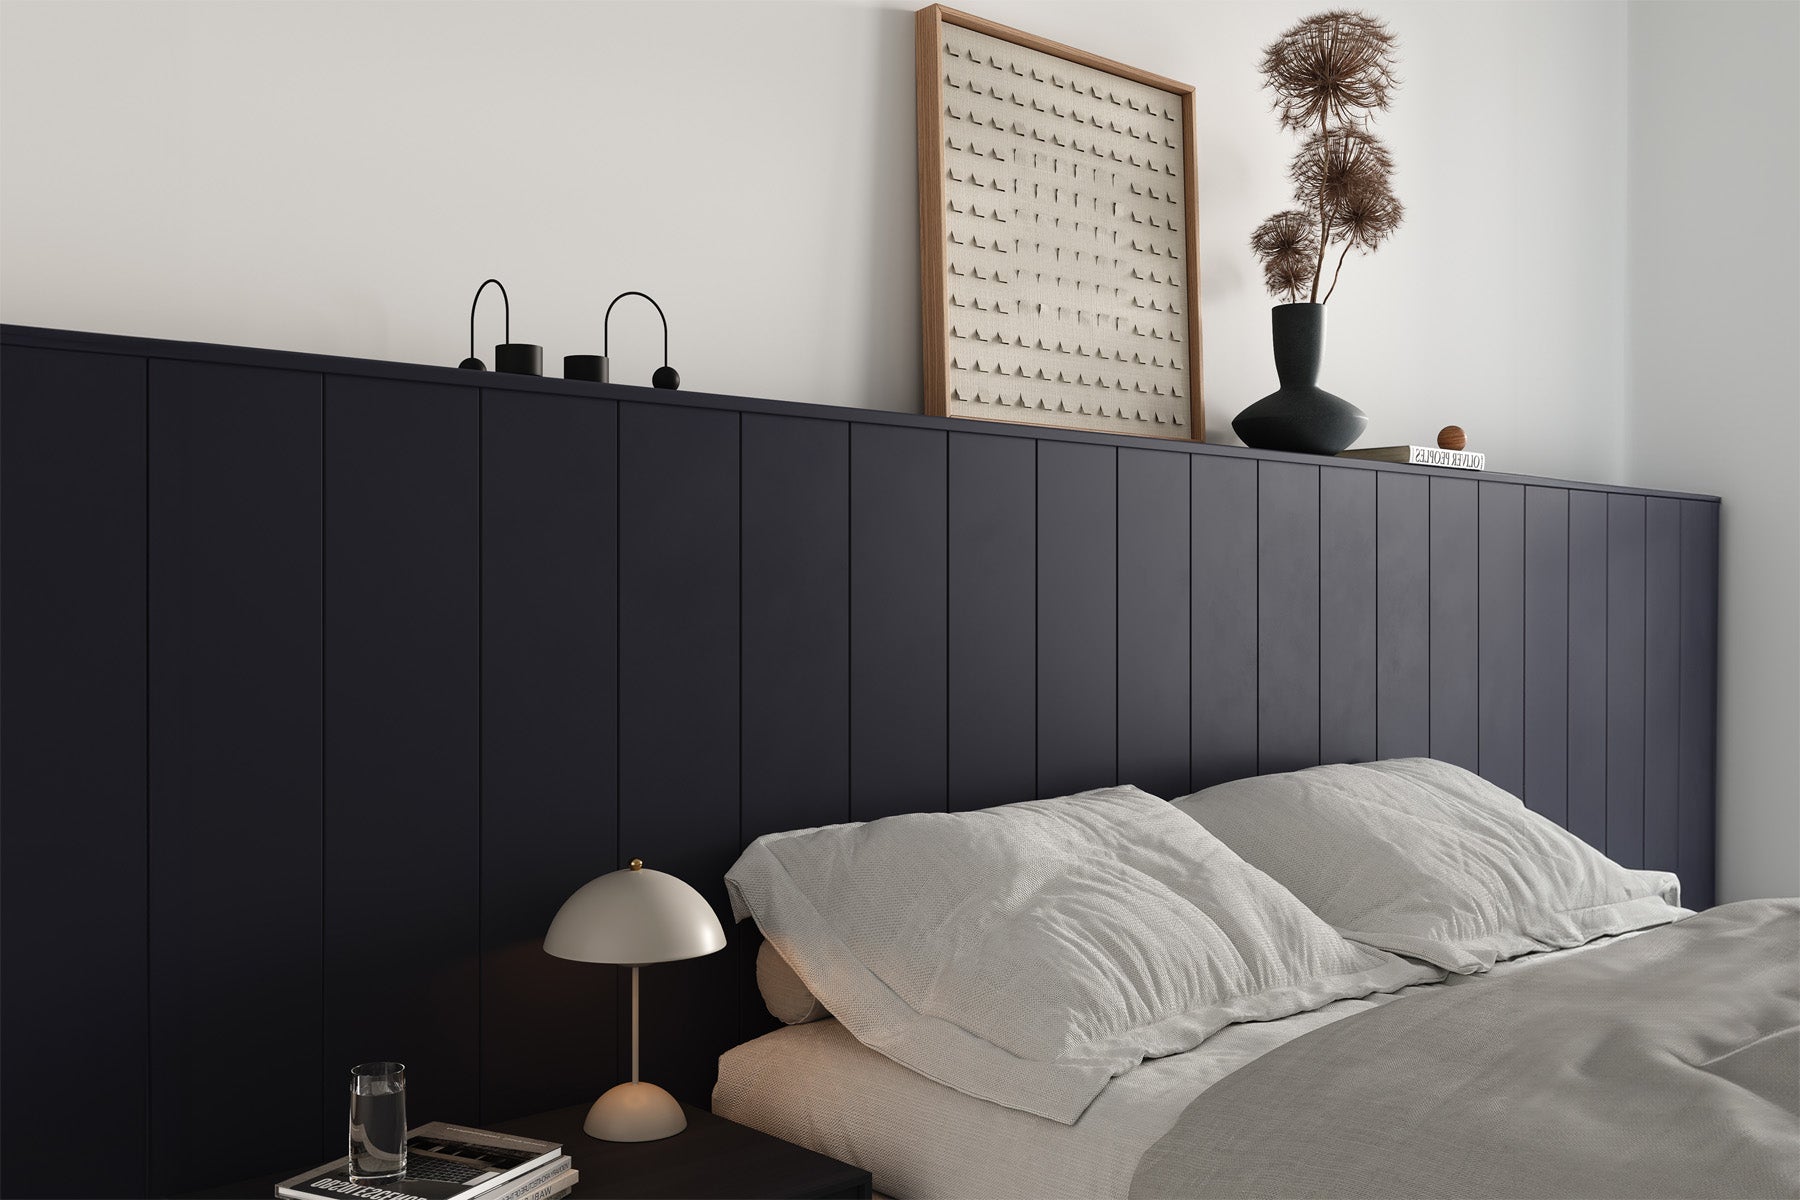
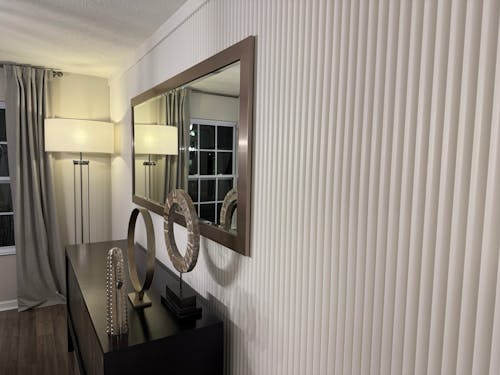
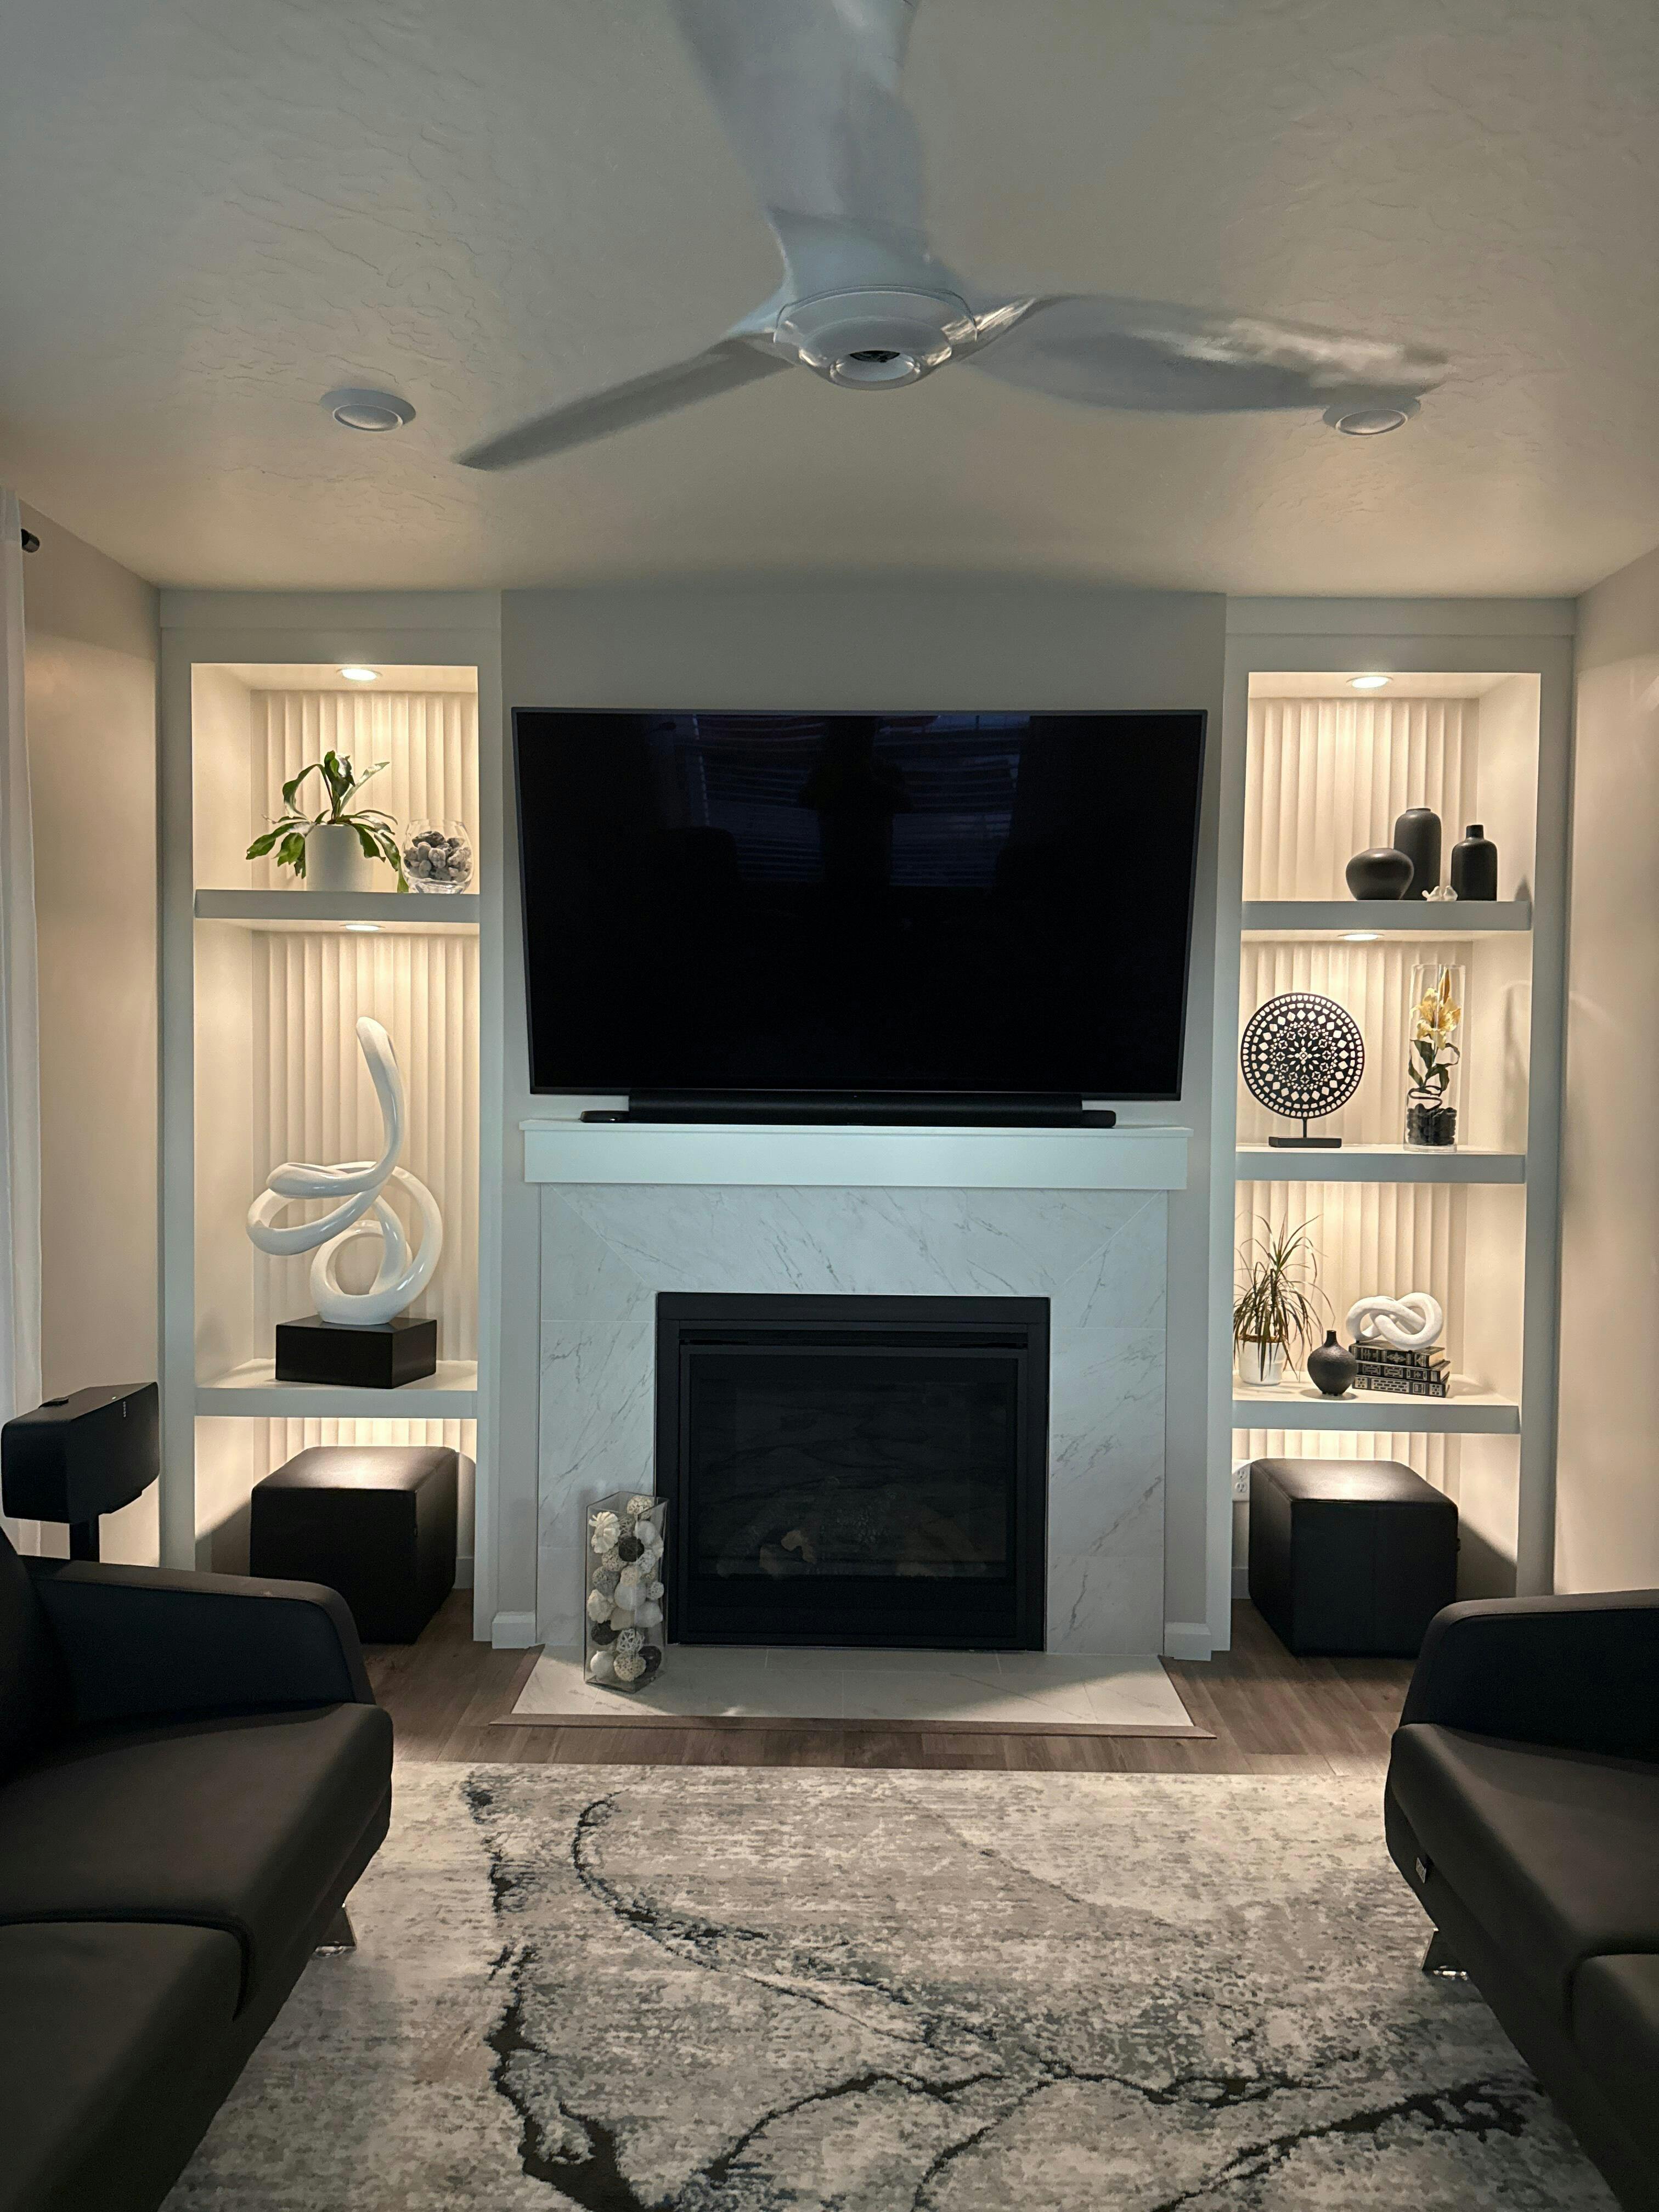
I couldn’t be happier with these paintable ribbed wall panels! They were some of the most reasonably priced options I found online, and the quality exceeded my expectations. I hired a handyman to handle the installation, and after touching up the seams and the top of the wall with a little light caulking, the finished result was absolutely flawless.
The panels took paint beautifully, and the transformation they brought to my room is incredible. This feature wall has completely elevated the look of my space, and every time I walk into my house, I feel so excited and proud to see it!
The product is AWESOME! Nothing negative to say. We are still in the process of installing so I can add a “finished” photo then. But we love it!
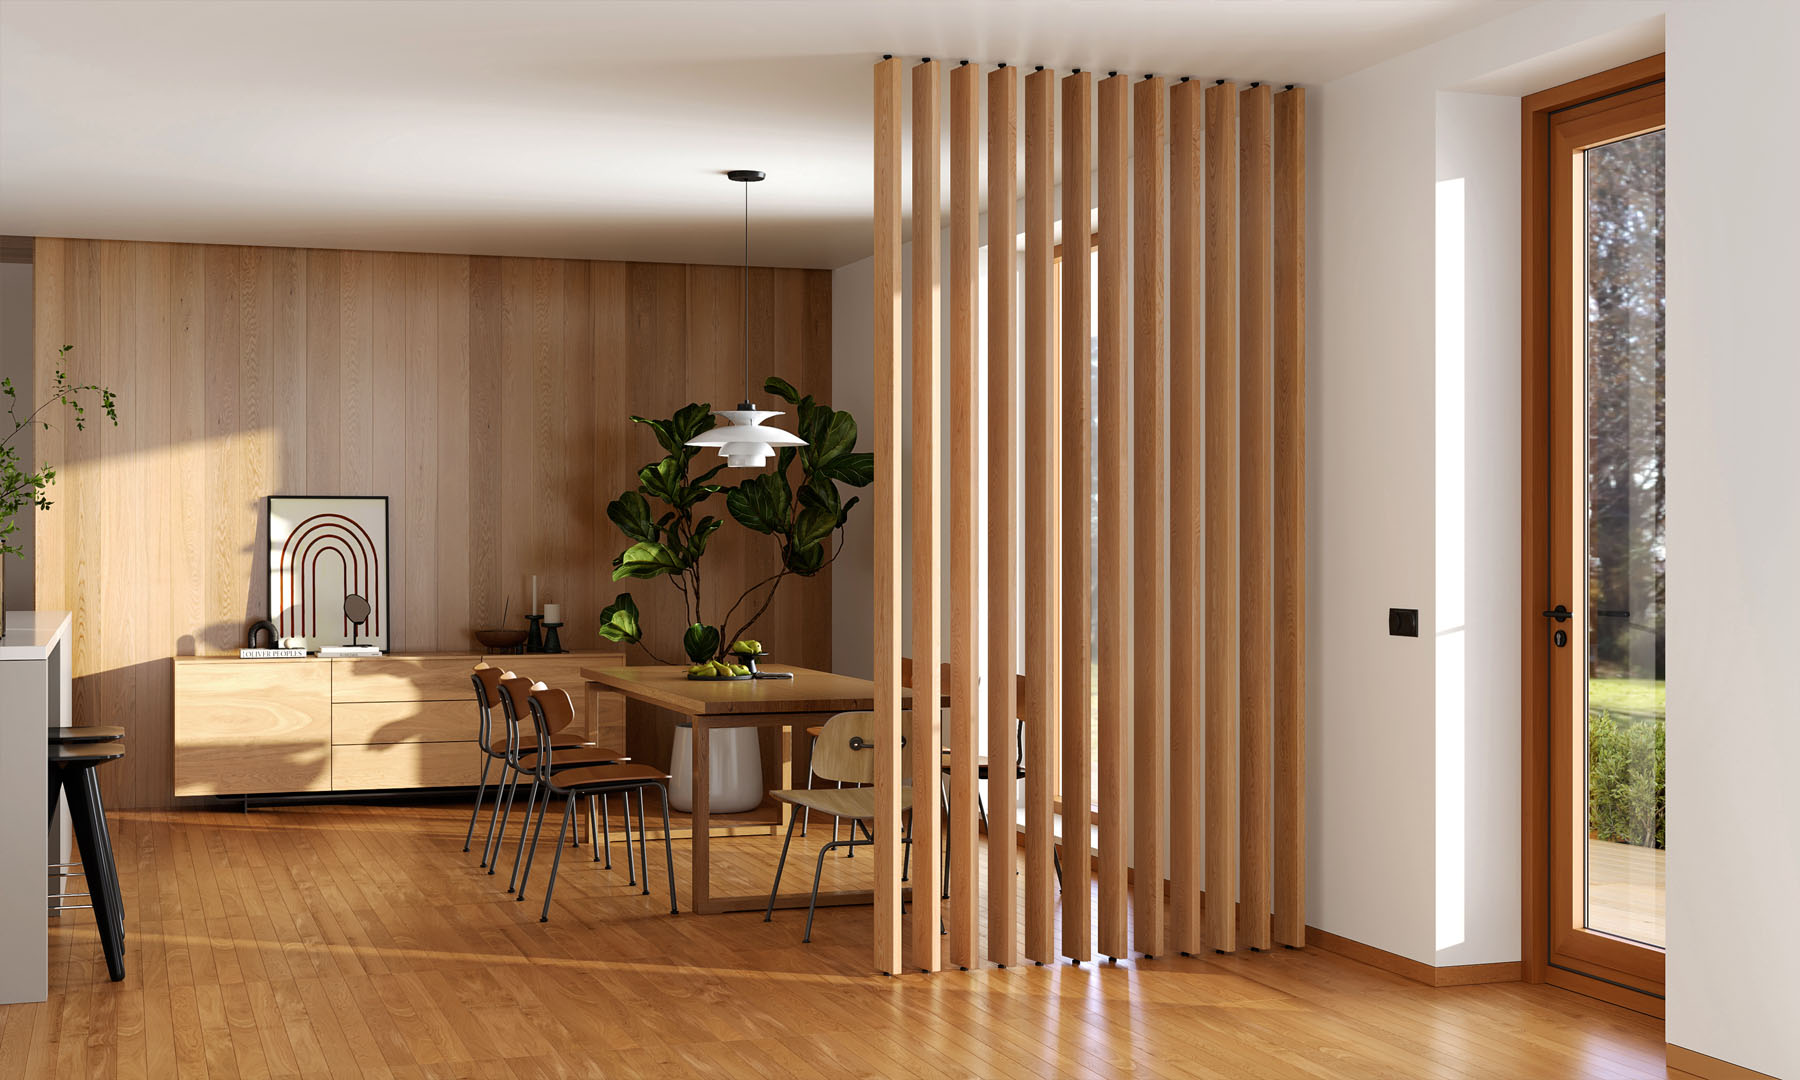
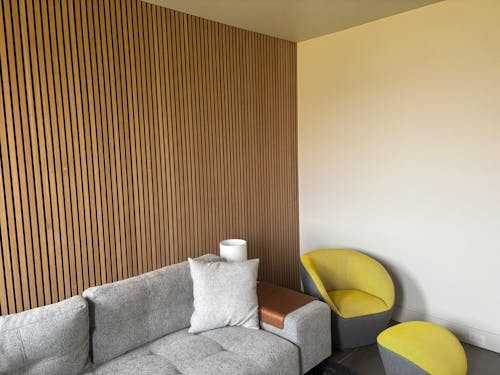
We absolutely LOVE our wood slat room divider! Our living space is an awkward size, and this divider was the perfect addition to give the room dimension and a stylish touch while keeping everything feeling open and airy. It truly transforms the space and adds a lot of character. Guests always mention the slats when they see them for the first time.
The installation was straightforward if you're even a little handy, though we'd definitely recommend using a laser plumb bob to ensure everything lines up perfectly. It made the process much easier and more precise for us.
Also, the customer service was top notch. When we received the package, we had a small amount of missing hardware which was promptly taken care of for free.
Overall, a great product, and will definitely come back if we need to add more design details to our house.
This room divider has been an amesome addition to our living space. The high-quality wood and exceptional craftsmanship make it an eye-catching aesthetic centerpiece, elevating the entire room with its warm, modern appeal. Beyond its visual charm, it’s incredibly functional—providing just the right amount of privacy without making the space feel closed off. The durability is outstanding. It’s a perfect blend of style, functionality, and quality—highly recommend for anyone looking to enhance their home!
Relatively easy to cut and install. Getting the seams just right on corners was a challenge and hard to line up perfectly but overall the result is beautiful!
Excellent product. The install was exactly as described. And the product looks excellent in my space. Will serve well as a subtle room divider and privacy screen for occasional overnight guests.
Excellent customer service before and during the ordering and installation. Highly recommend.
Living room looks amazing
Love the panels- highly recomend
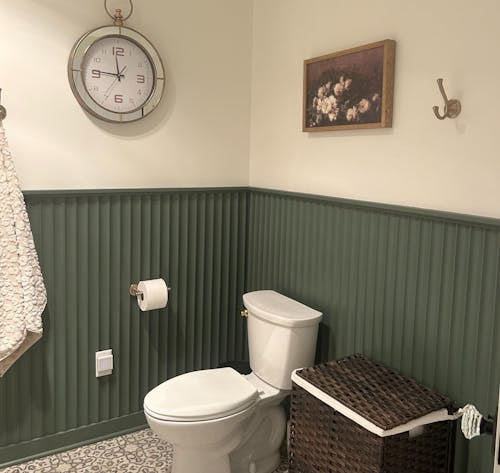
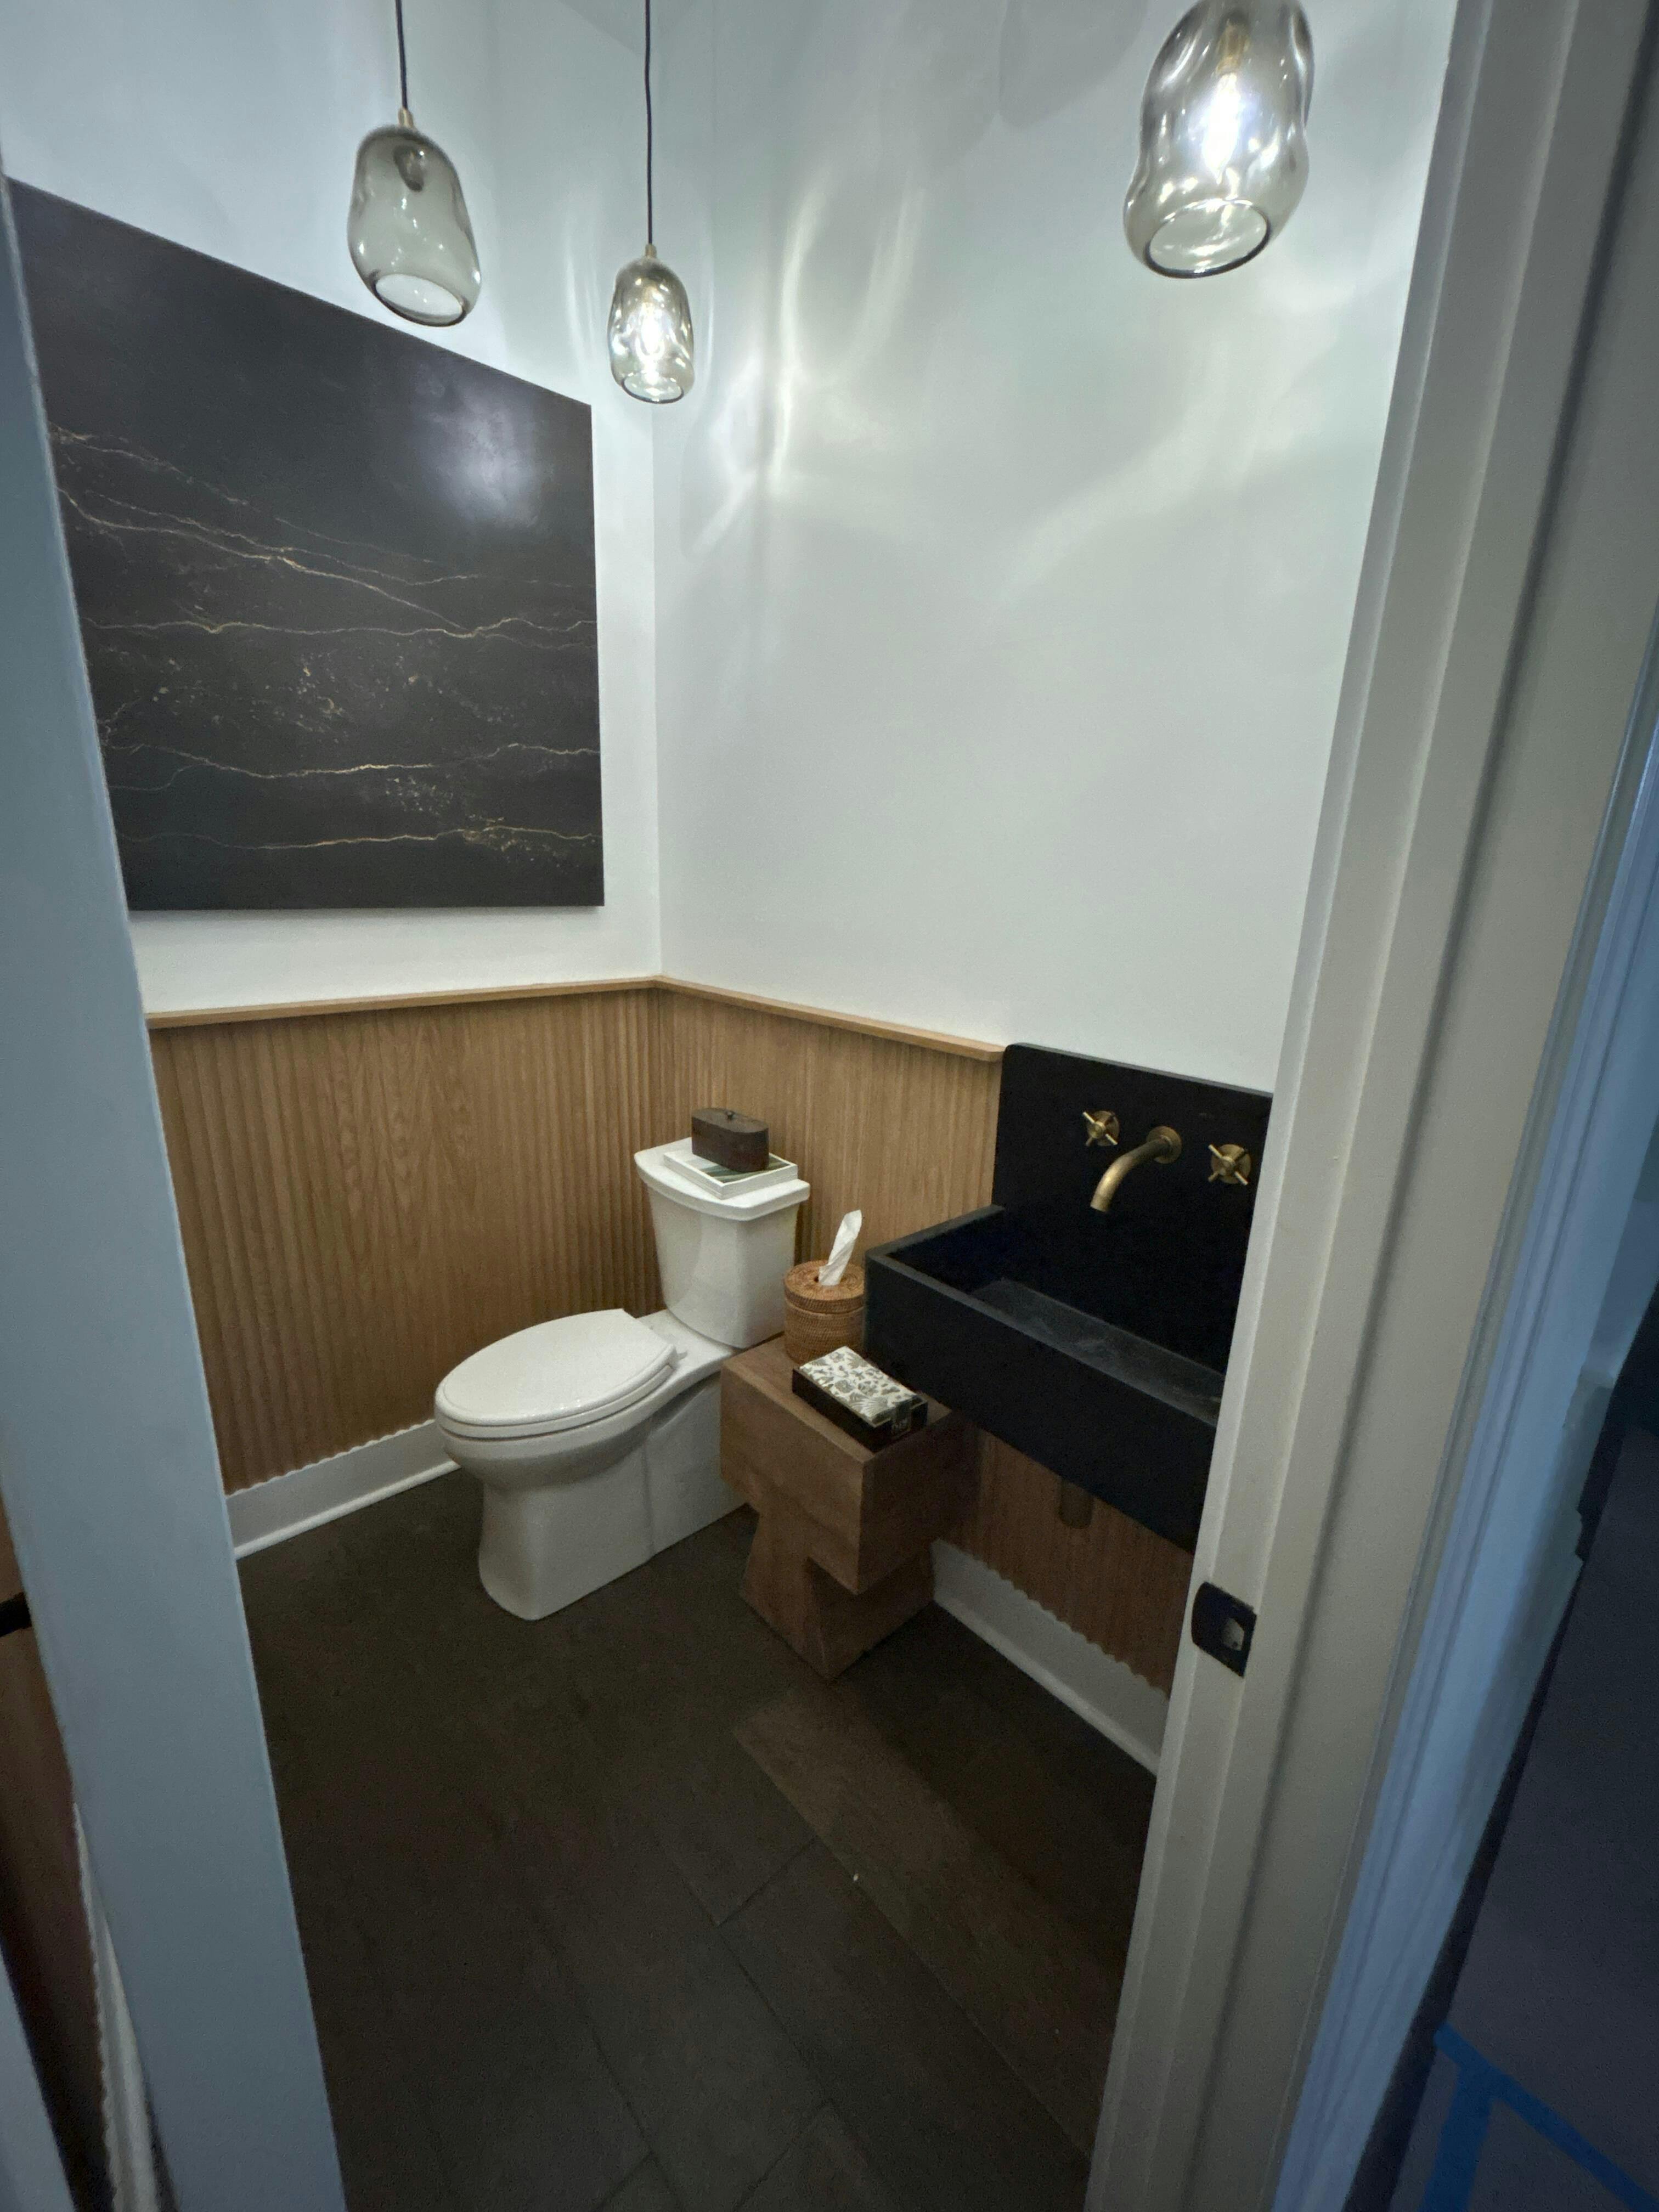
I specified a slatted design for a client water closet within the new bath. I ordered the two samples to review the wood and settled on the white oak. It perfectly matches the vanities I had built for the client. The product quality is fab. It was significantly less than custom building with my vanity woodworker. Client is thrilled. I’ll be using again on other projects.
Love the finished look!
We absolutely love our new wide willow panels. They look amazing!
The installation is straight forward, and delivery met our expectations.
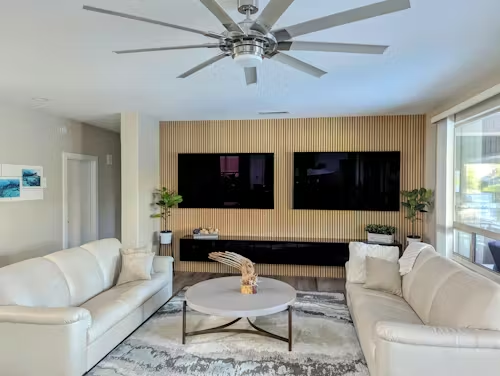
The tall white oak wood with black felt panels worked great! They transformed and updated our living area. They even helped with the noise
level in the room. Installation was easy, we chose the glue method on the back of the felt panels. Very easy to install. We have had a lot of compliments.
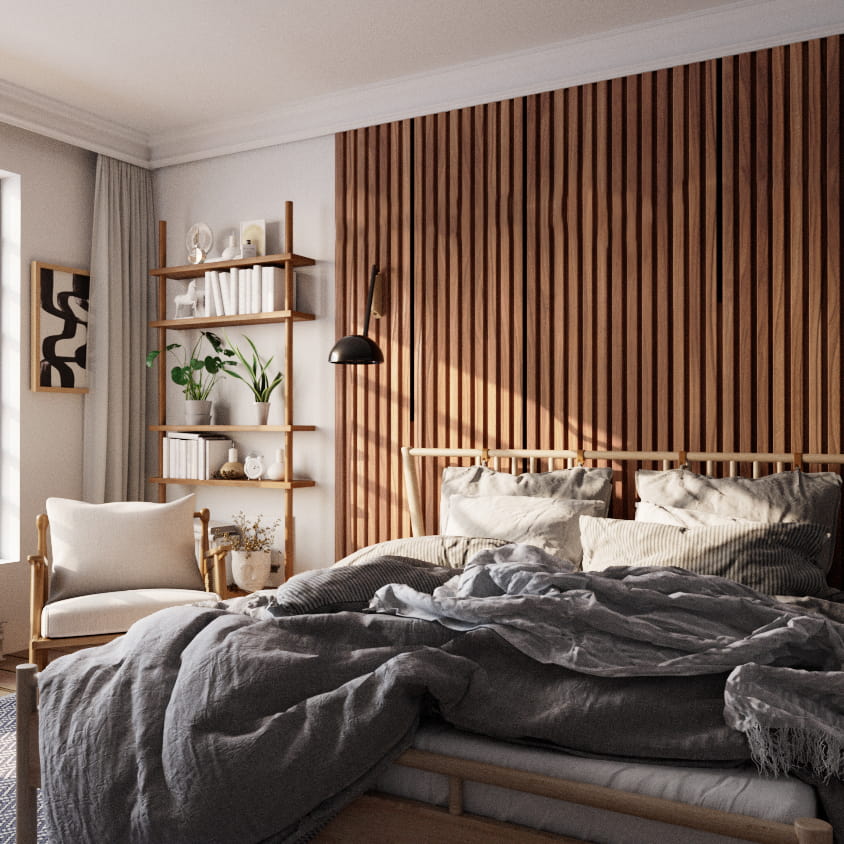
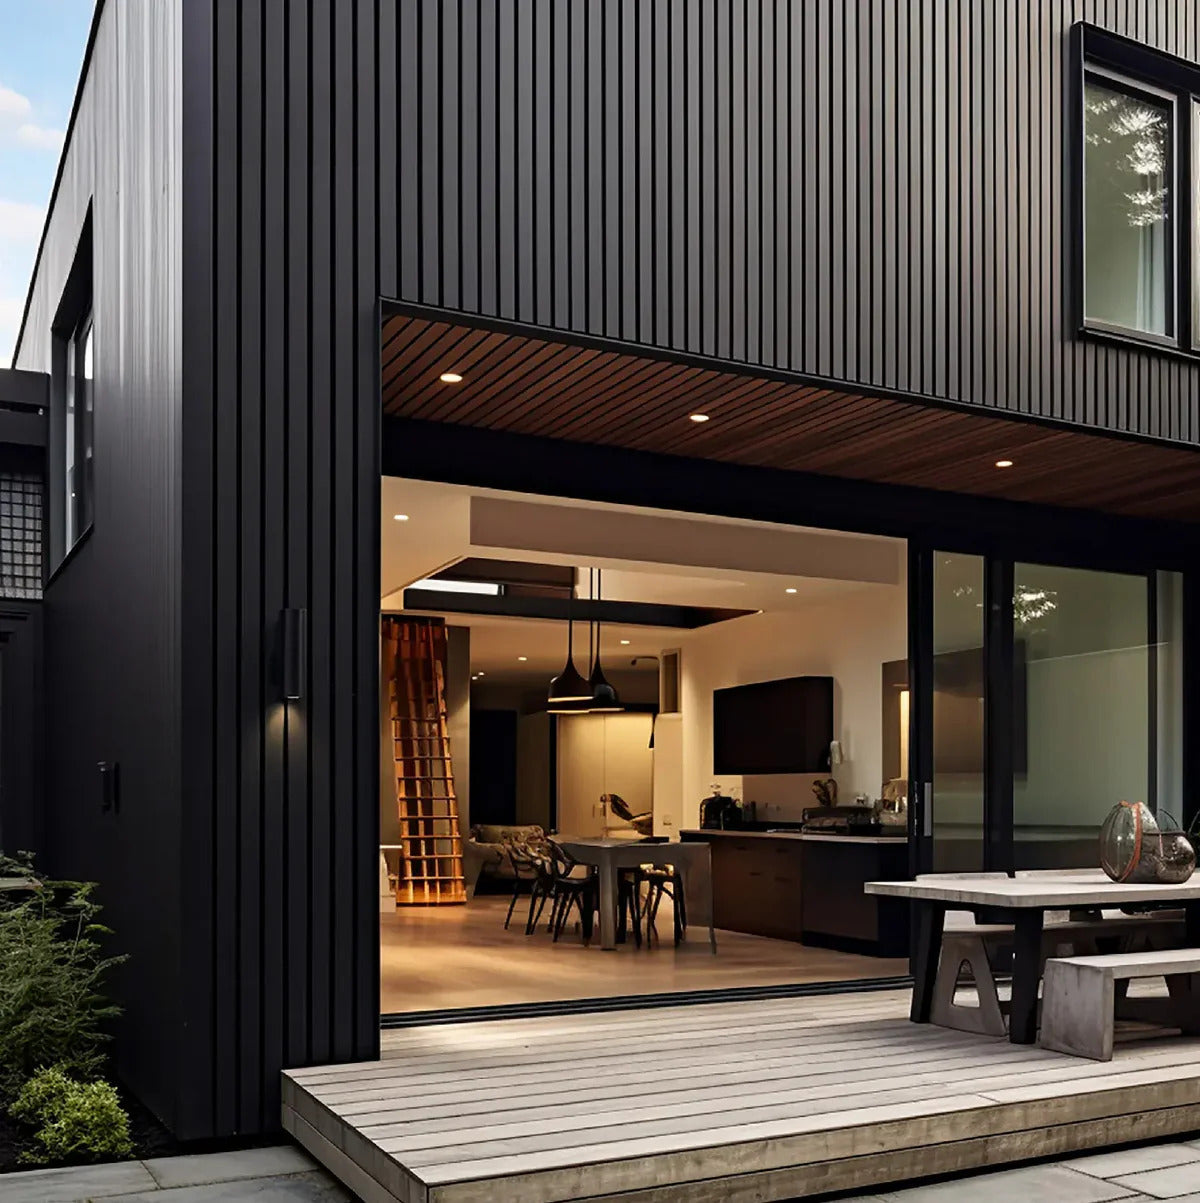
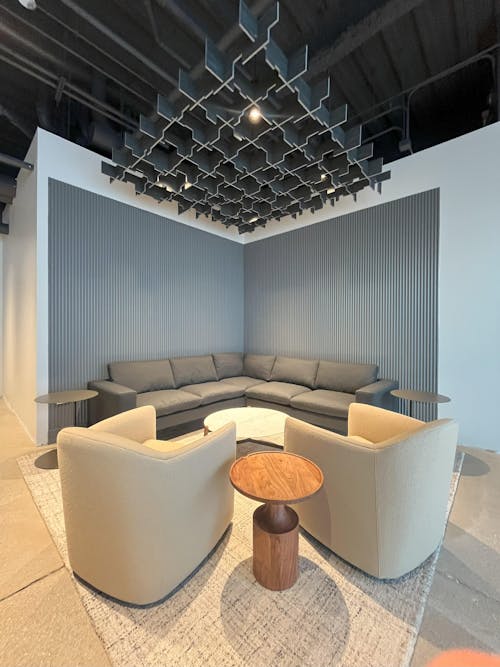
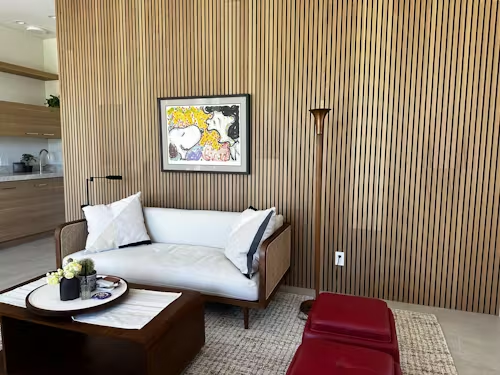
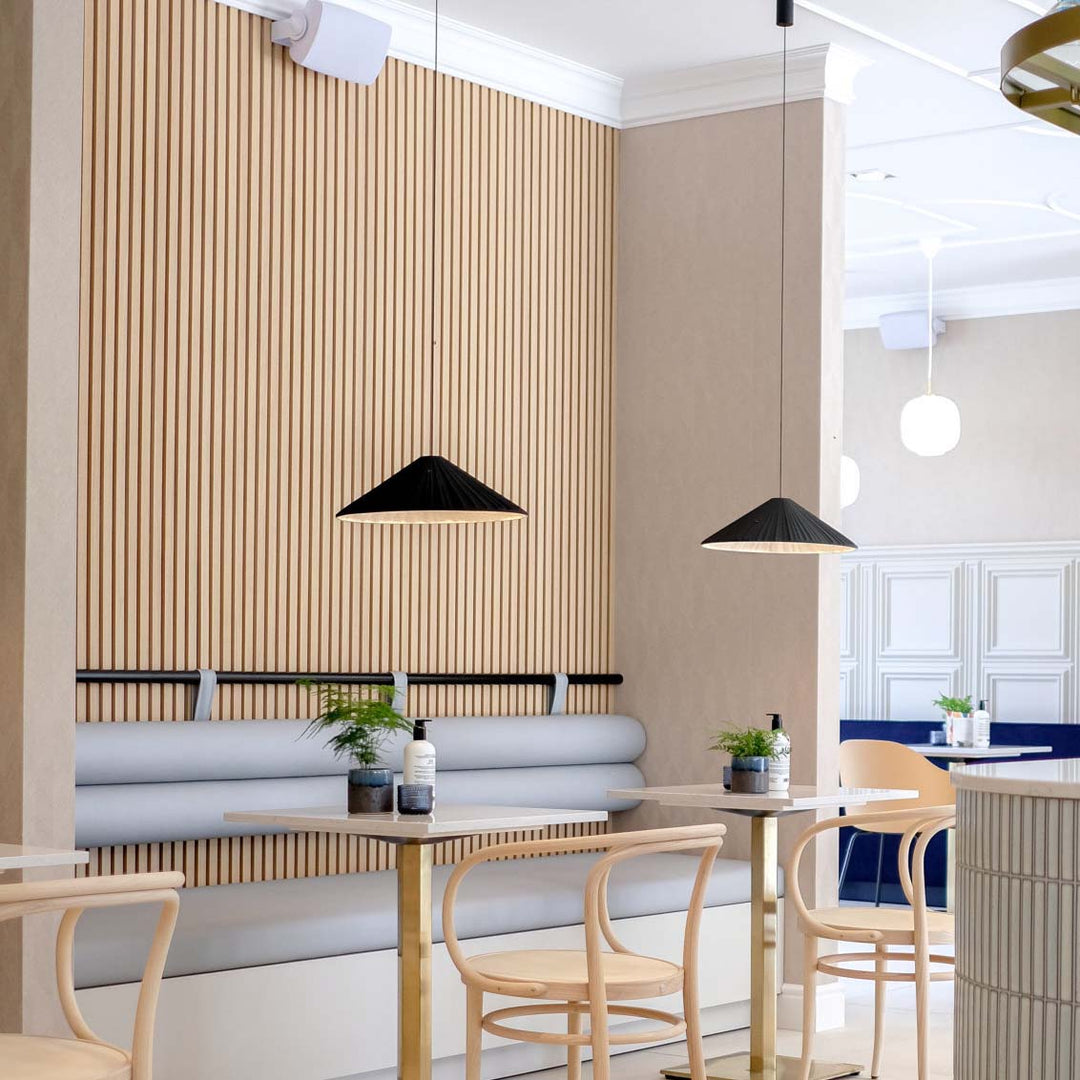
From the living room to the bedroom and anywhere in between, our bespoke acoustic slat wood wall panel product line will instantly transform any space in your home.
Our fast, expert service, artisan product quality, and reliable lead times are just a few of the reasons we're trusted by over 450 trade partners.
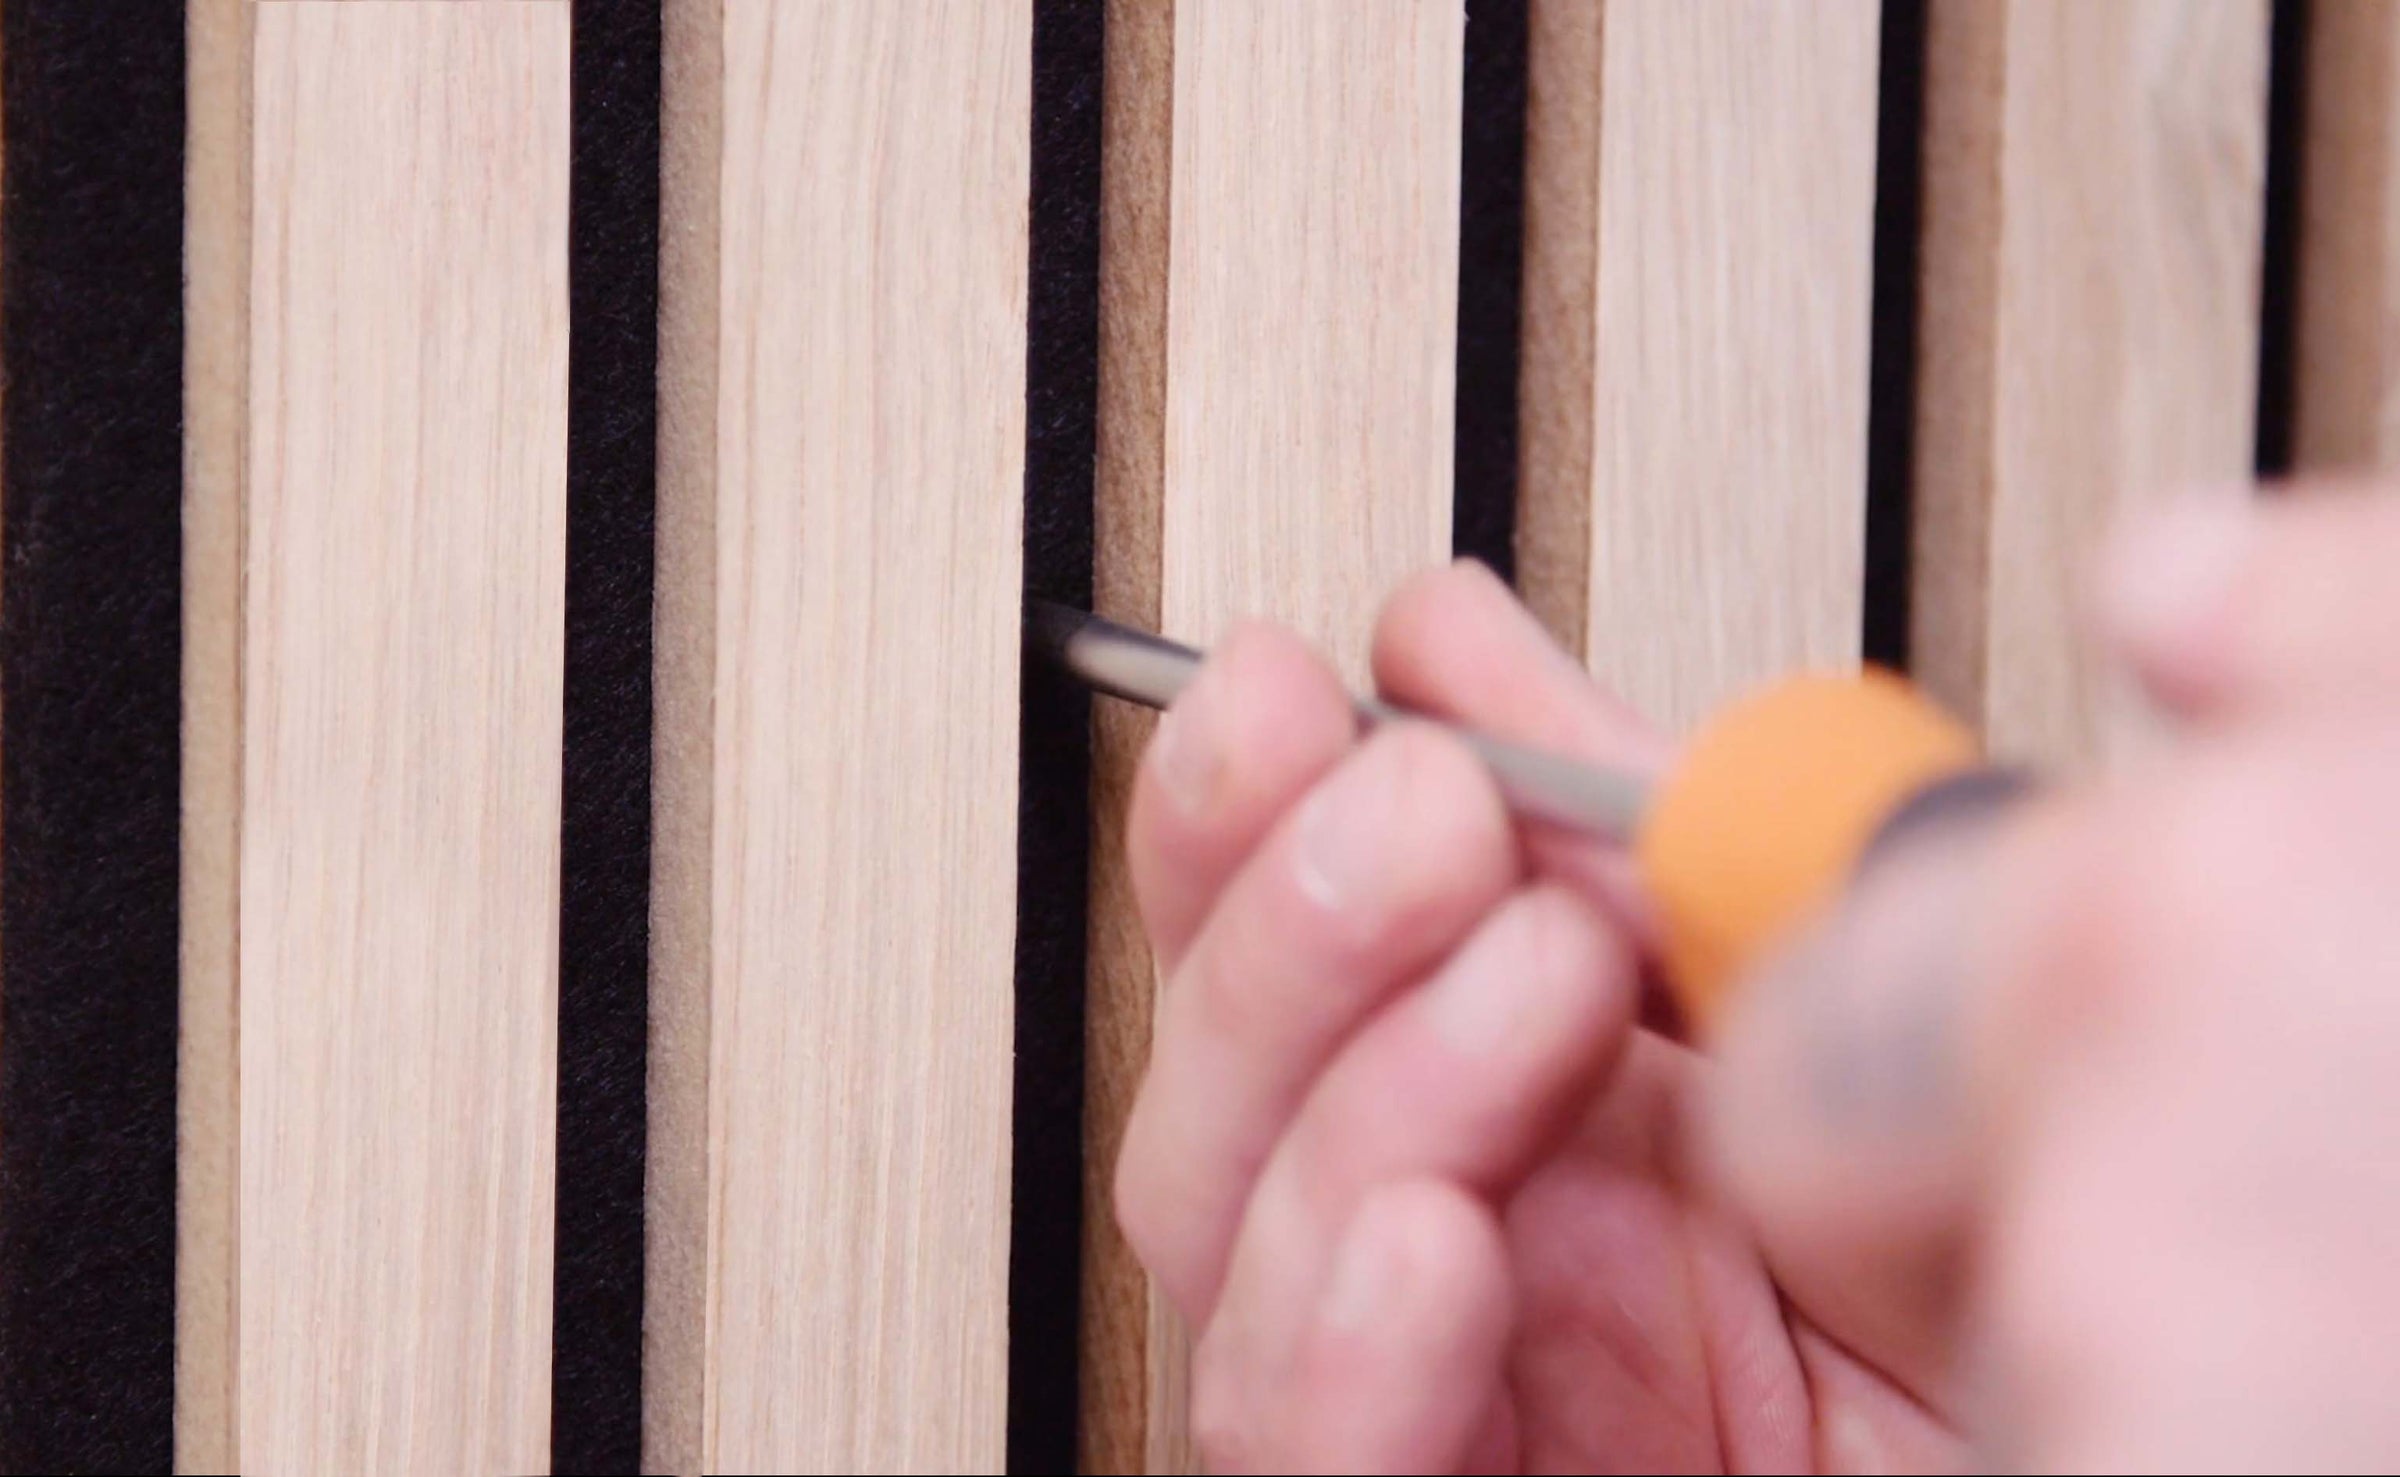
Whether you're a DIYer or you're working with a professional, our products are designed to reduce traditional installation times by 90%.
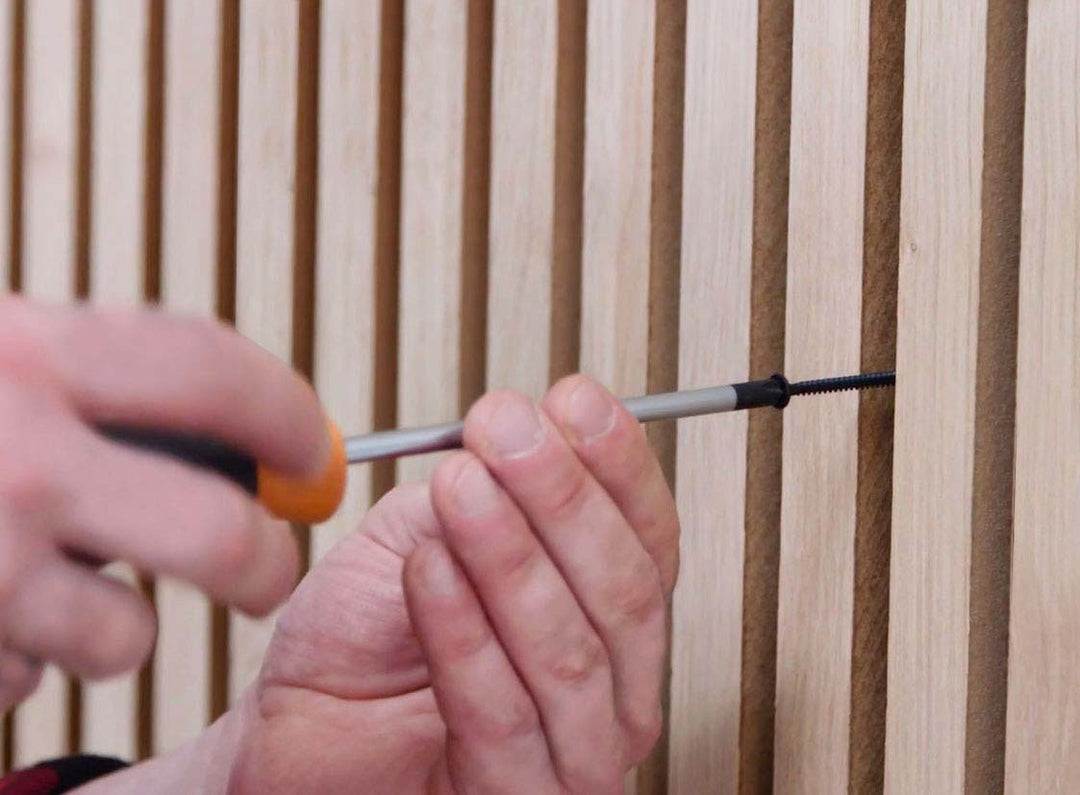
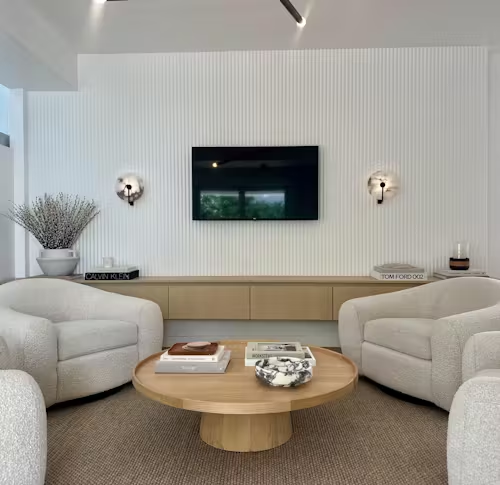
Designed with you in mind, our products can be installed and customized with minimal tools and experience.

We plant one tree for every panel sold, and we're on a mission to be 100% carbon neutral in 2025.
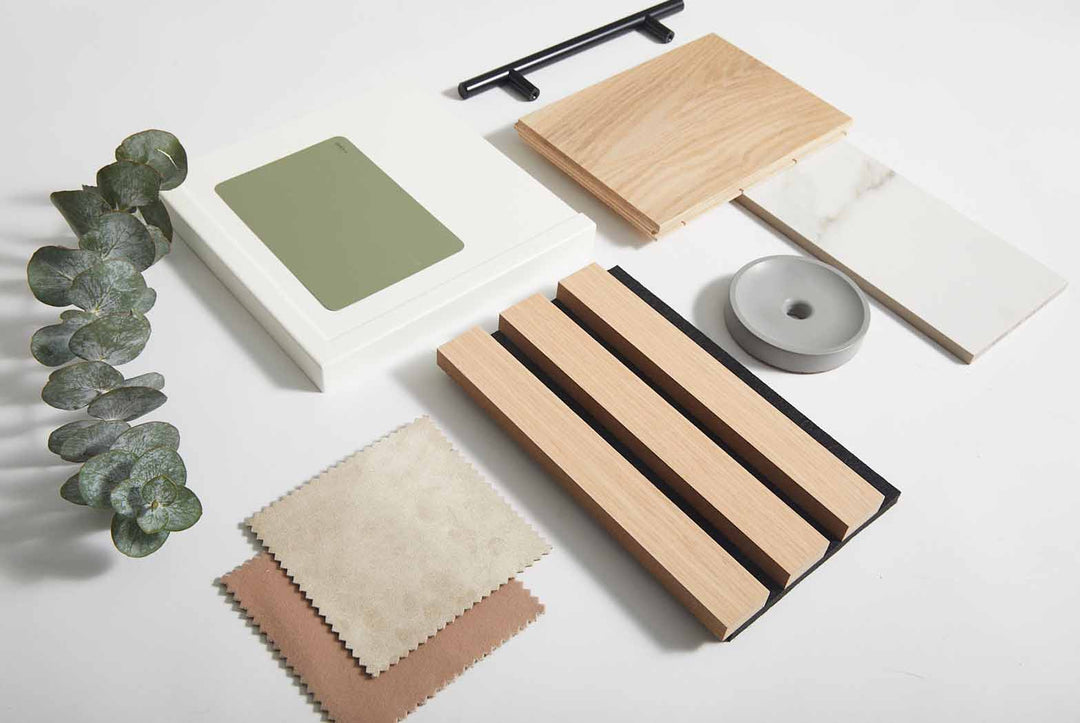
See and feel the difference of our panels in person with our fully-refundable samples. Buy any 3 and get a 4th sample free!
I get continual compliments on the uniqueness of the panels. Customer service offered a solution for a back order which expedited our bathroom remodel.
Would order again
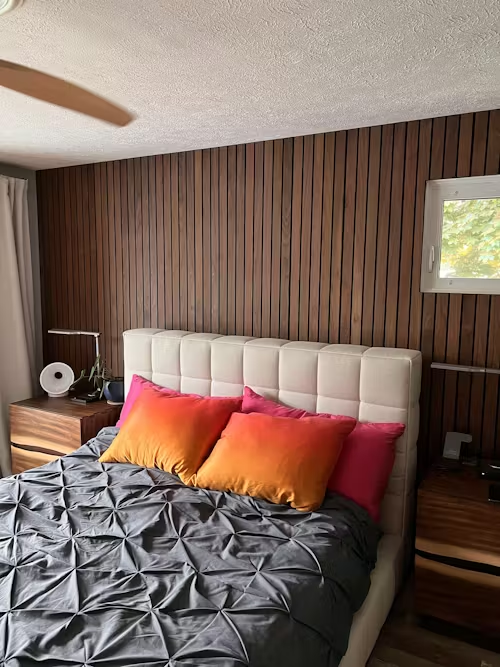
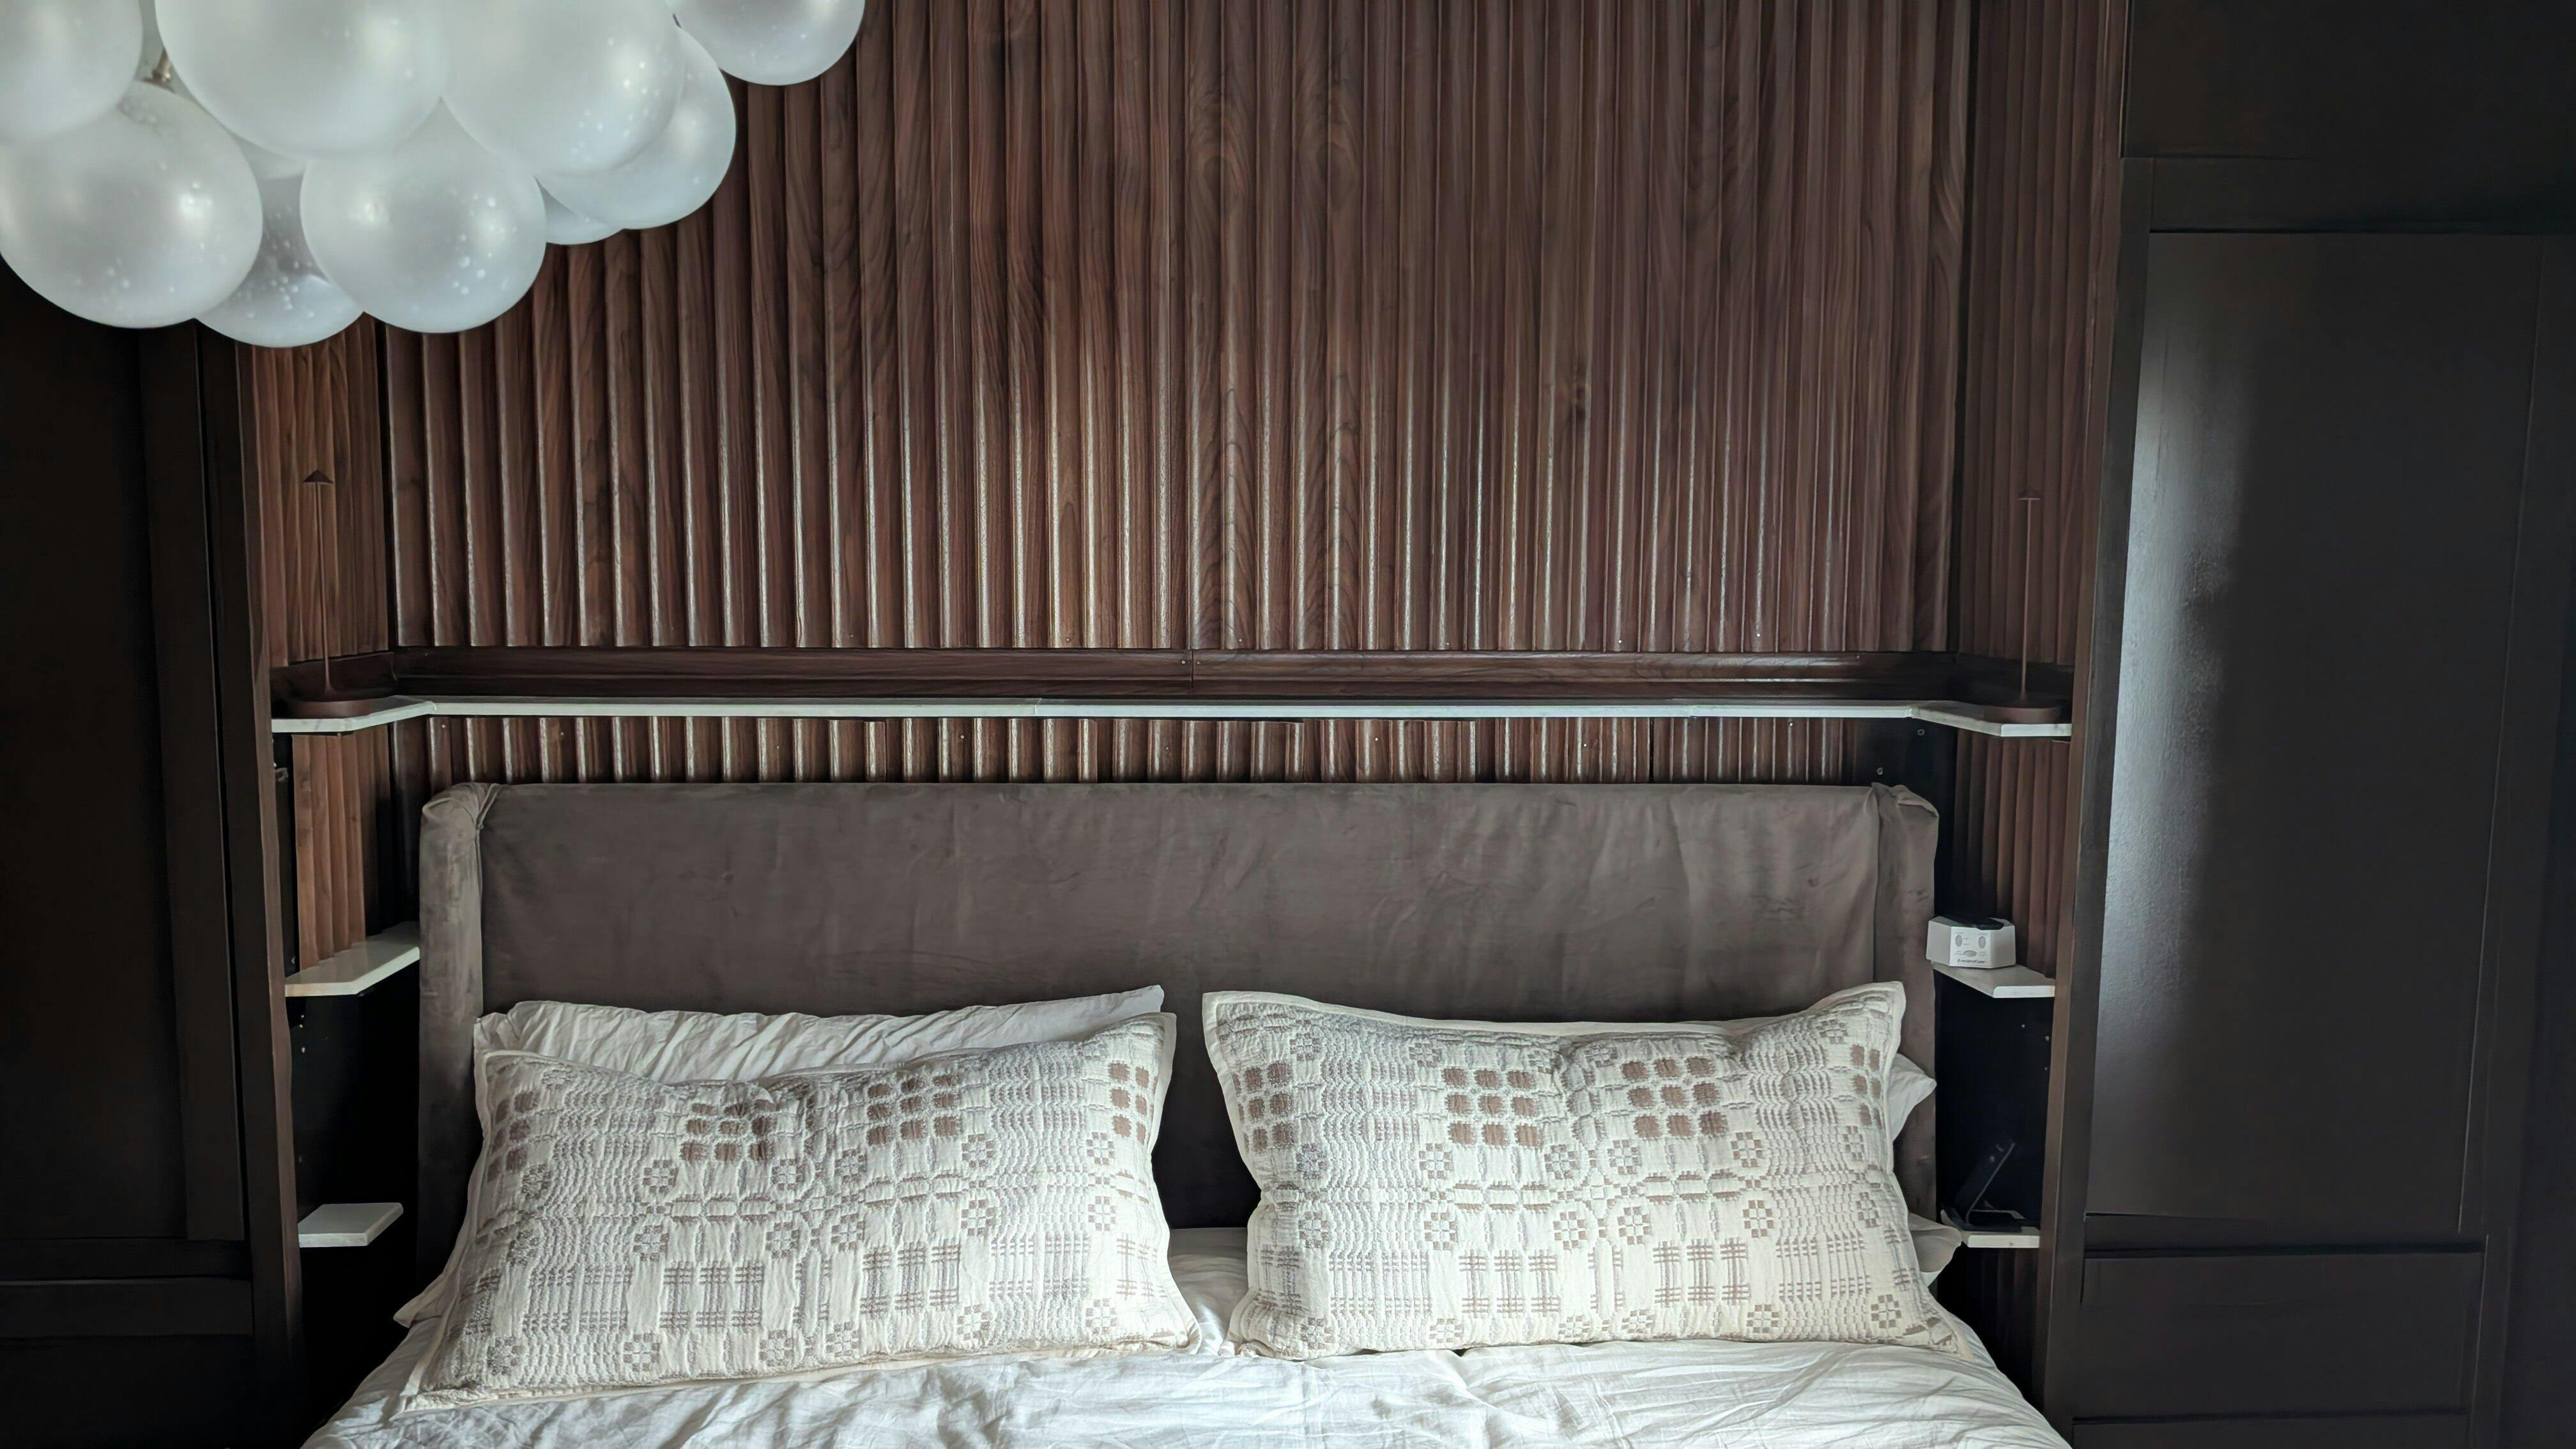
We installed in our Primary Bedroom and we love it! My husband installed it without issue and remarked at the ease. Cutting out for the plugs was a little challenging but worked well. We love the wider design and the veneer on all three sides makes it look very finished. The room is noticeably more quiet as well. The one thing I have to “complain” about is that during the installation we managed to accidentally scratch a few of the boards. We were very careful but I think because of the dark stain, any scratches show up. Service, packaging, and shipping were all excellent.
Wide fluted panels worked exactly as we had imagined and hoped, couldn’t be happier.
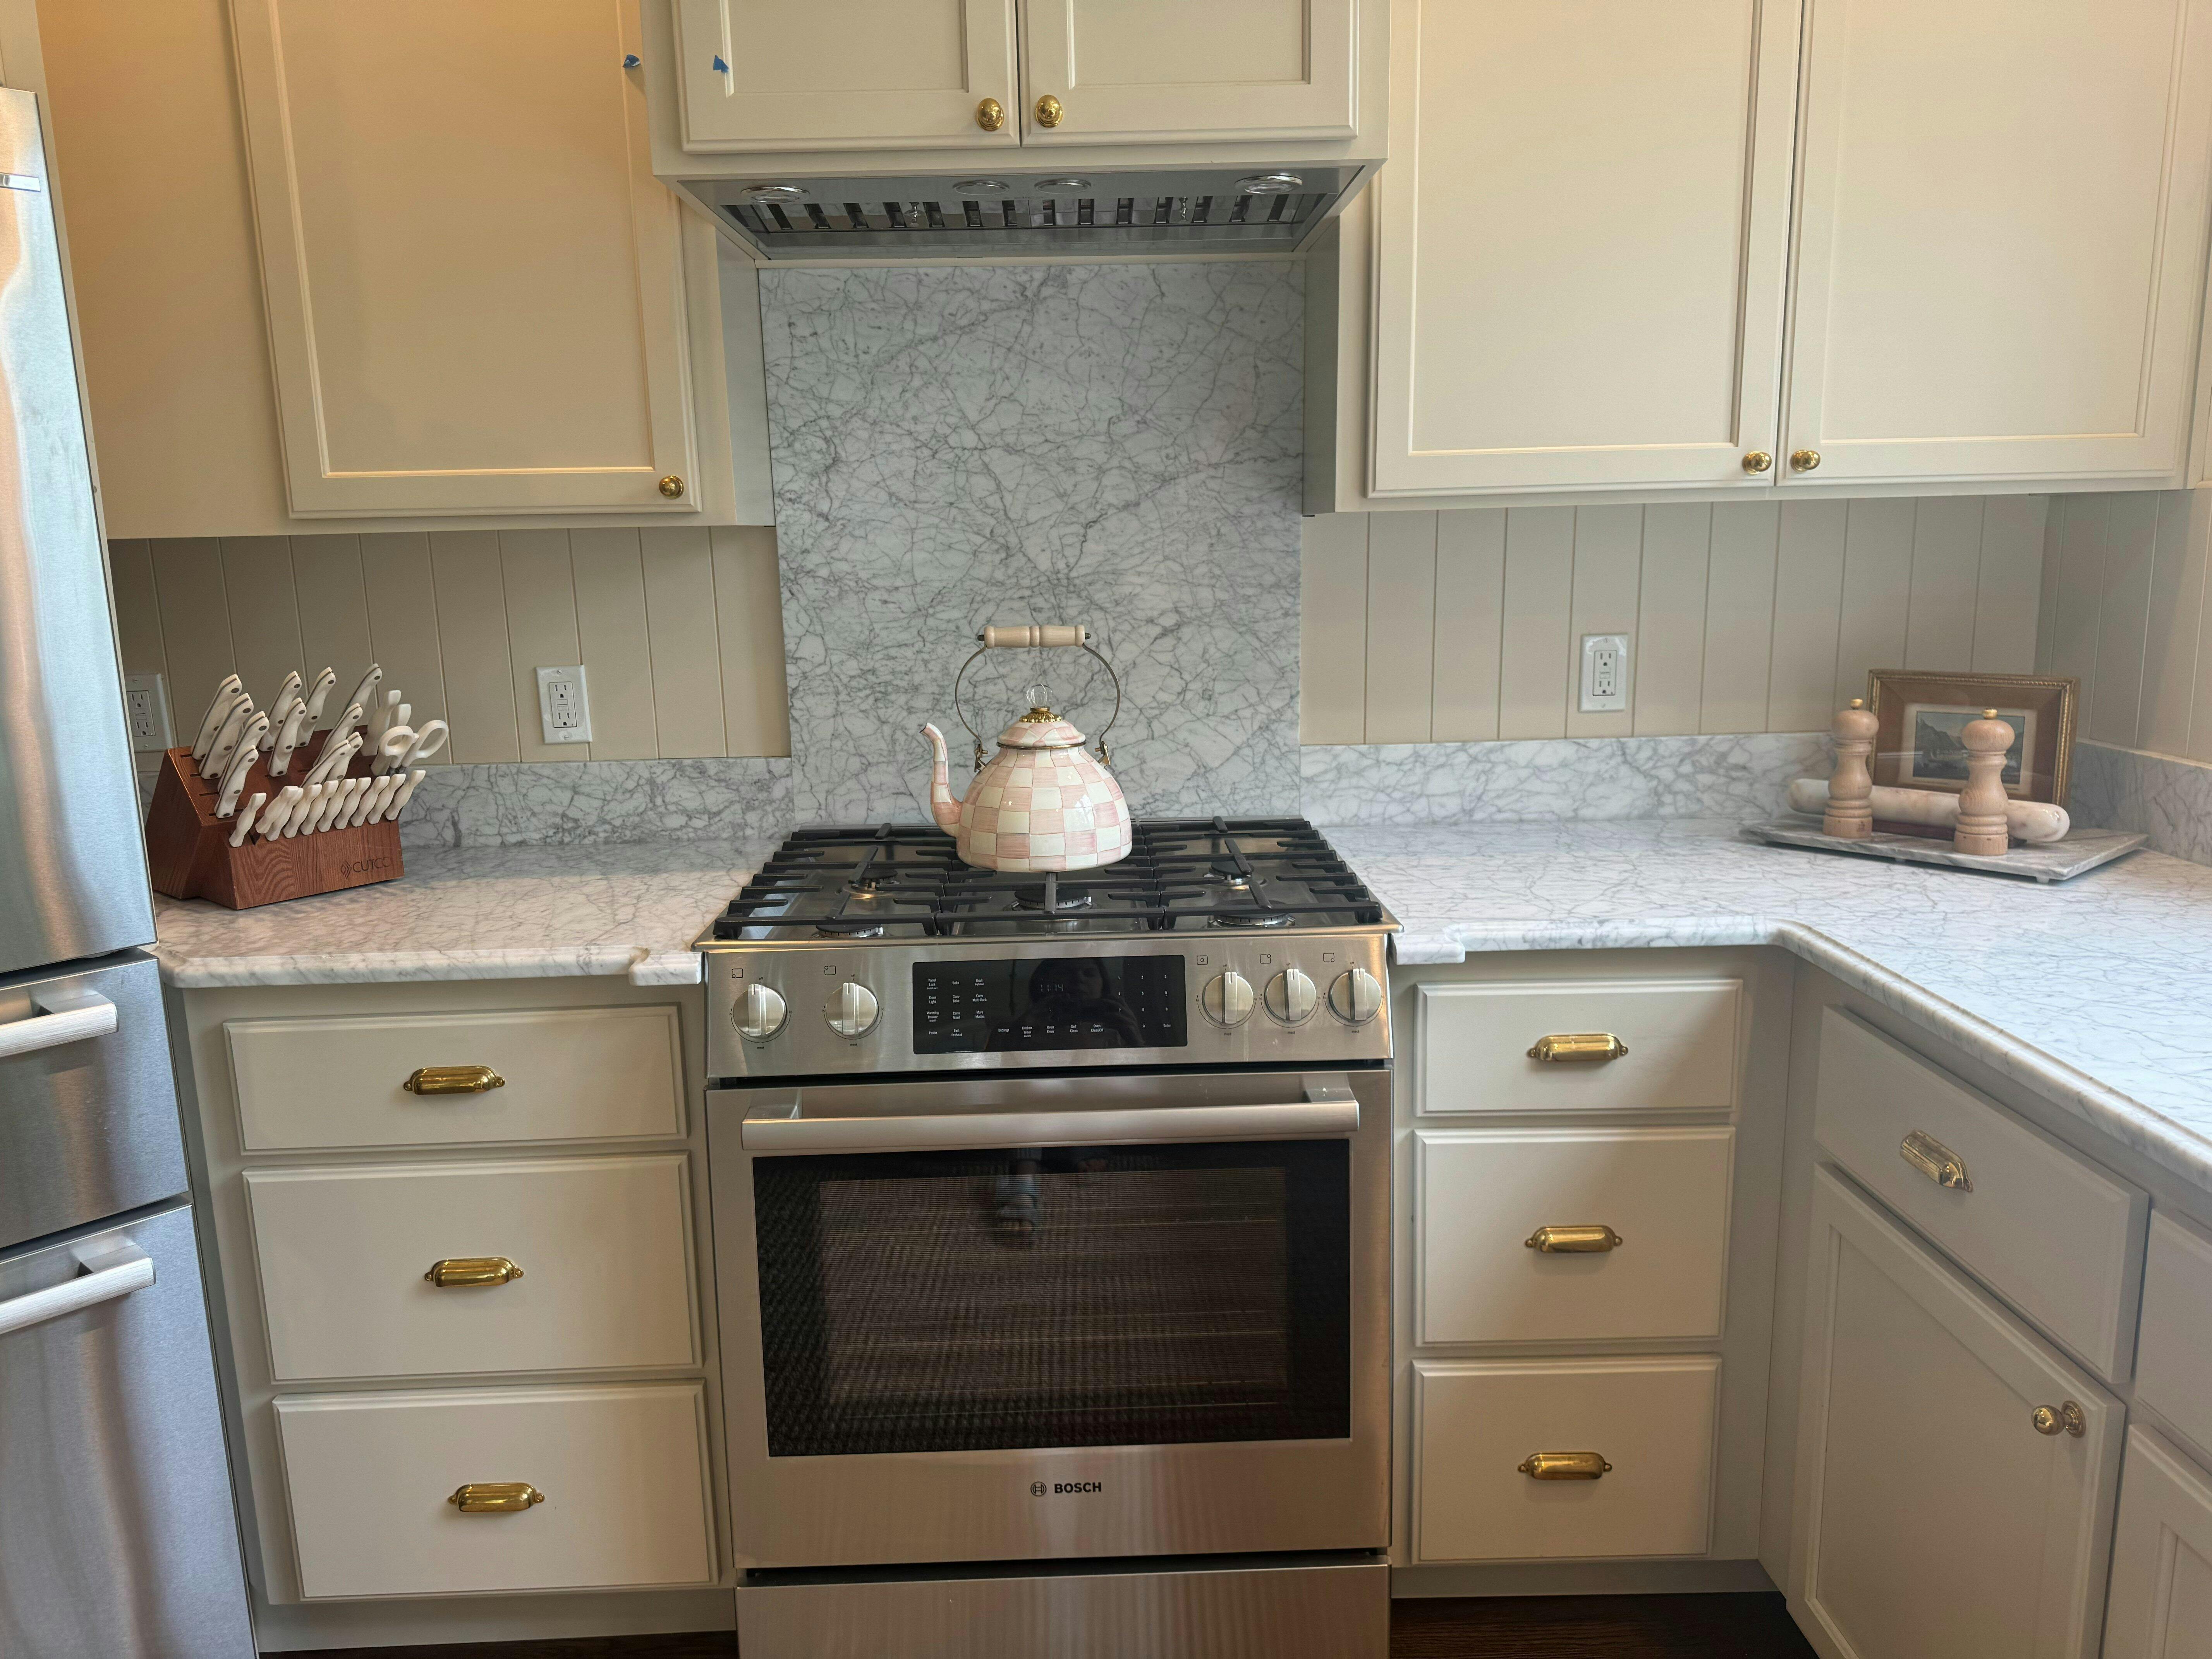
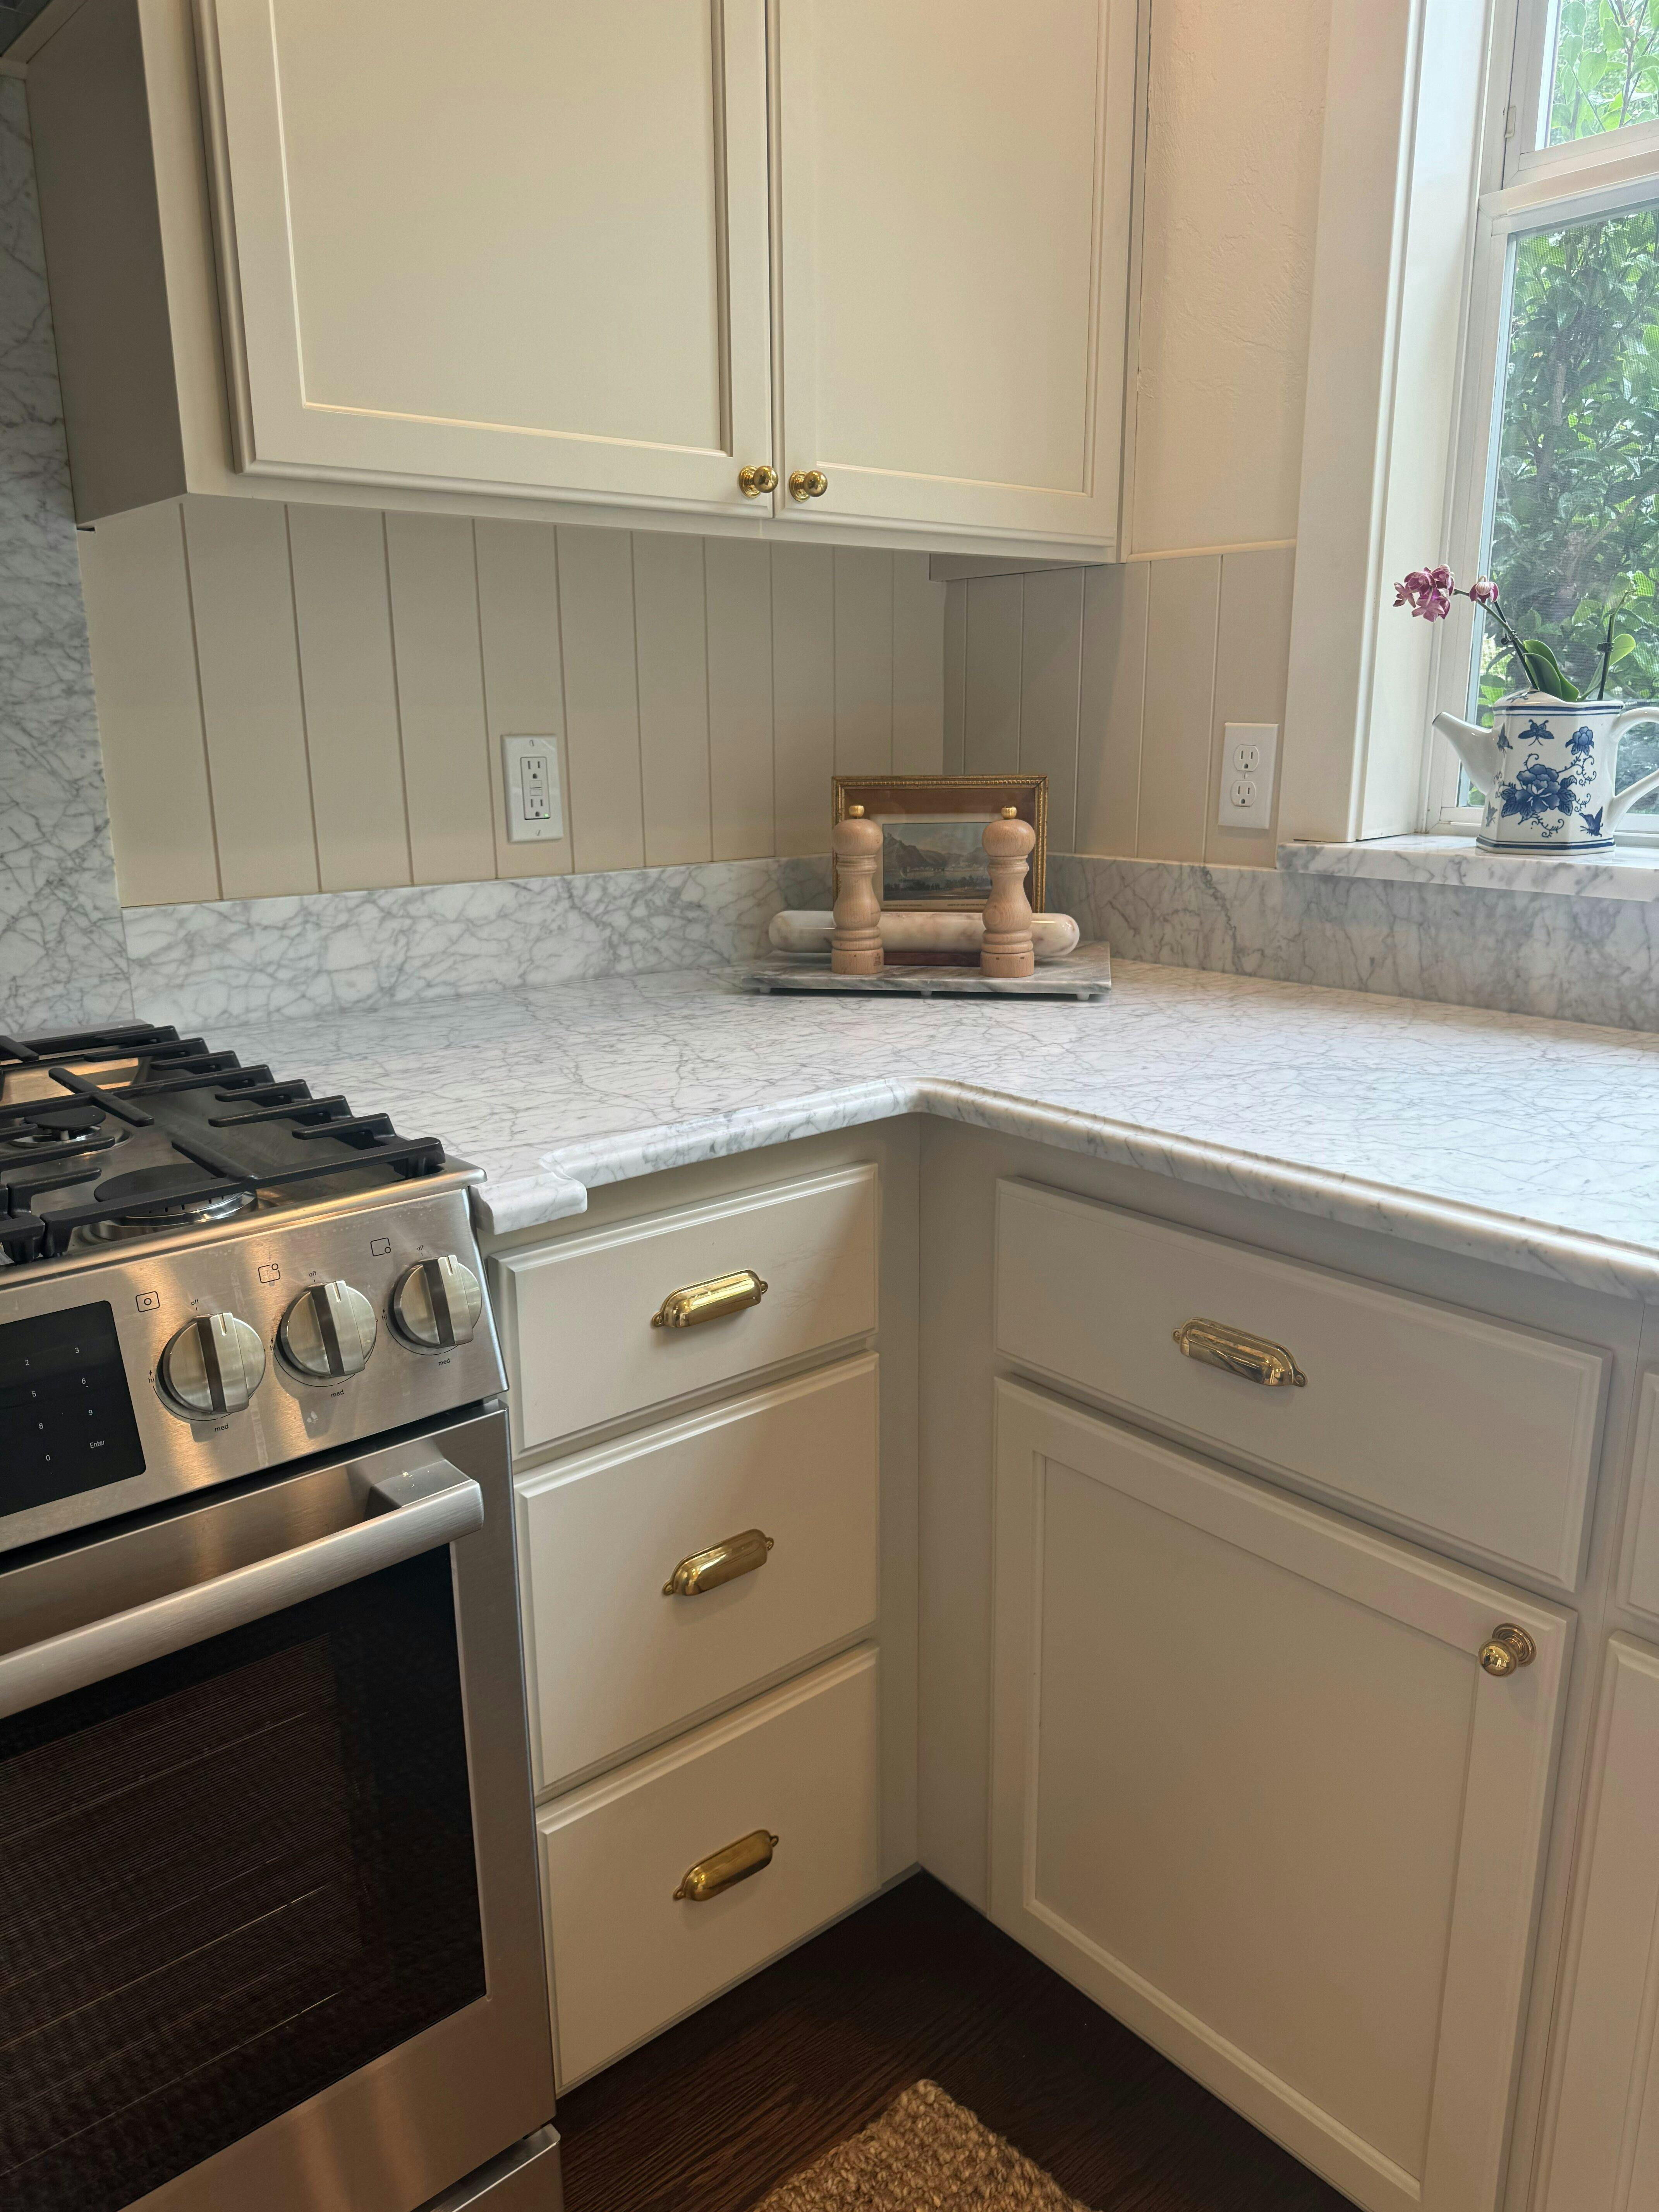
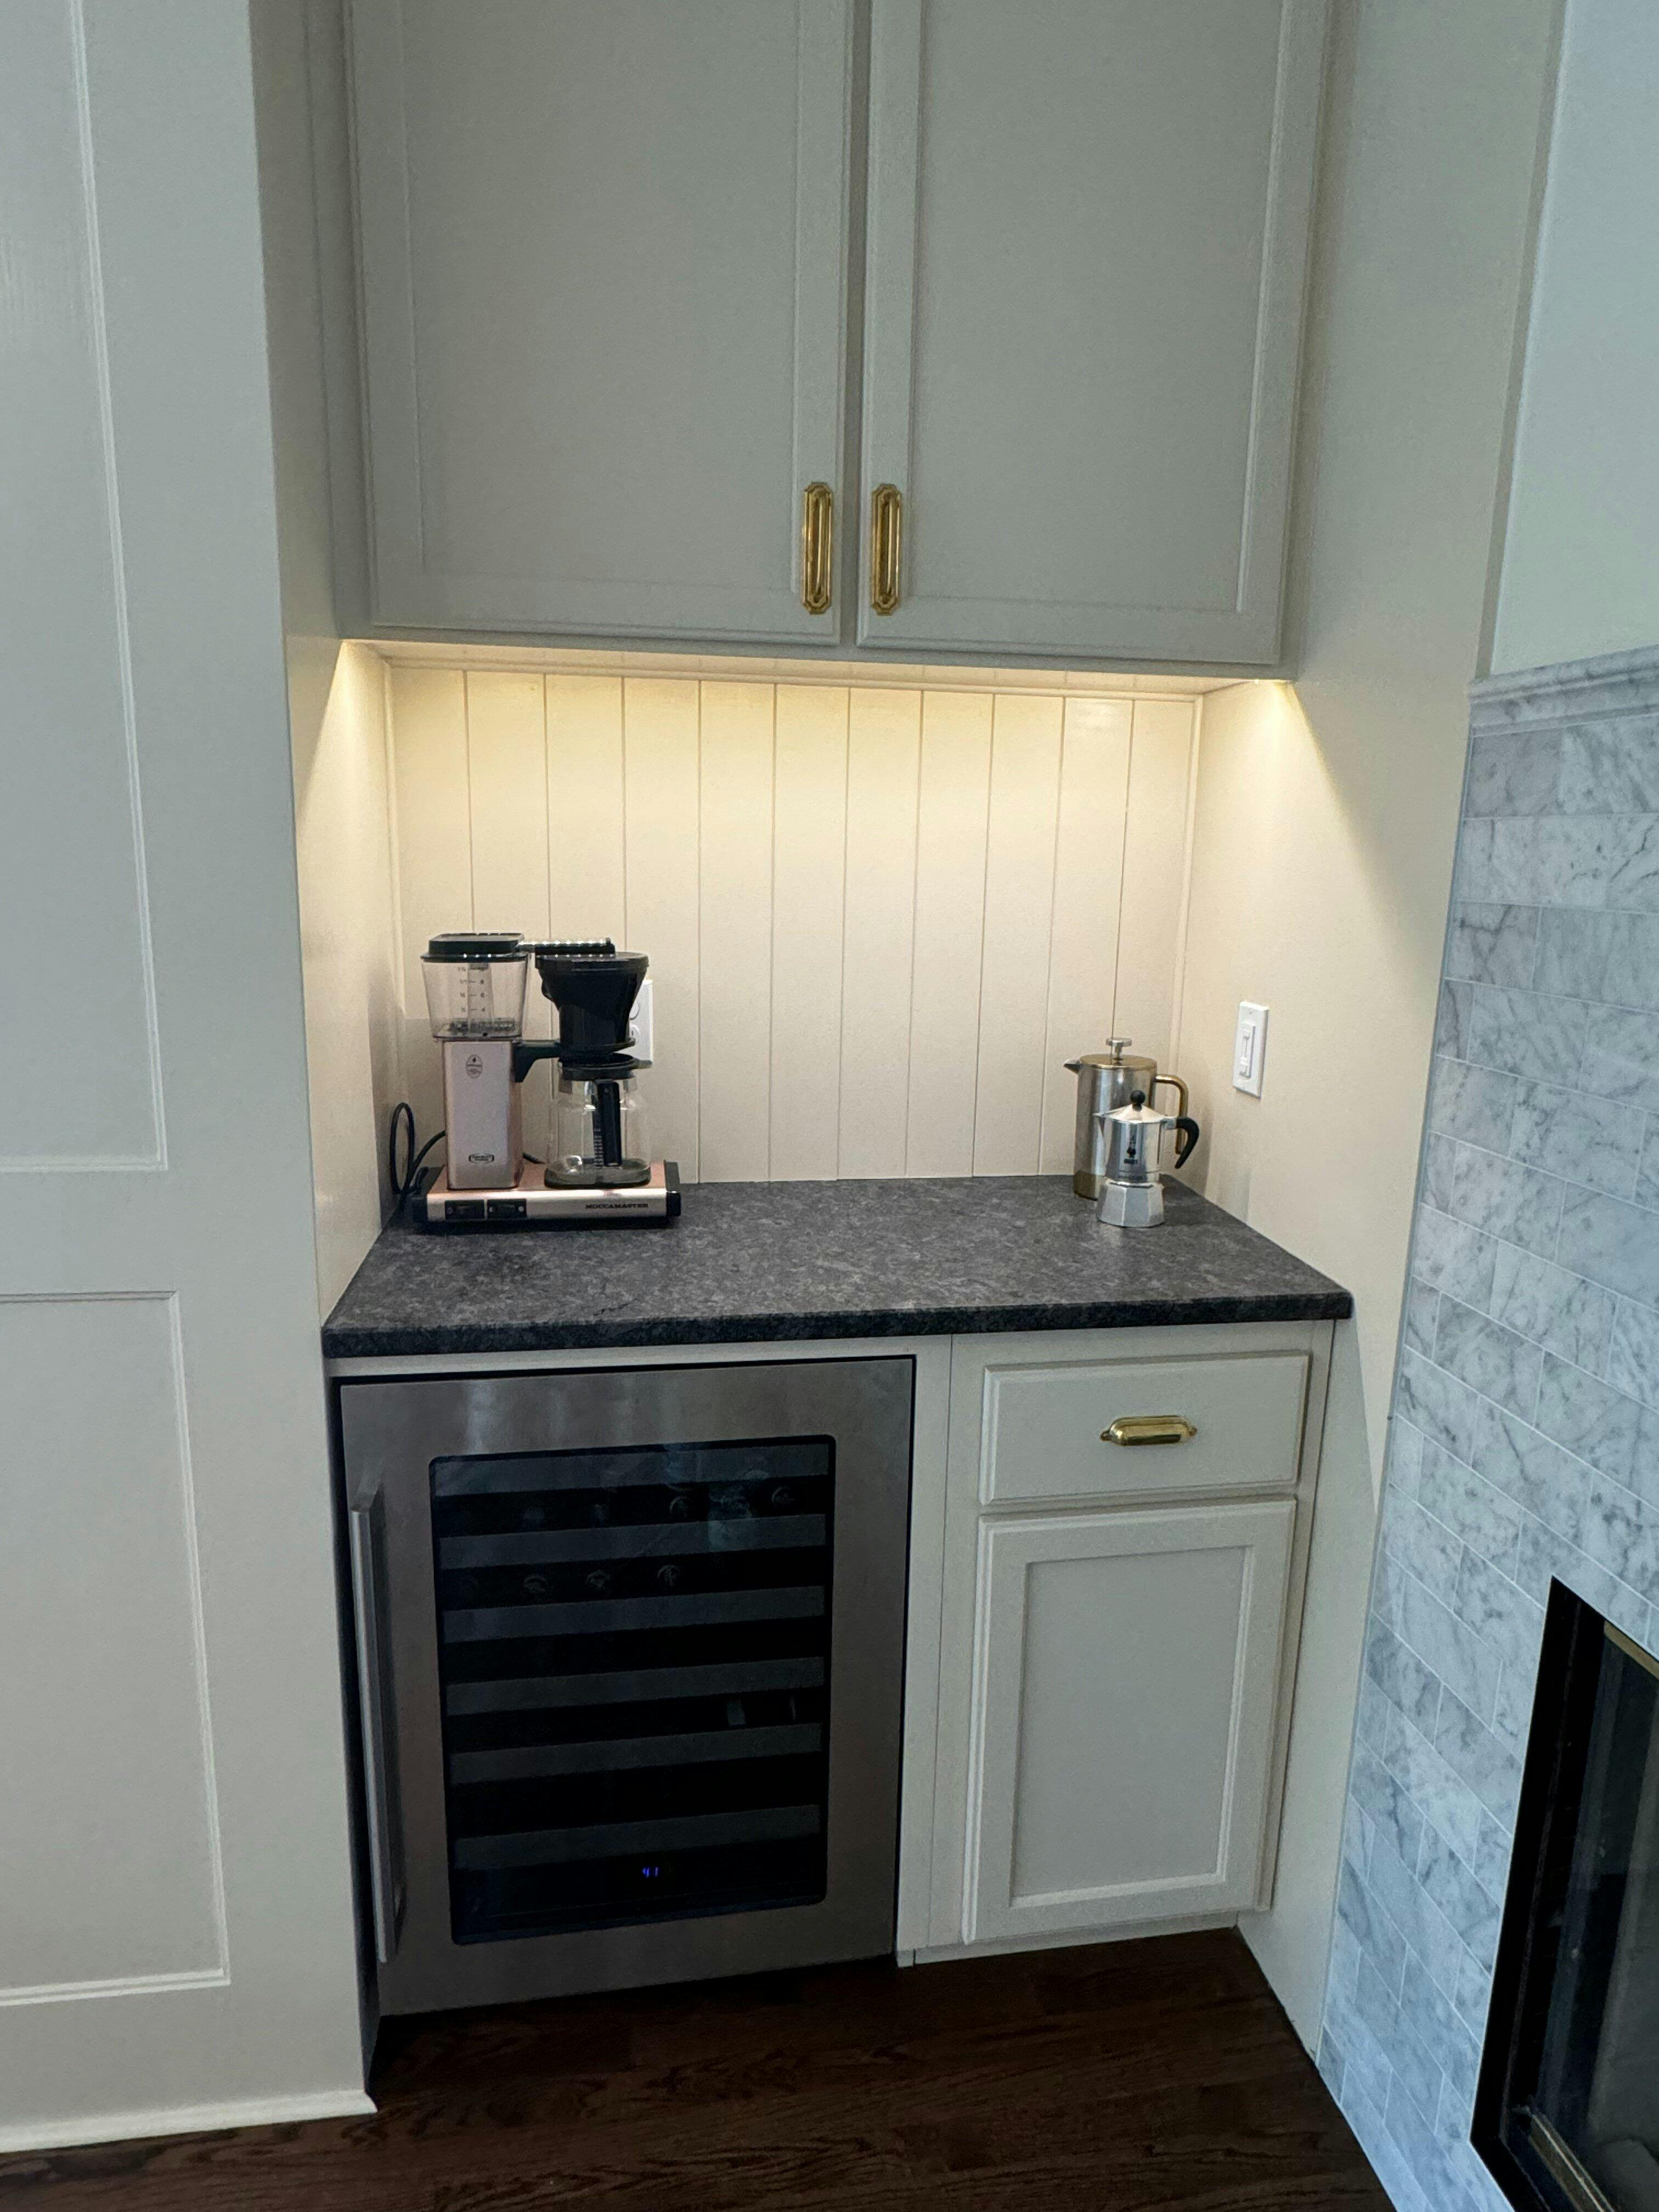
My contractor loves this product! We are using it as an upper backsplash in my kitchen (not behind the oven or sink) and I’ll have enough to also panel powder bath. I was able to find similar products through lines our local stores carry, but they don’t ship to our region. Bead board panels aren’t the same.
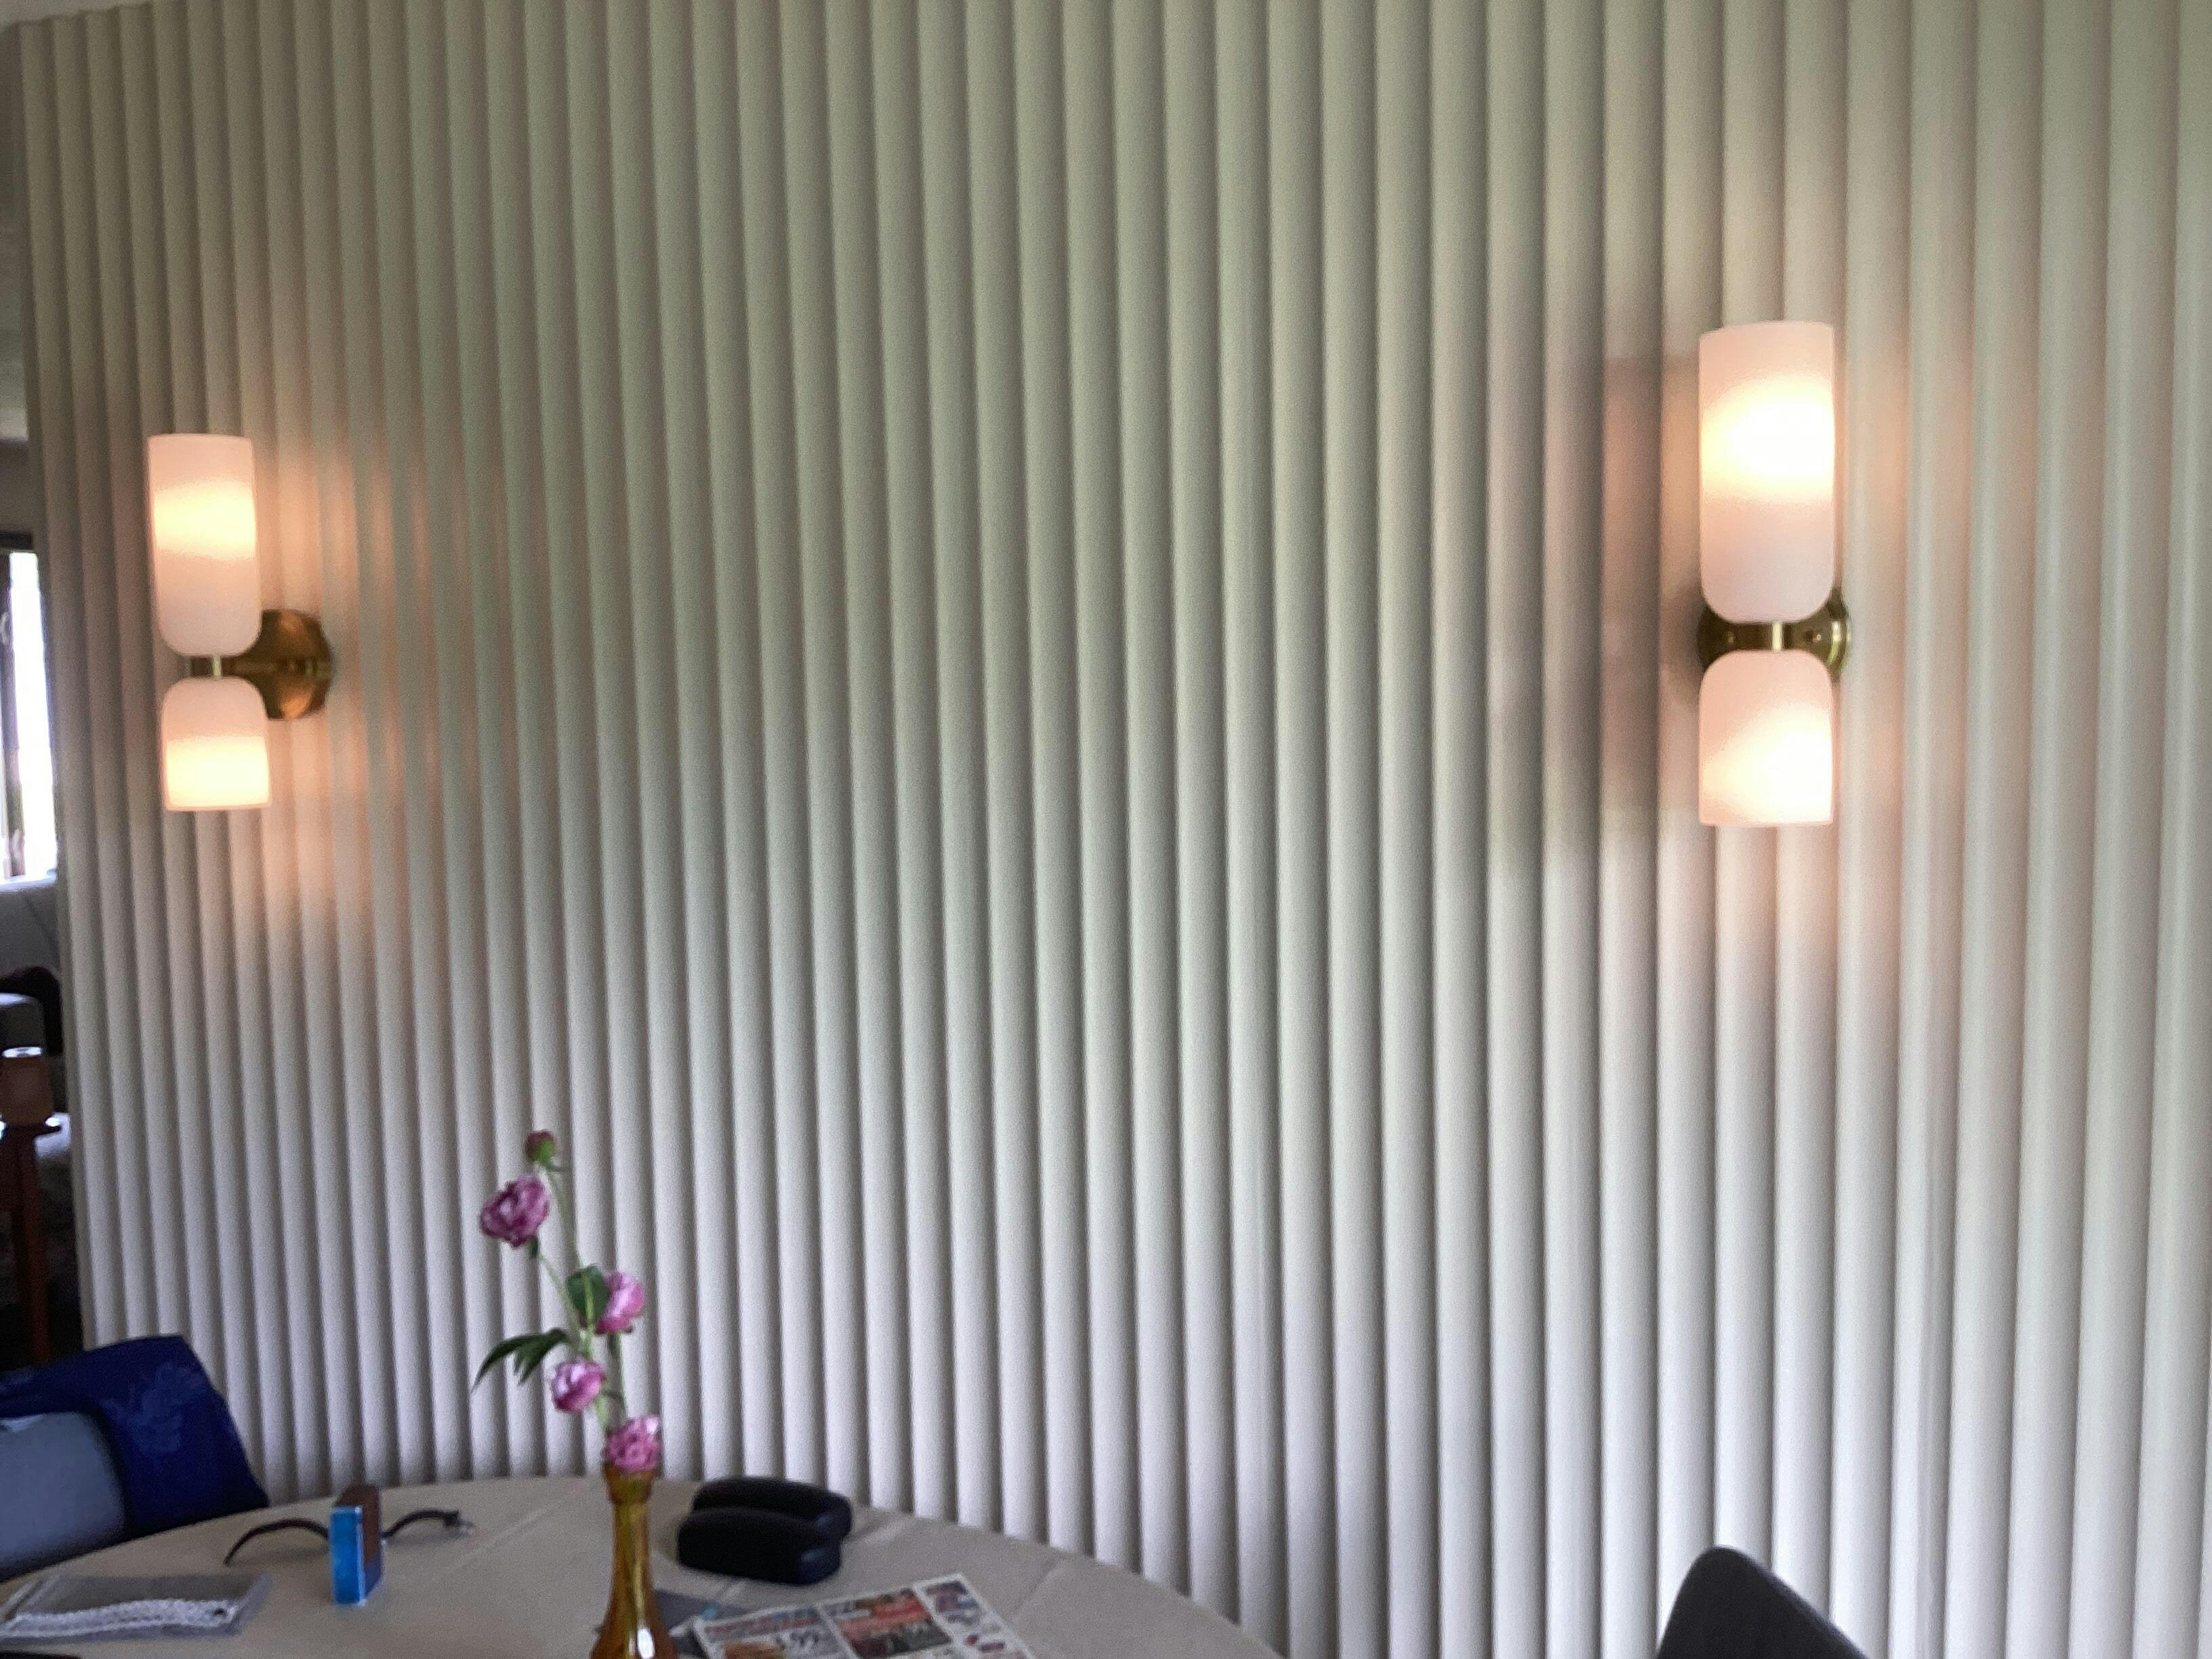
I don’t have words to describe how beautiful our dining room turned out. We even installed sconces and an electrical outlet with triple checking measurements. The measurements and quality of the panels are precise and perfect. My only complaint is that even with caulking in the seems, they are visible. It’s not extremely obvious,but still noticeable. Otherwise, thank you for a gorgeous product!
Amazing quality! They can be stained, despite their official statement saying not to. I used Early American stain on the walnut and it looks amazing!
The panels worked great. I’ve attached a pic. I didn’t use the plastic joiner thingy after the first two panels, just found I didn’t need it but it did help in a section where the wall was wavy. I would purchase again and recommend to others. If I had to quibble, I guess I would say they had a little strong odor when I opened the box and cut some pieces to form, but that blew off after a few days.