


The Expert Housekeeper's Guide on How to Clean Wood Walls
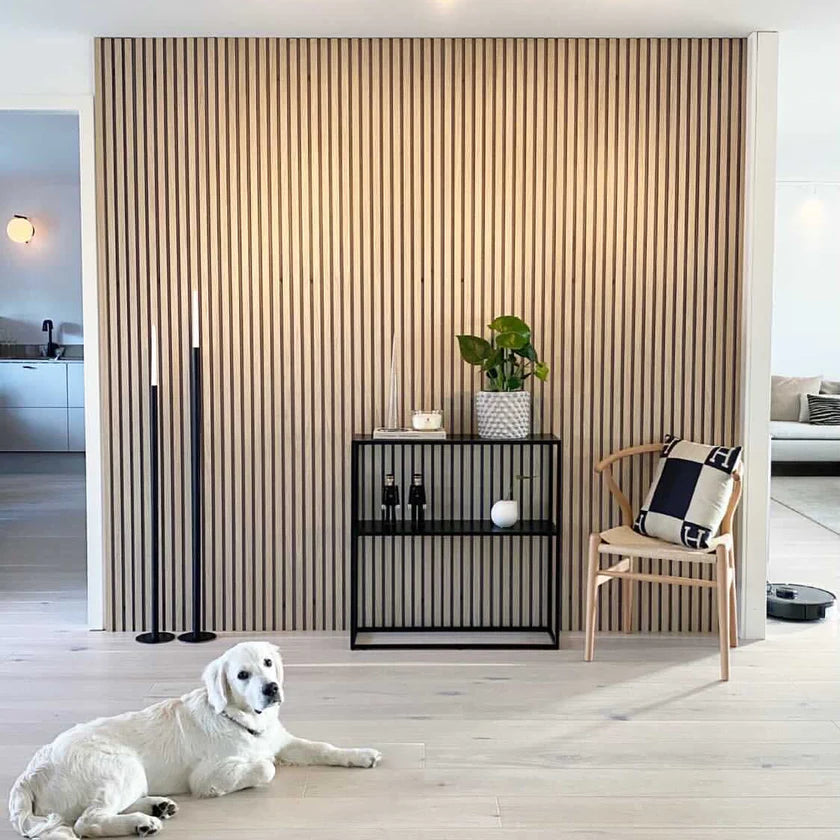
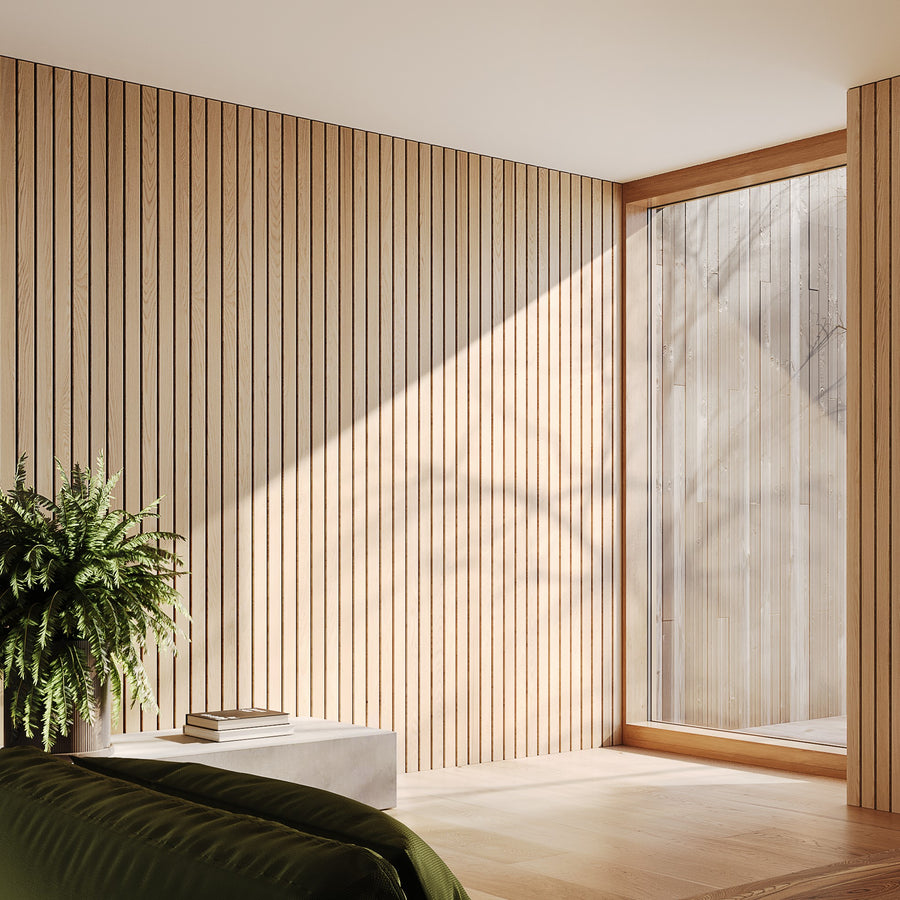
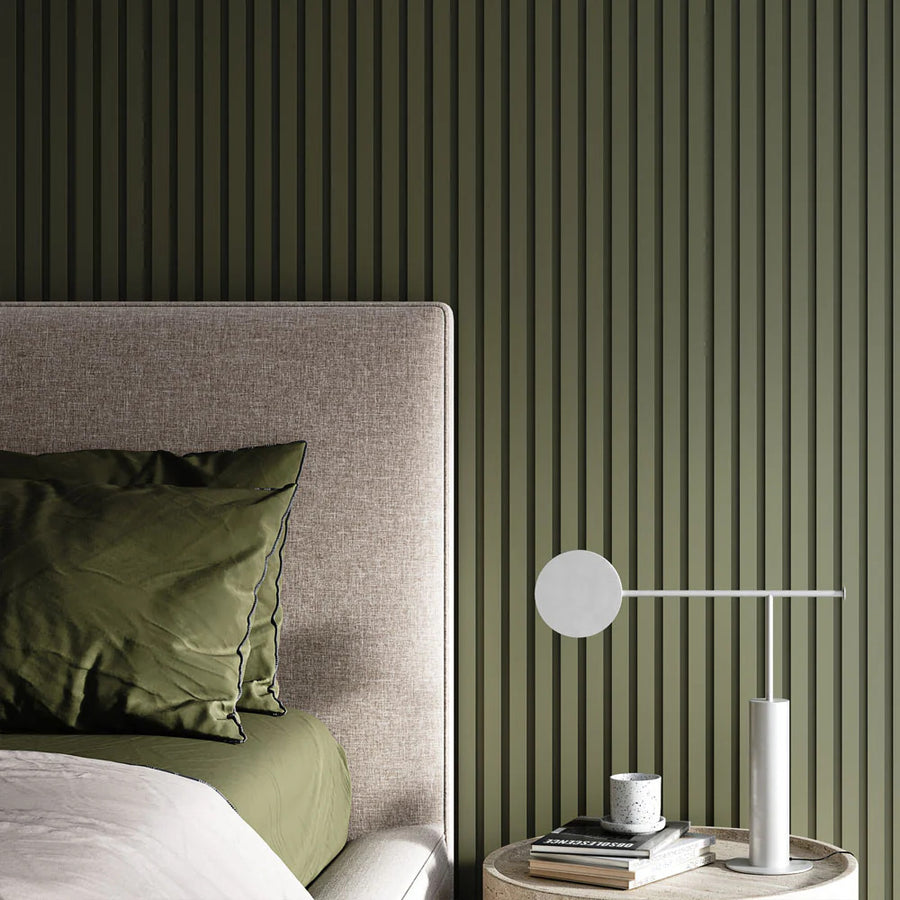
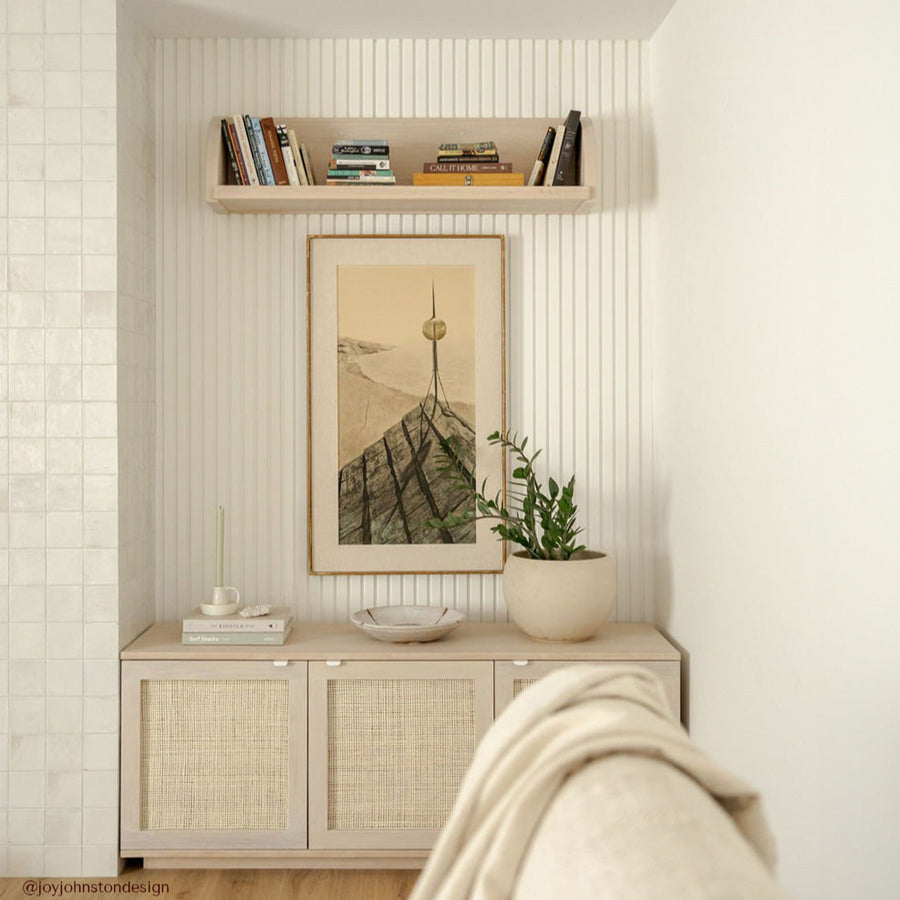
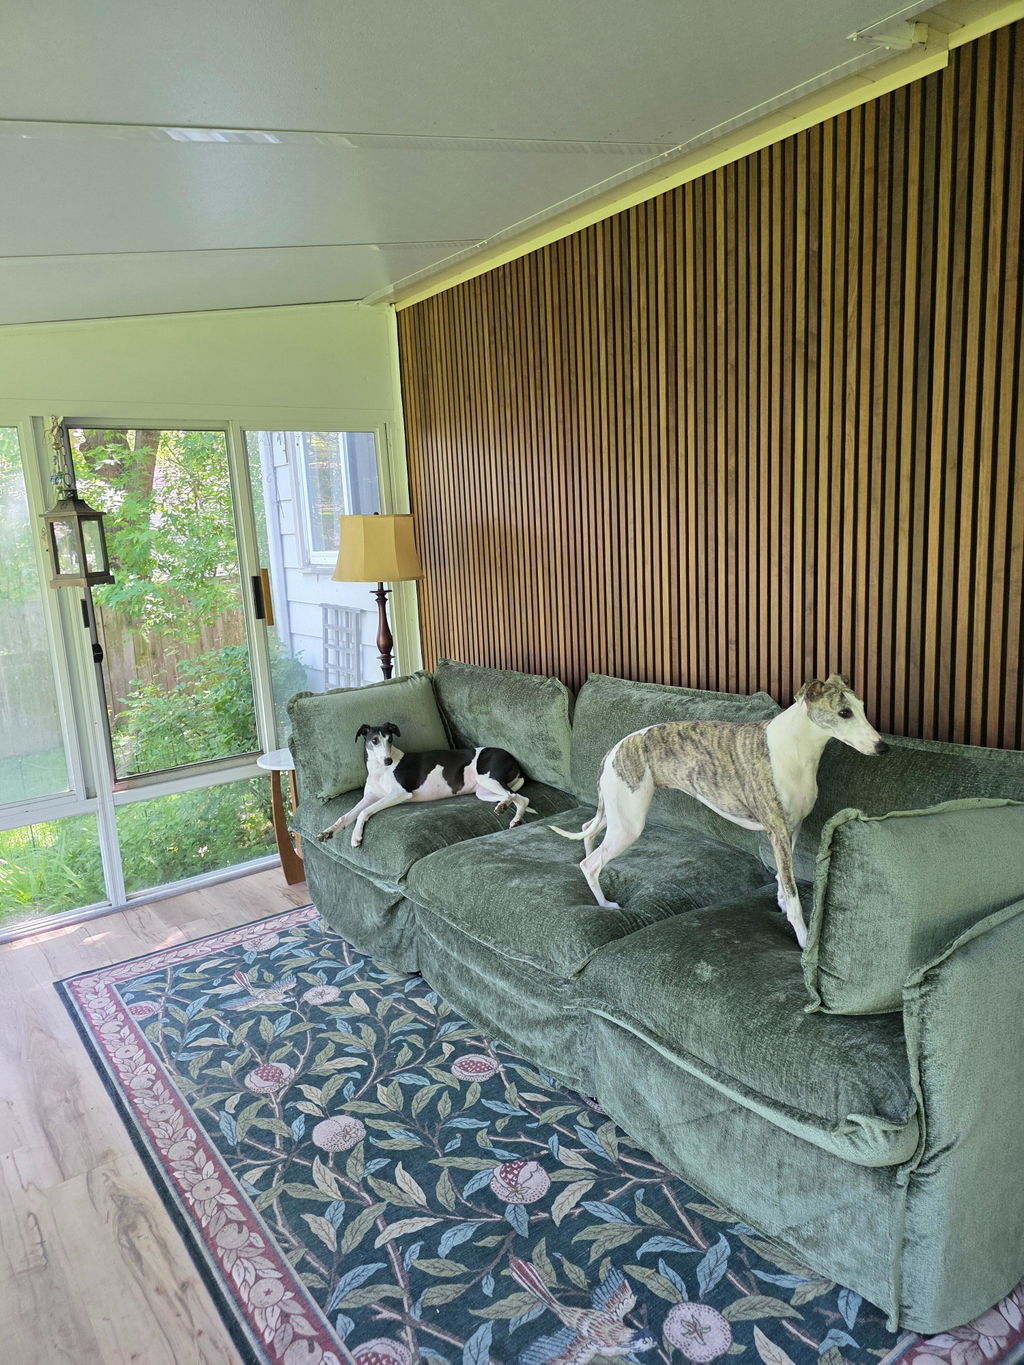
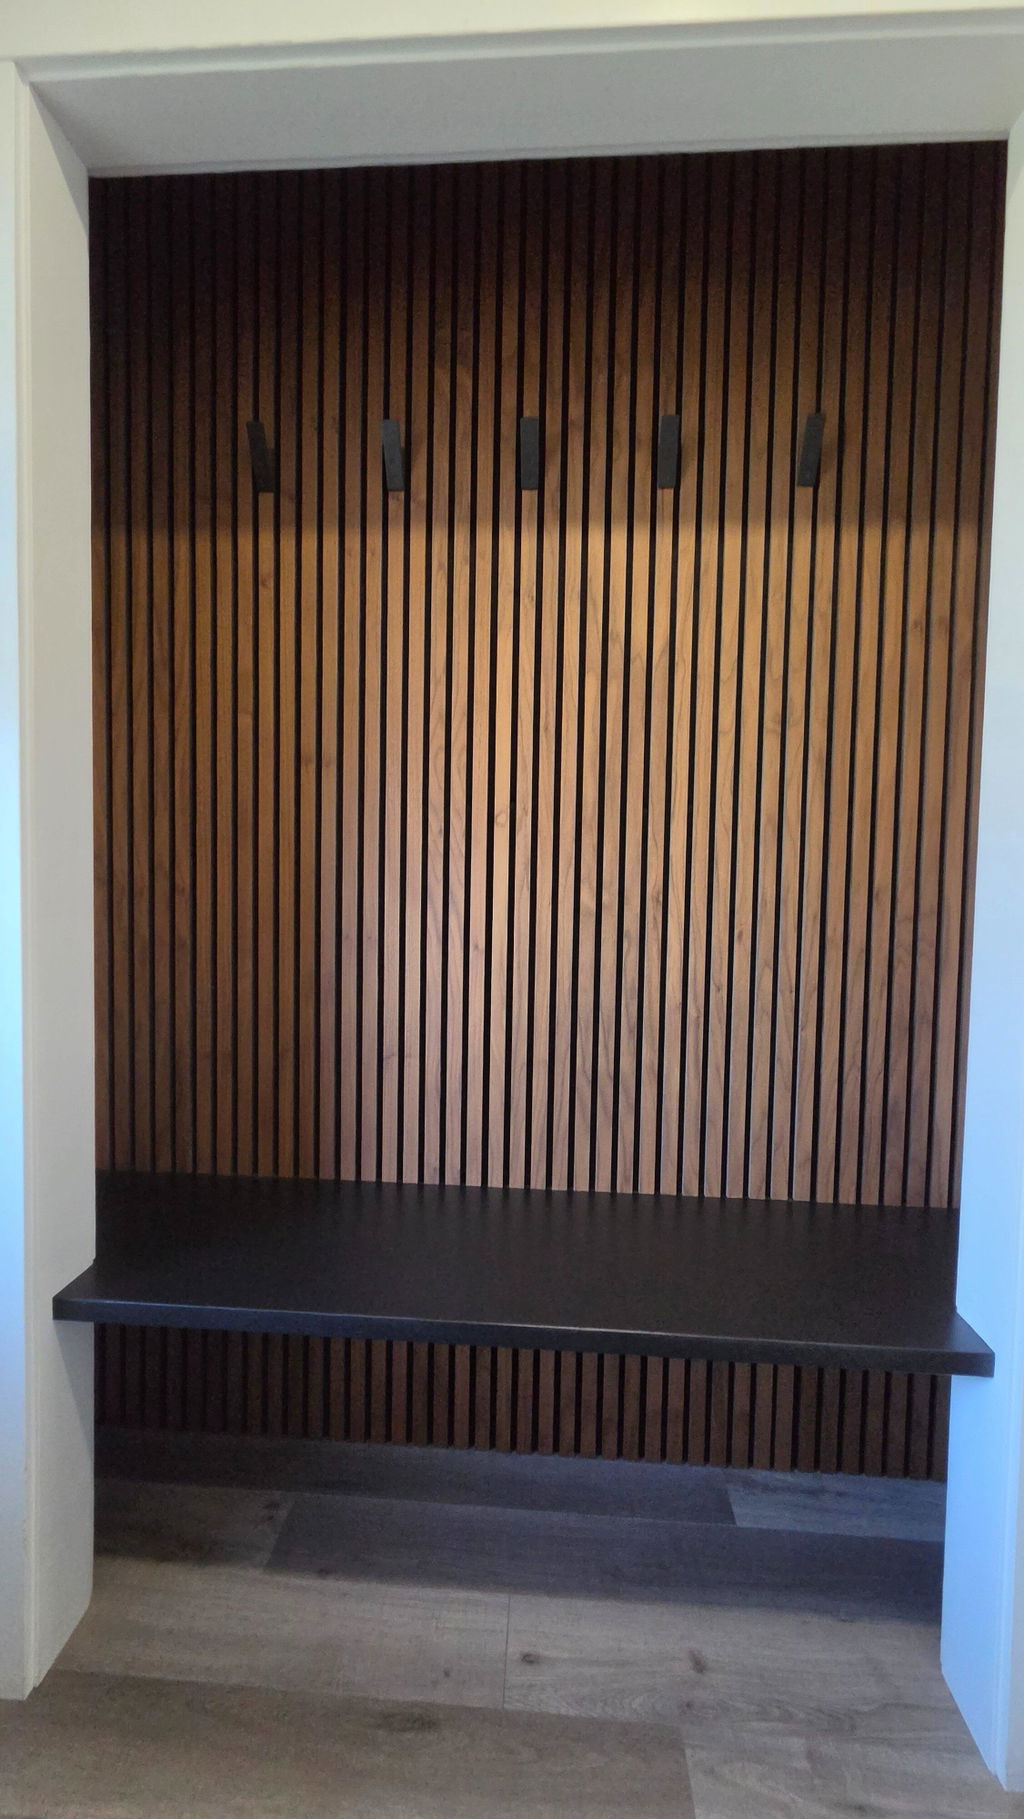
Wood walls imbue your living spaces with a distinct blend of refinement, elegance, and a touch of nature's charm. Upon installation, wood panels often stand perfect as they are, requiring no extra paint or decoration. However, as time passes, dust and residue inevitably gather on your wooden walls. Overlooking their cleanliness could eventually lead to wear, damage, or even the need for a full replacement.
Clean and well-maintained wood panels and surfaces improve the overall atmosphere of your space, creating a blend between a contemporary style and natural elements. That’s why in this post, we will explore how to take care of your wood panels without damaging them in the process.

Importance of Proper Wood Wall Maintenance
Proper maintenance of wood walls is a must for preserving their aesthetic appeal. Regular cleaning and maintenance will help prevent damage and deterioration. Neglecting wood walls can bring on consequences; for example:
- Neglected wood walls will lose their luster, becoming dull, faded, scratched, and worn.
- The neglect can lead to permanent damage leading to rotting, warping, or weakening of the wall.
- Over time it can even increase maintenance costs as the wood may need to be refurbished or entirely replaced.
Wood Wall Maintenance Tips
Generally speaking, the best maintenance tip is to regularly clean wood panels by simply dusting them with a lint-free cloth. While cleaning, keep turning and refolding the cloth often so a clean surface is used. Rubbing with a dirty cloth will spread the dirt around causing more harm than good. Sometimes it helps to dampen the cloth slightly with a small amount of lemon oil which will help it catch and hold dust. If you dust often you can prevent the need for frequent deep cleans.
Choosing The Right Cleaning Supplies for Wood Walls
Selecting suitable cleaning products for wooden surfaces is necessary if you want to preserve the texture and quality of the wood. It's essential to understand that using the wrong products, especially stronger chemicals or abrasive sponges, can harm your wood, leading to discoloration, fading, and even surface deterioration.
Common household cleaners to watch out for are bleach, ammonia, or abrasive cleaners. These chemicals will strip away the protective finishes and oils on wood surfaces, leaving them vulnerable to damage, discoloration, streaks, or dullness.
Go-To Wood Wall Cleaning Solutions
Warm Water: Don't underestimate the efficacy of warm water for cleaning your wood walls. It's the simplest yet one of the least risky methods to consider. Simply dampening a soft or microfiber cloth in warm water and wiping the surface can help to dislodge dirt and restore the natural luster of the wood.
This technique is preferable especially when dealing with sensitive or vintage wood finishes. Use caution to avoid overwetting the wood; your goal is a clean, not saturated, surface. Always promptly dry the wood after cleaning to keep the finish safe from water damage.
Home Remedies: You can create your own wood cleaning solution using natural ingredients. For example, a mixture of diluted dish soap and warm water can work wonders against dirt and stains. For the majority of cleans, simply using warm water or warm water with diluted dish soap will do the trick.
Mild Wood Cleaners: Look for cleaners formulated specifically for wood surfaces. These cleaners are gentle, non-abrasive, and suitable for a wide range of wood finishes. They remove dust, dirt, and even grime without causing harm to the wood.
Avoid Using Vinegar: While vinegar is a popular cleaning solution for various surfaces, it's generally not advisable for use on wood walls. This is largely due to vinegar's acidic nature, which can potentially damage the finish on the wood.
You may have read it’s okay to use vinegar when cleaning wood floors, but wood walls are different. While wood floors are crafted to endure foot traffic and thus often have a finish that can handle the acidity of vinegar. However, wood walls typically don't have the same robust finish since they aren't designed for the same level of physical contact.
Therefore, to protect the integrity and appearance of your wood walls, it's best to refrain from using vinegar in your cleaning routine.
Expert Tip* - Test Your Cleaning Solution: If you are using a new cleaner or it’s the first time cleaning a specific wooden wall in your home it never hurts to test the cleaning solution beforehand. To test the cleaner pick a small area of your wood wall that is not visible or the least visible area and see if any fading or discoloration appears.
3 imple and Effective Cleaning Tools
Microfiber Cloths: Soft microfiber cloths are gentle on the wood's surface, preventing scratches while capturing dust particles. Avoid using rough materials that can cause scratches. A common mistake is using the abrasive side of a sponge, while it may seem like it will work better, it will likely take off your wood finish.
Telescopic Dusters: Ideal for maintaining the cleanliness of wood walls, telescopic dusters offer an easy solution to reaching higher or hard-to-reach areas without straining or using a ladder. With their extendable handles, these dusters allow you to easily dust your wood walls, preserving their beauty and reducing the accumulation of dust and residue. They often feature a soft, dust-attracting head that won't scratch or damage the wood.
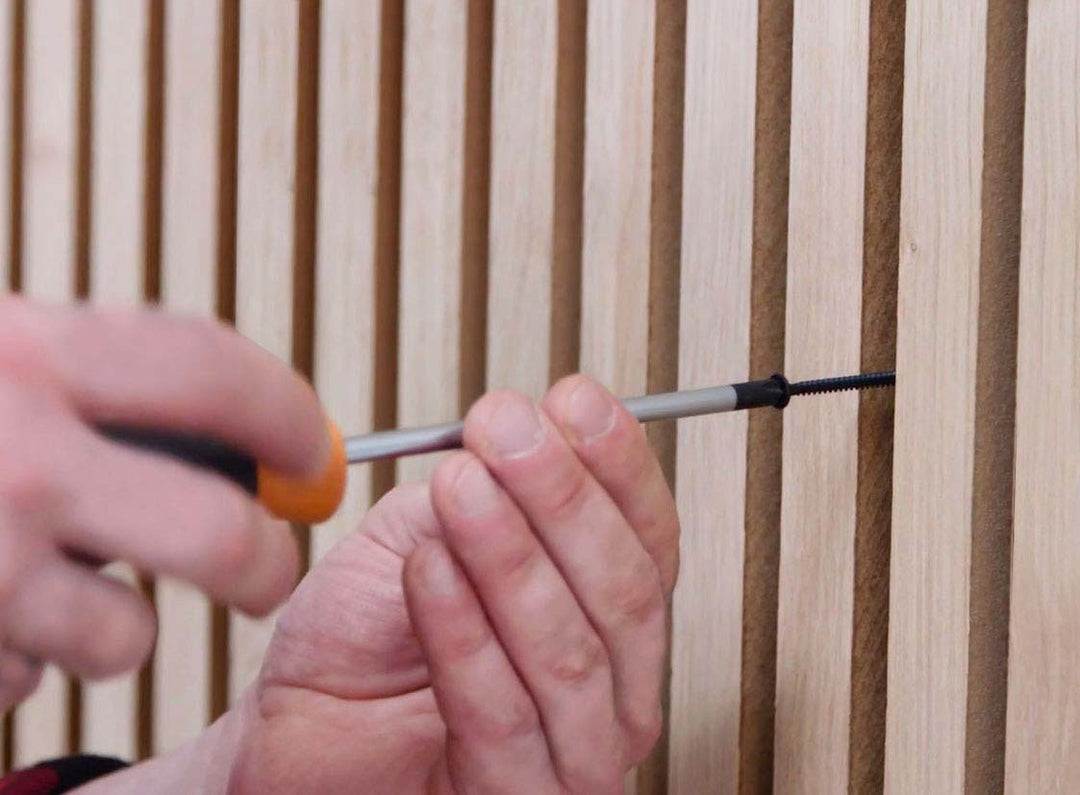
Vacuum: For an efficient way to clean wood slat wall panels, look no further than a vacuum cleaner with a slim end attachment. It allows for easy access between the slats as well as any nooks and crannies where dust tends to accumulate.
If you want to clean the front of the wood or you don’t have slat paneling we recommend using a brush attachment for your vacuum. Using an attachment made for floors may be too abrasive and could cause scratches.
Cleaning Wood Walls

Depending on how often you clean your walls, the amount of time and supplies may differ. If it’s been a while, fret not; this list is for you!
Step 1: Prepare the Area Around Your Wall
- If you have a build of dust or are using a cleaning solution we’d advise you to clear some space around the wall. While dust and wood cleaner aren’t toxic or harmful you still don’t want it on your favorite hoodie or blanket!
Step 2: Dusting The Surface
- Use a soft microfiber cloth or a gentle duster to wipe the walls from top to bottom to remove loose dust/dirt.
- Pay attention to corners, crevices, and moldings where dust tends to build up.
Step 3: Overall Surface Cleaning
- Prepare a bucket of warm water with a mild wood cleaner or a wood-safe cleaning solution.
- Dip a soft cloth or sponge into the cleaning solution and wring out any extra water.
- Starting from the top, wipe the wood walls in a gentle, circular motion, working your way down.
- Pay attention to any areas with visible dirt or grime.
- Avoid using excessive water or soaking the wood walls, as prolonged exposure to moisture can damage the wood.
- Use a clean, dry cloth to wipe the walls after cleaning to remove any remaining moisture.
Step 4: Spot Cleaning
- Inspect the walls for any visible stains or spots.
- Prepare a mild wood cleaner and apply a small amount of it to a soft cloth or sponge. (Don’t use the abrasive side of a sponge)
- Gently blot or wipe the stained area, taking care not to scrub too hard to avoid damaging the wood's finish.
- Rinse the cloth or sponge and repeat the process (if needed).
- Wipe off any excess moisture with a dry cloth.
Step 5: Drying and Finishing
- Allow the wood to air dry. Opening windows or using fans can help dry them quicker.
- Inspect the walls for any remaining spots or streaks. If necessary, gently buff the surface with a dry microfiber cloth to achieve an even finish.
How to Tackle Stubborn Stains and Blemishes
Stubborn stains and blemishes on wood walls can be a challenge to remove. Here are some techniques and home remedies that will help you tackle those stains while keeping your wood safe and sound:
Tackling Grease or Oil Stains on Wood Walls
The key to grease and oil is cleaning it before it fully dries. If grease or oil is still wet or moist, sprinkle baking soda on the stain and let it sit for a few minutes to absorb the grease. Use a damp cloth to gently rub the area in circular motions. Wipe off the baking soda with a clean, damp cloth, and then dry thoroughly.
Removing Ink or Marker Stains From a Wood Wall
Removing ink or marker stains from wood can be tricky. Try applying a small amount of rubbing alcohol to a soft cloth and gently blot the stained area. Do not rub aggressively, as it could cause the ink to spread. Wipe the area with a clean, damp cloth then dry thoroughly.
How to Rid Your Wood Wall of Crayon Marks
For some of us, getting crayon marks on our walls seems to happen more than we’d like to admit. Believe it or not, using a hairdryer can often do the trick! Turn the hairdryer on a low heat setting to warm the crayon marks. Wipe the softened crayon with a clean cloth or paper towel.
For any residue, you can apply a small amount of toothpaste to a soft cloth and gently rub the area. Wipe off any excess with a clean, damp cloth and then dry thoroughly.
Post-Cleaning Care and Maintenance

Maintaining the cleanliness and longevity of your wood panel walls require a bit more work. Making sure to do a post-cleaning care routine helps preserve the beauty of the wood and ensures its durability over time. Here are some valuable tips that will help you prolong the life of your wood wall.
Dust Wood Walls Regularly
Even after a thorough cleaning, it's important to continue dusting wood walls often as dust will cause the surface to dull and attract dirt.
Avoid Excessive Moisture
Too much moisture is bad for wood walls. Avoid excessive exposure to liquids that can cause warping, swelling, or even mold growth. Immediately wipe off any spills or splatters using a soft cloth or paper towel.
Provide Adequate Ventilation
Good air circulation is beneficial for wood walls. Ensure proper ventilation in the room to minimize moisture buildup. This is especially true if you have wooden walls in your bathroom or powder room. Open windows periodically or use fans to promote airflow.
Protect from Excessive Sunlight
Prolonged exposure to direct sunlight can cause fading and discoloration of wood surfaces. Consider using curtains, blinds, or UV-blocking window films to reduce the amount of direct sunlight hitting the walls.
Avoid Harsh Chemicals and Abrasives
These can damage the wood's finish, alter its appearance, and even cause scratches. Stick to gentle, wood-safe cleaning products and soft cloths for optimal care.

The long-term beauty and durability of the wood walls depend on how you maintain them. Follow the provided guidelines for cleaning and maintenance. Try to remember to dust the wood on a regular basis, as well as a deep clean once every three to four months.
Keep in mind that certain factors may warrant more frequent cleaning. If you have pets, high foot traffic, or if the walls are located in a kitchen where grease or food splatters are common.


What do you recommend for walls neglected for years that have nicotine and other unknown dirt and grime embedded into the wood?
Leave a comment